This EKWB custom loop kit reignited my love for building a gaming PC
Blood, sweat, and CryoFuel went into building my first ever custom-cooled gaming PC.
There's something about building your own custom water-cooled PC from the ground up that makes that moment when the fans whirr to life, and 'American Megatrends' flashes across the screen, all that much sweeter. You earned that post screen with your sweat and blood—no, seriously, blood—and damn, if you don't just want to do it all over again.
I won't pretend building a custom water-cooling loop is for everyone. I wouldn't recommend a day and a half toiling with tubing and tearing your hands to shreds to many. But if there's one thing I've learned from my experience, it's that to the right person—someone that loves to fiddle with their PC more than most—building a custom loop water-cooled PC with hardline tubing is more than an exercise in efficient cooling solutions: it's an entire hobby in itself.
I've often found myself drawn to the lure of a shiny GPU water block or reservoir, but honestly never had much luck actually going about picking the parts, tools, and fittings required to actually use one in a build for myself. That was until we were offered the EKWB Fluid Gaming barebones kit—essentially all you need for your own, fully-fledged custom loop PC for $650.
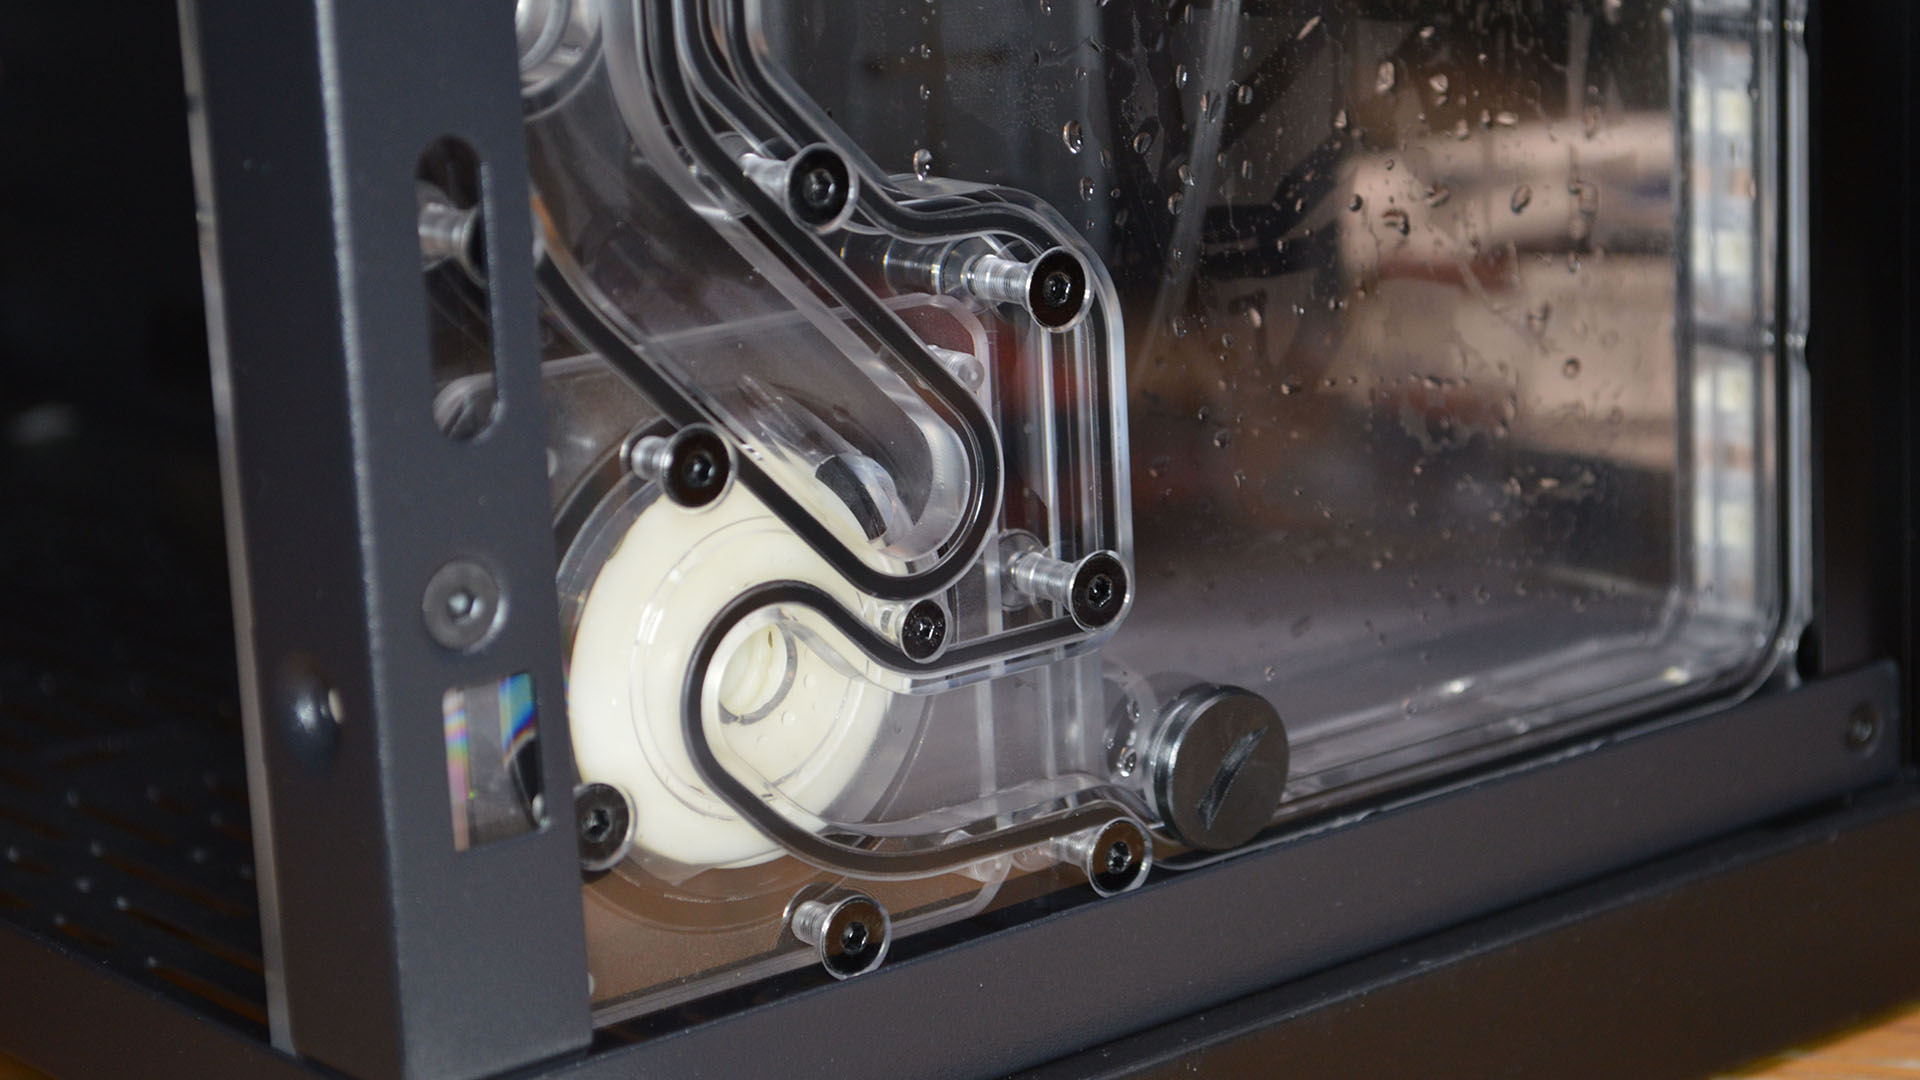
EKWB admits it doesn't talk about its Fluid Gaming lineup quite as much as it perhaps should. This build was the first I'd heard of it. But the premise is relatively simple and straightforward. Essentially it's a case—the highly-configurable Lian Li O11 Dynamic—with a reservoir/pump combo distro plate and triple-fan radiator pre-installed. In the box is a CPU block, GPU water block, and all the fittings, tubes, and tools required to piece it all together.
The kit amounts to a lot of gear once tallied up. Here's a full breakdown of what's included:
- EK D-RGB CPU block (Intel - 1151 or AMD AM4)
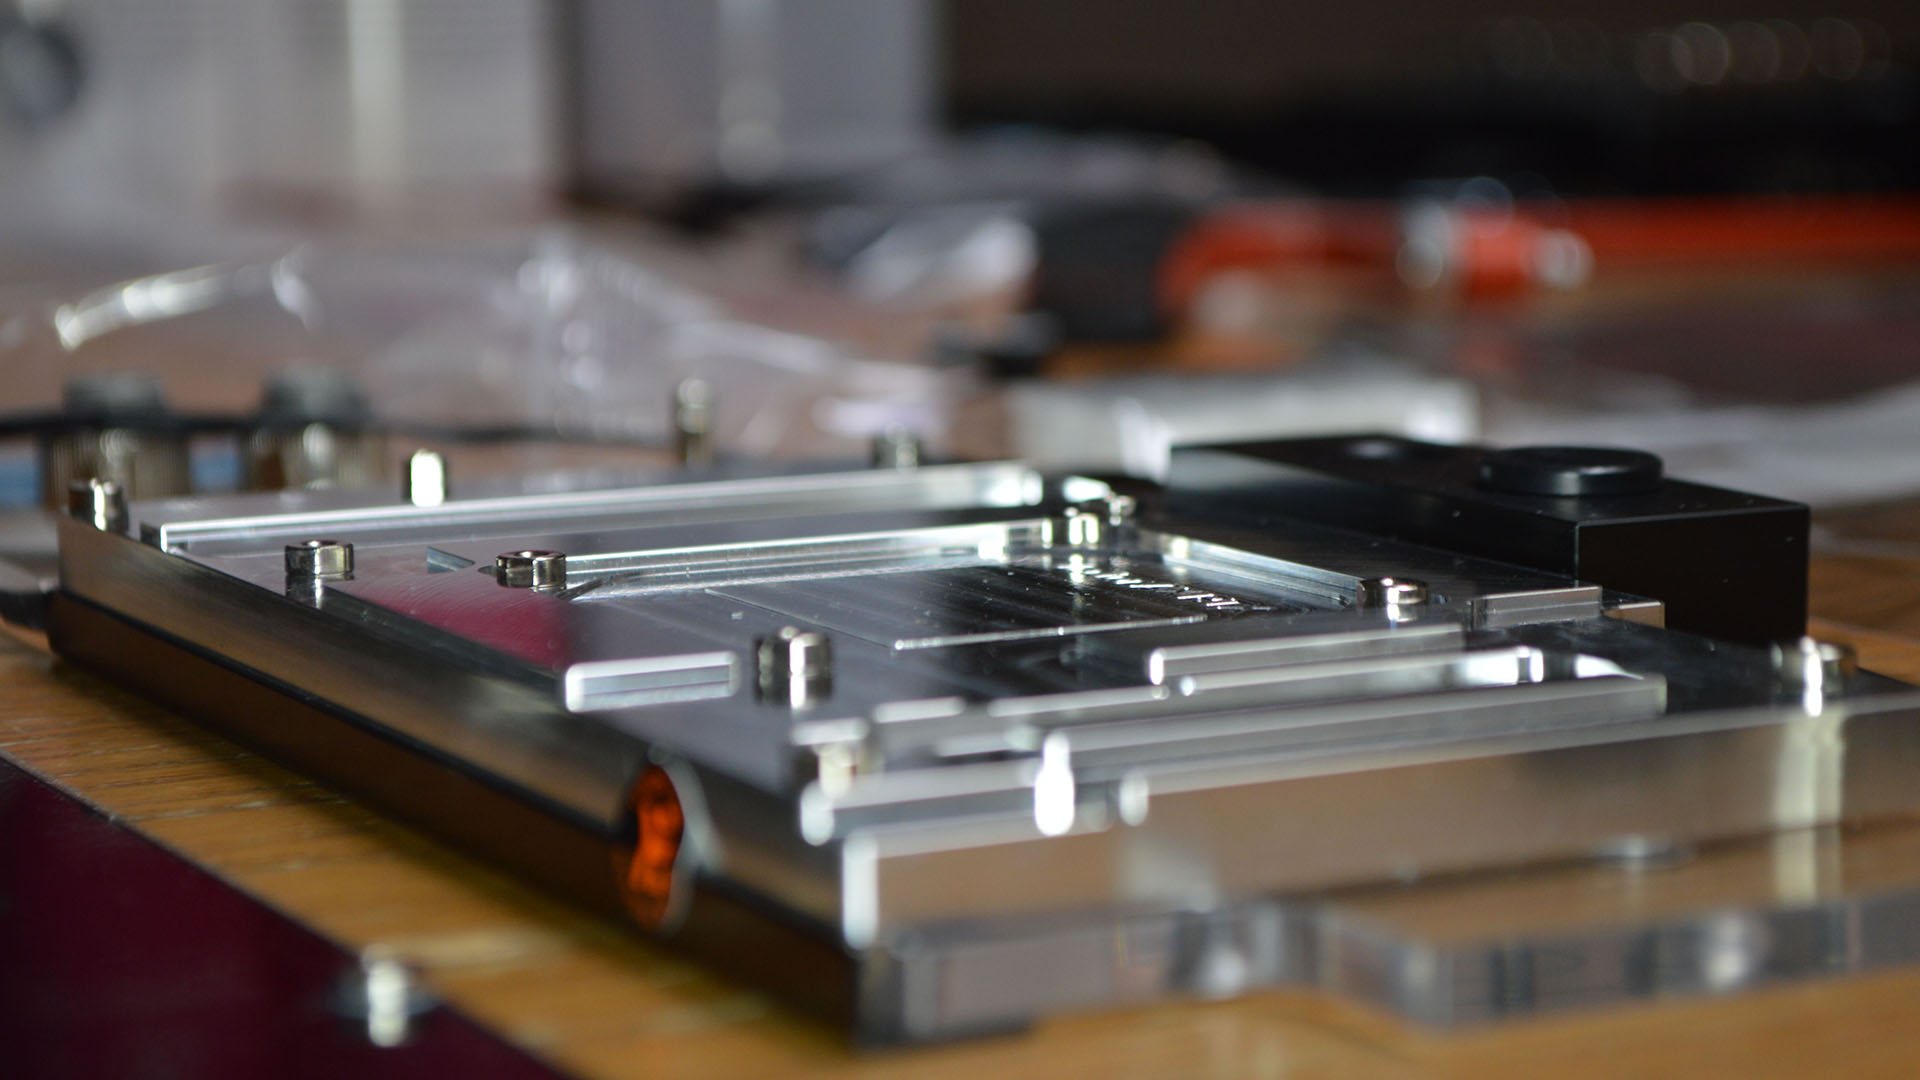
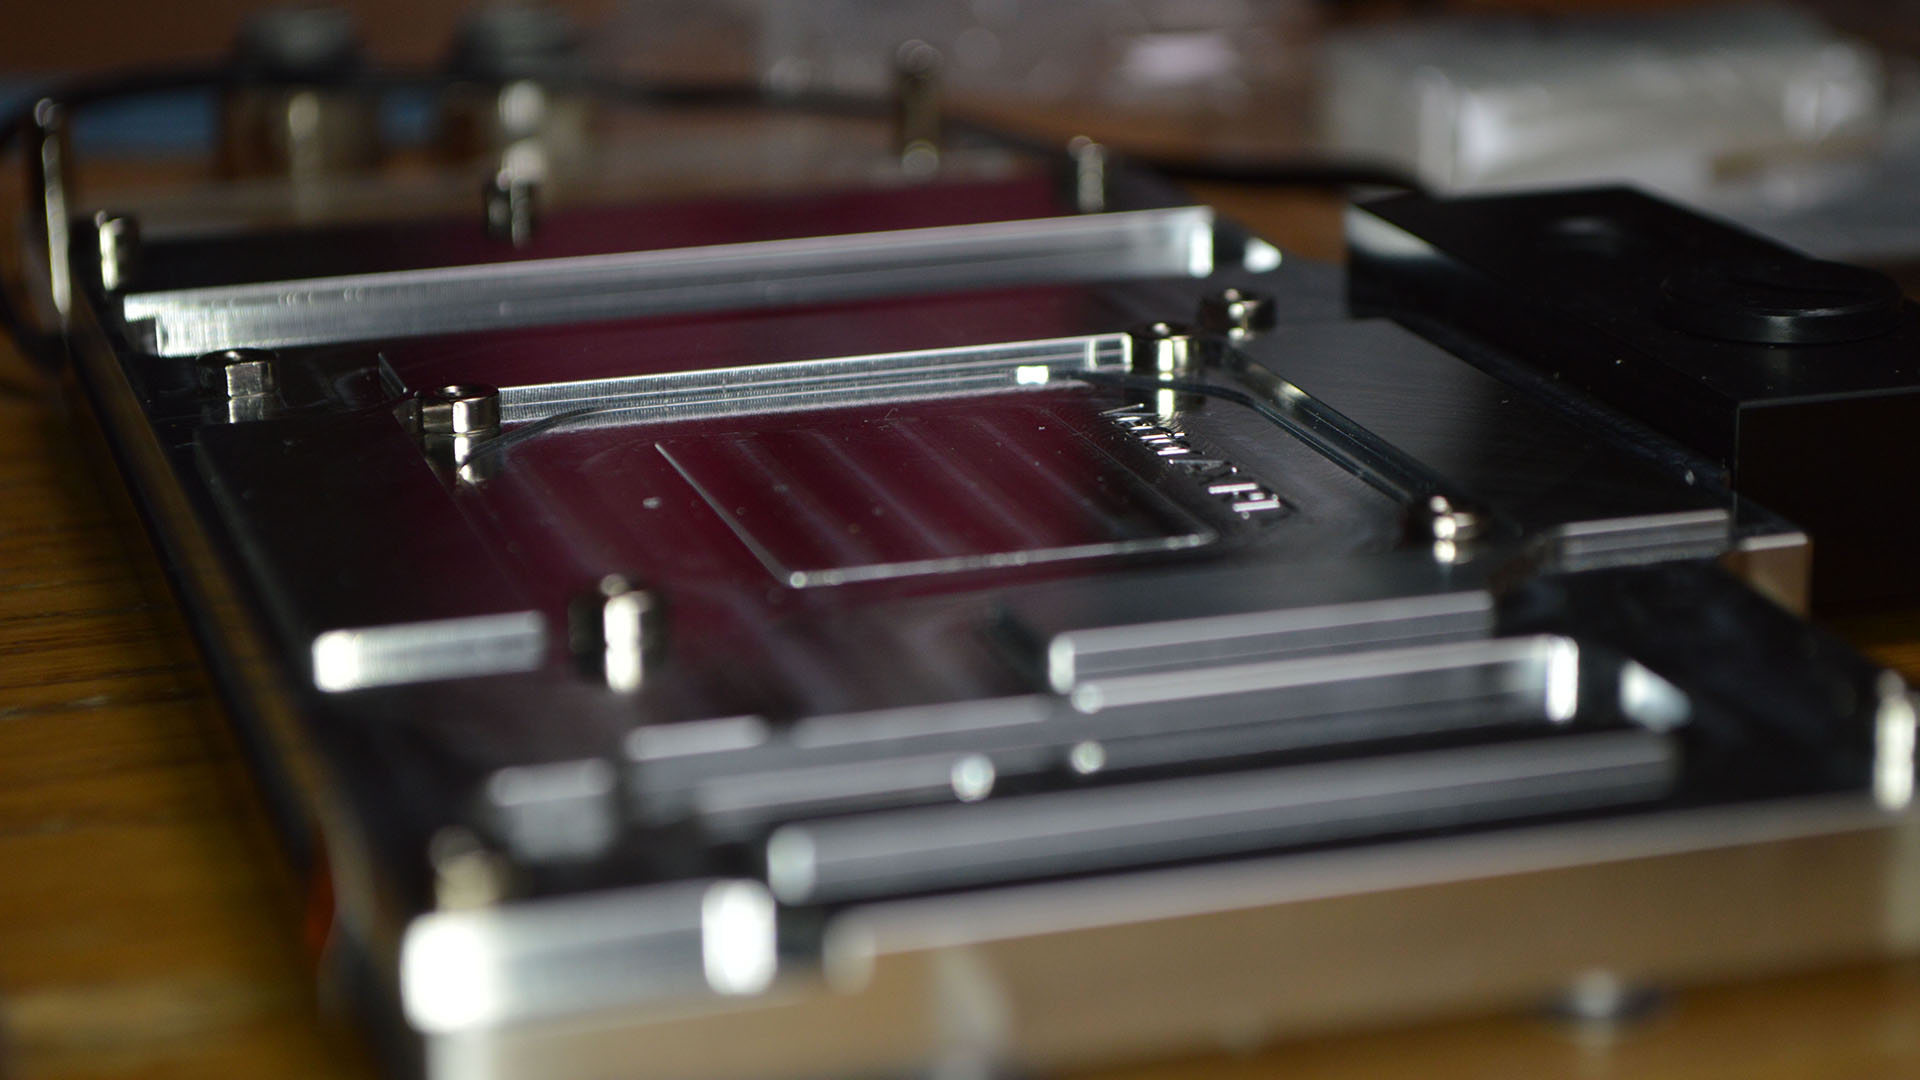
- EK D-RGB GPU Block (Nvidia RTX - full compatibility list here)
- D-RGB Distribution plate with Integrated SPC-60 pump
- Acrylic hard tubing
- Black and silver G1/4 compression fittings
- 3x 120mm D-RGB Fans
- 360mm radiator
- 3x EKWB Vardar RGB fans
- Saw
- Mitre box
- Sandpaper
- Fan splitter
- Pump and PSU jumpers
- Thermal paste
- Lian Li O11 Dynamic case
- GPU thermal pads
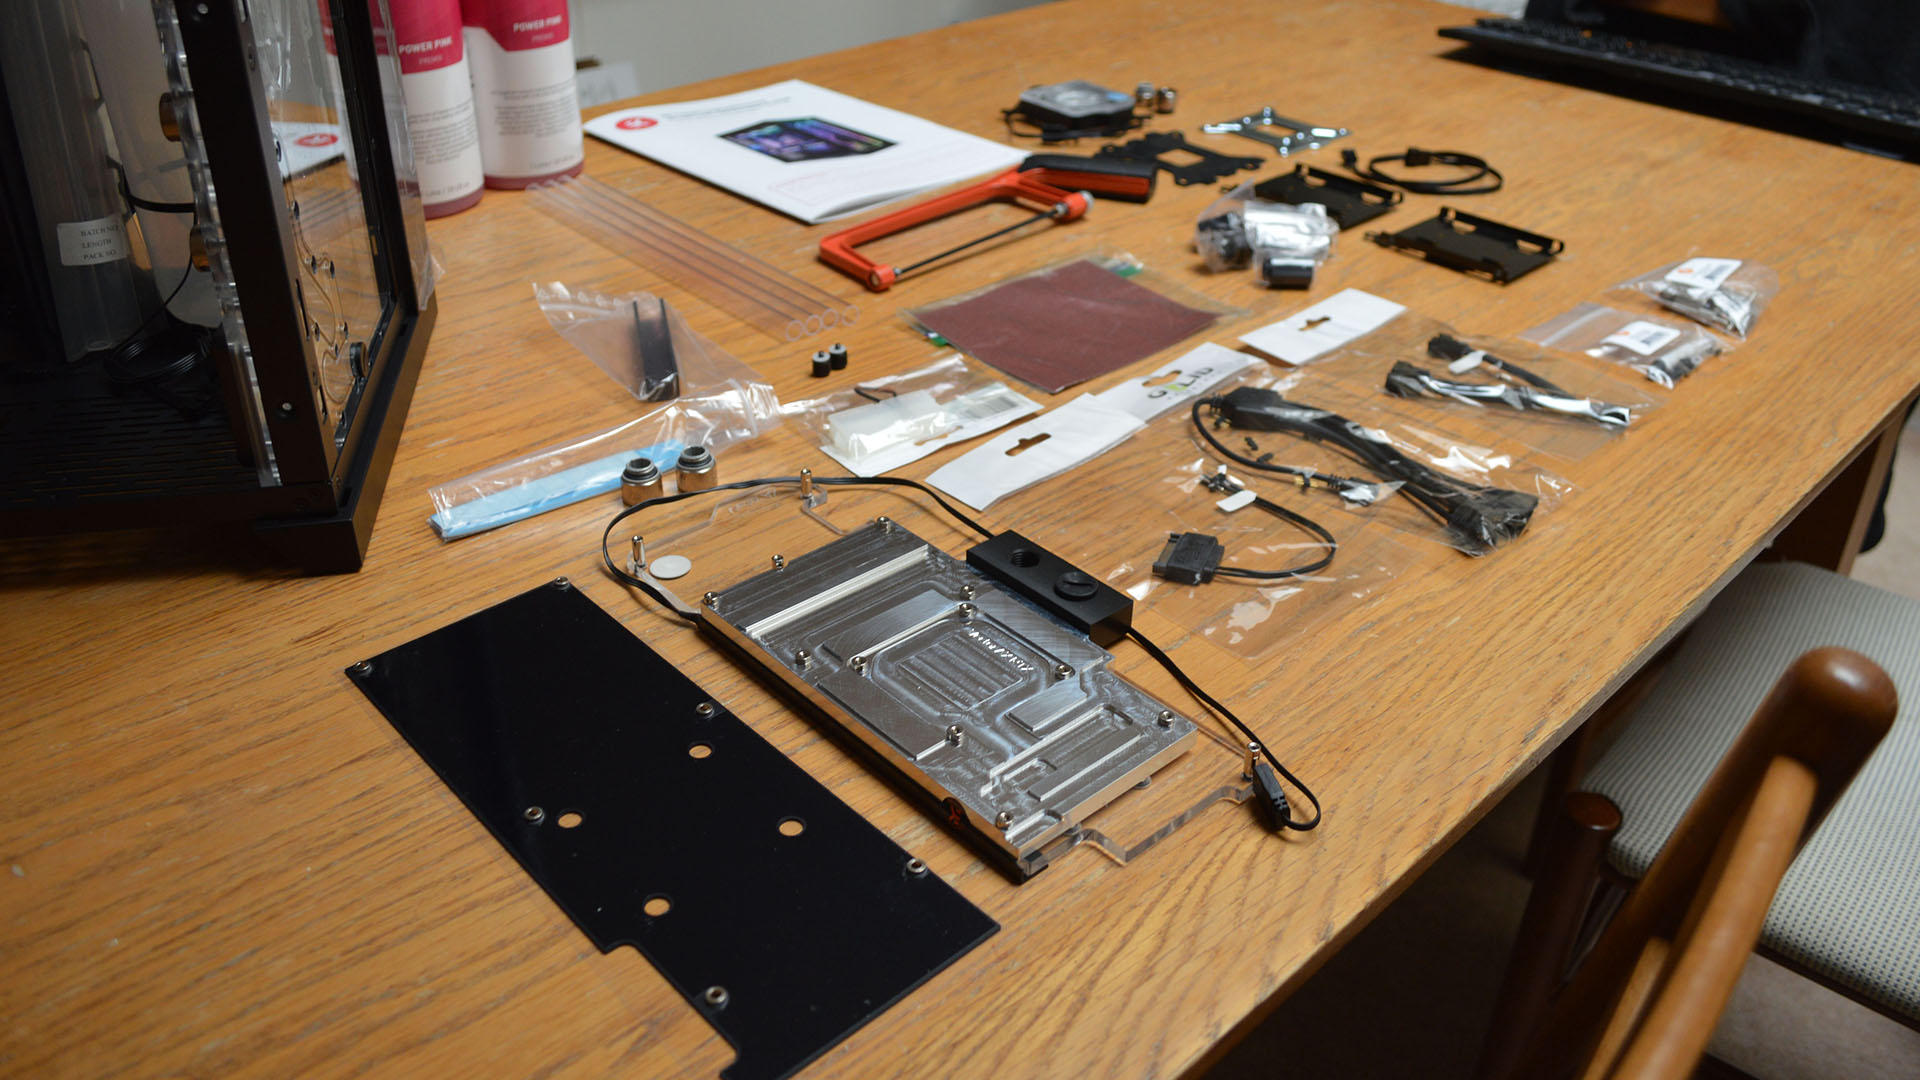
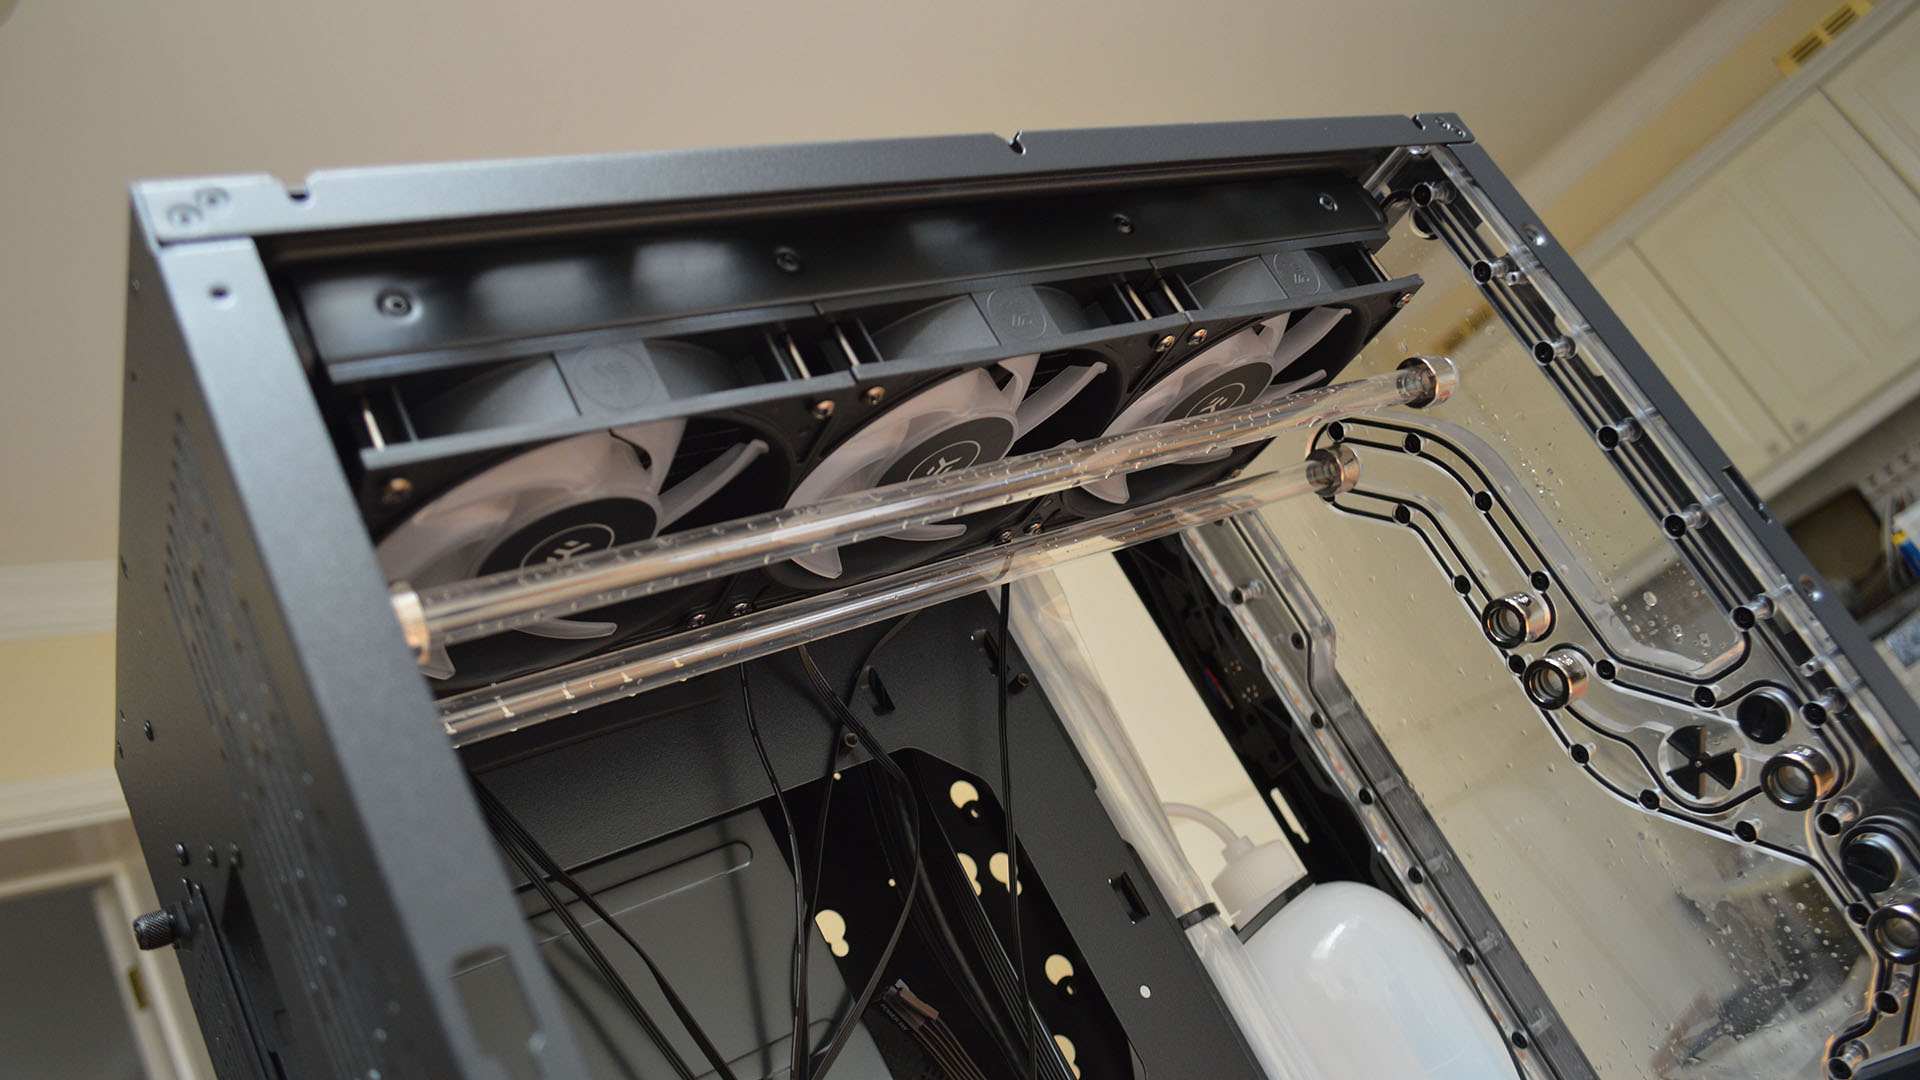
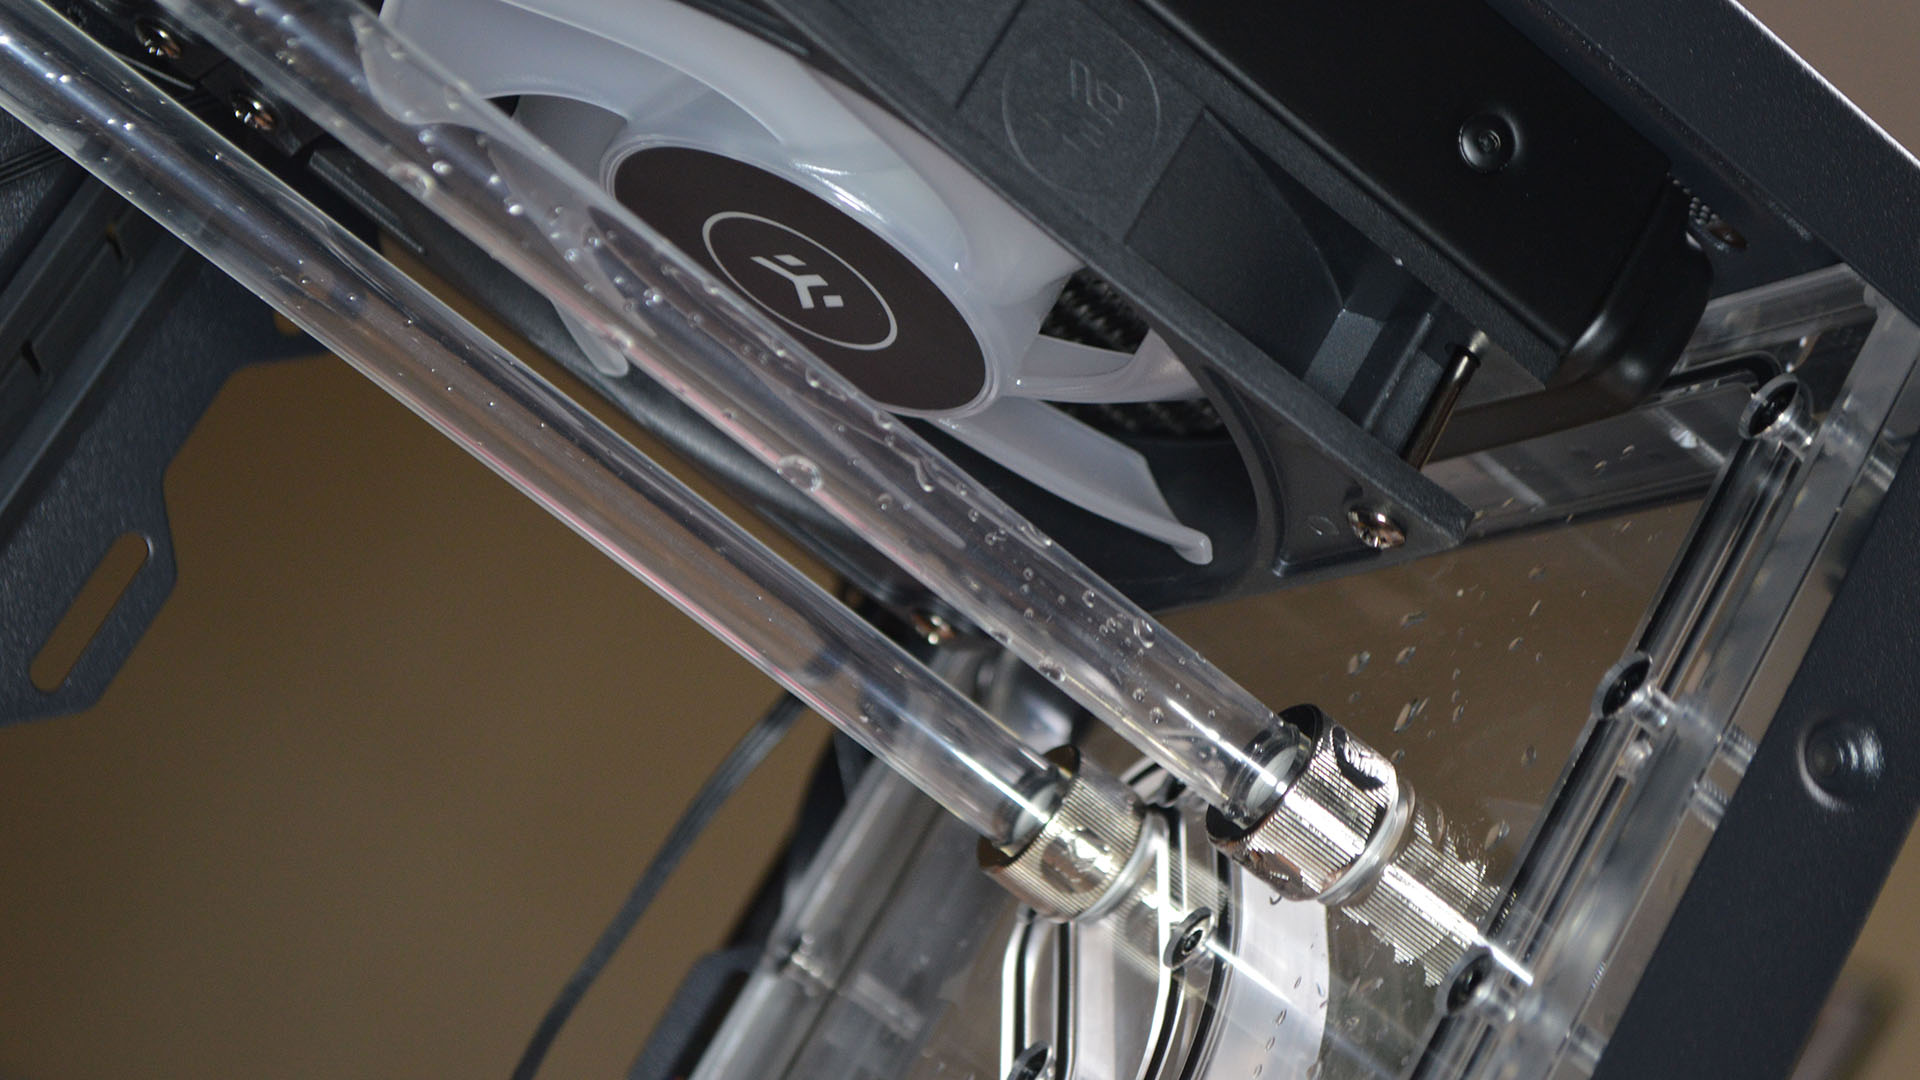
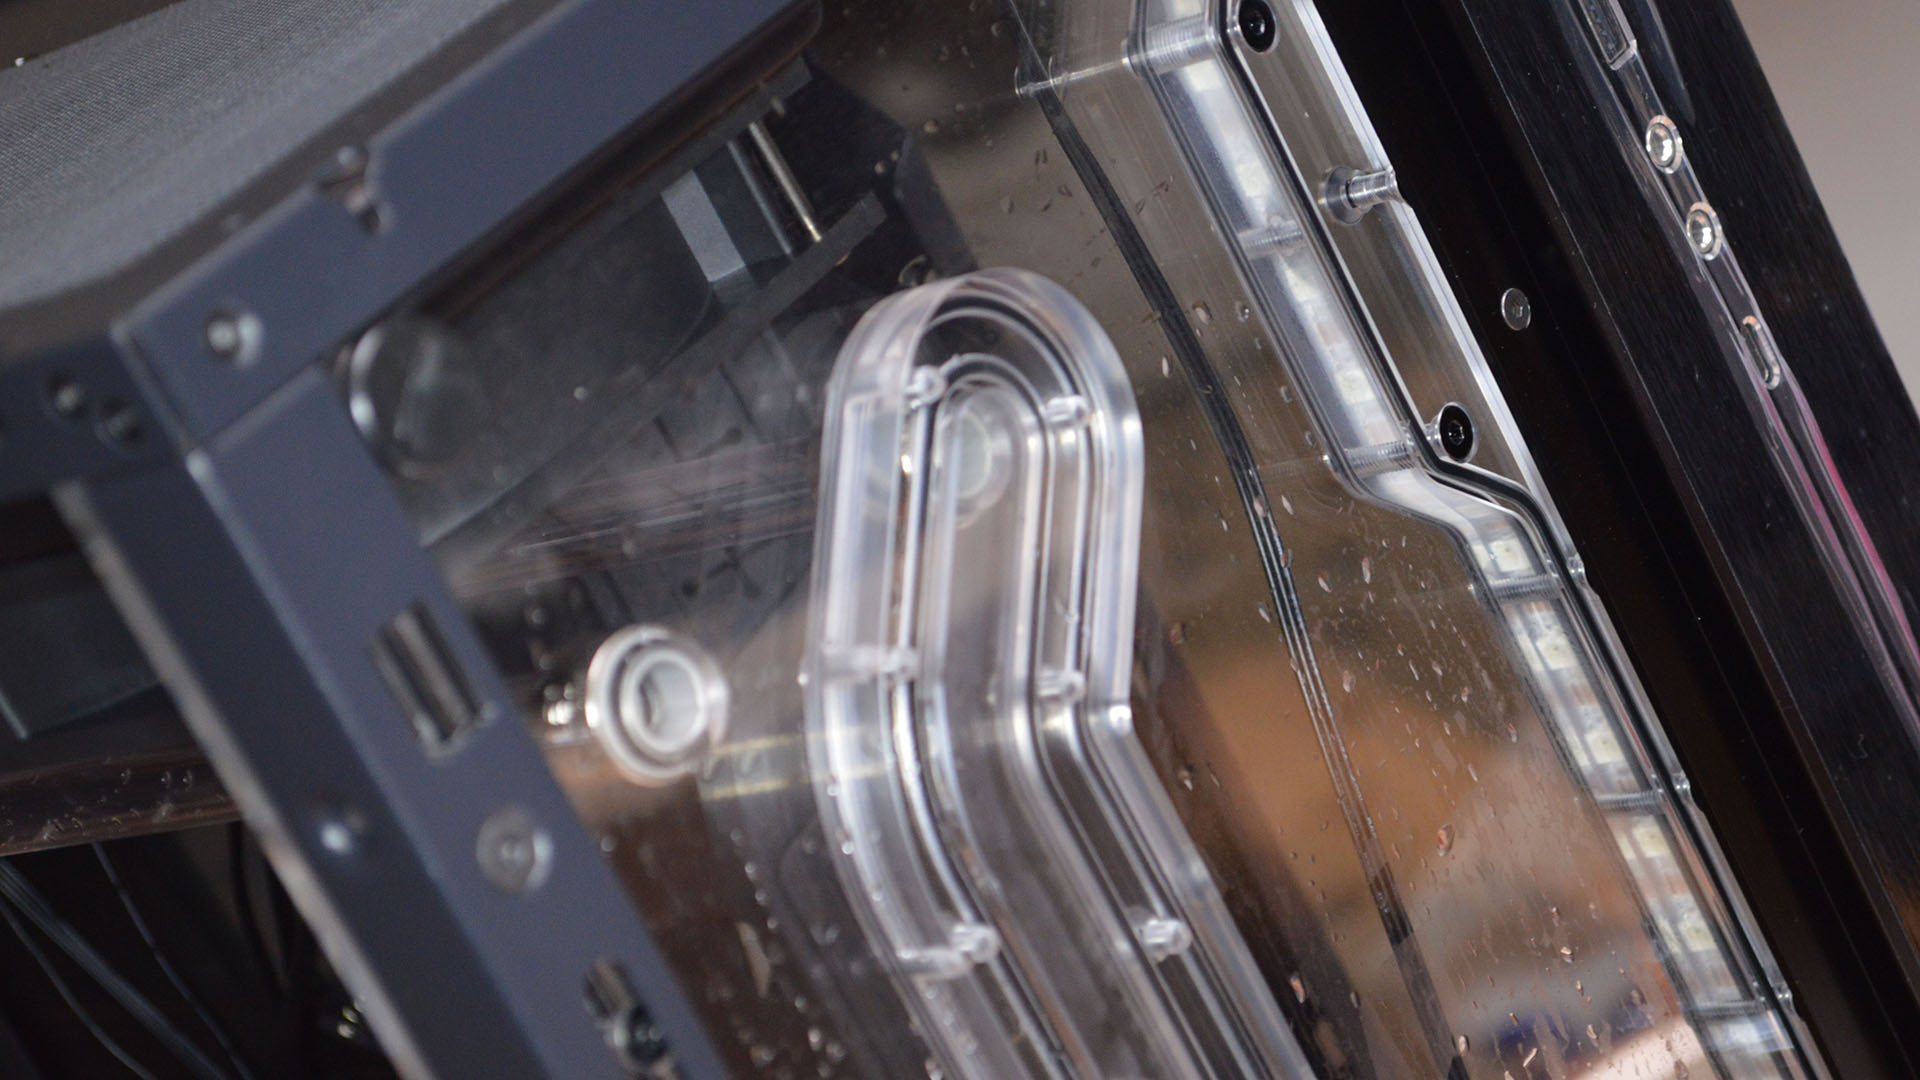
All you need to bring to the workbench is compatible PC hardware and coolant (pre-mixed fluid, preferably, as none is included with the kit). In lieu of office access, I had to grab what was at hand. My personal gaming PC is fit with an Intel Core i7 9700K and Nvidia RTX 2080 Founders Edition. Using my own personal parts for this build also meant the pressure was on—if I broke anything, it would be my own hardware that would pay the ultimate price.
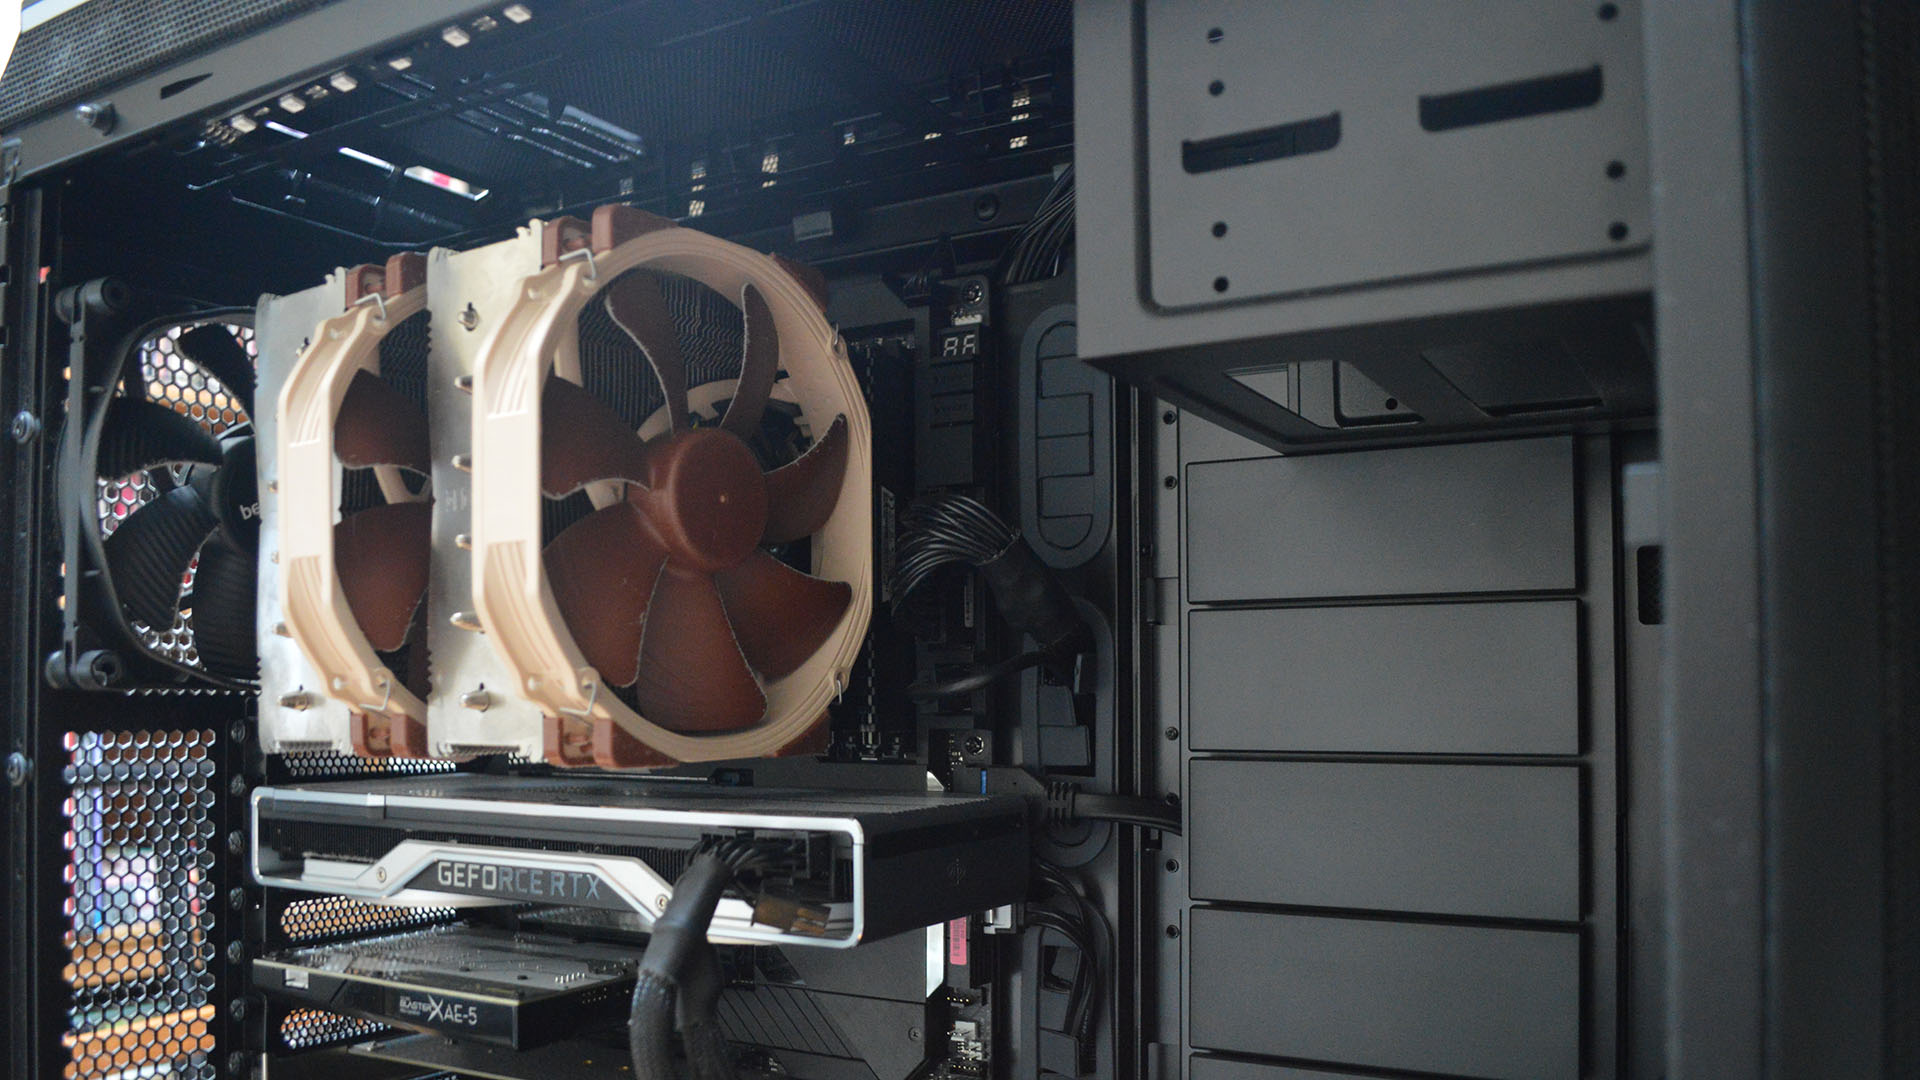
My old build wasn't exactly screaming for an update, I'll admit. My BeQuiet! case, capable twin-fan Founders Edition graphics card, and colossal Noctua D15 cooler kept everything running cool and quiet—these high-end components all made for stern competition for the finished loop, too.
But it's not everyday that you're offered the chance to sink some time into a custom loop on the clock, and I had been vying for a chance to do just that for the past two and a half years.
Building a custom liquid-cooled gaming PC
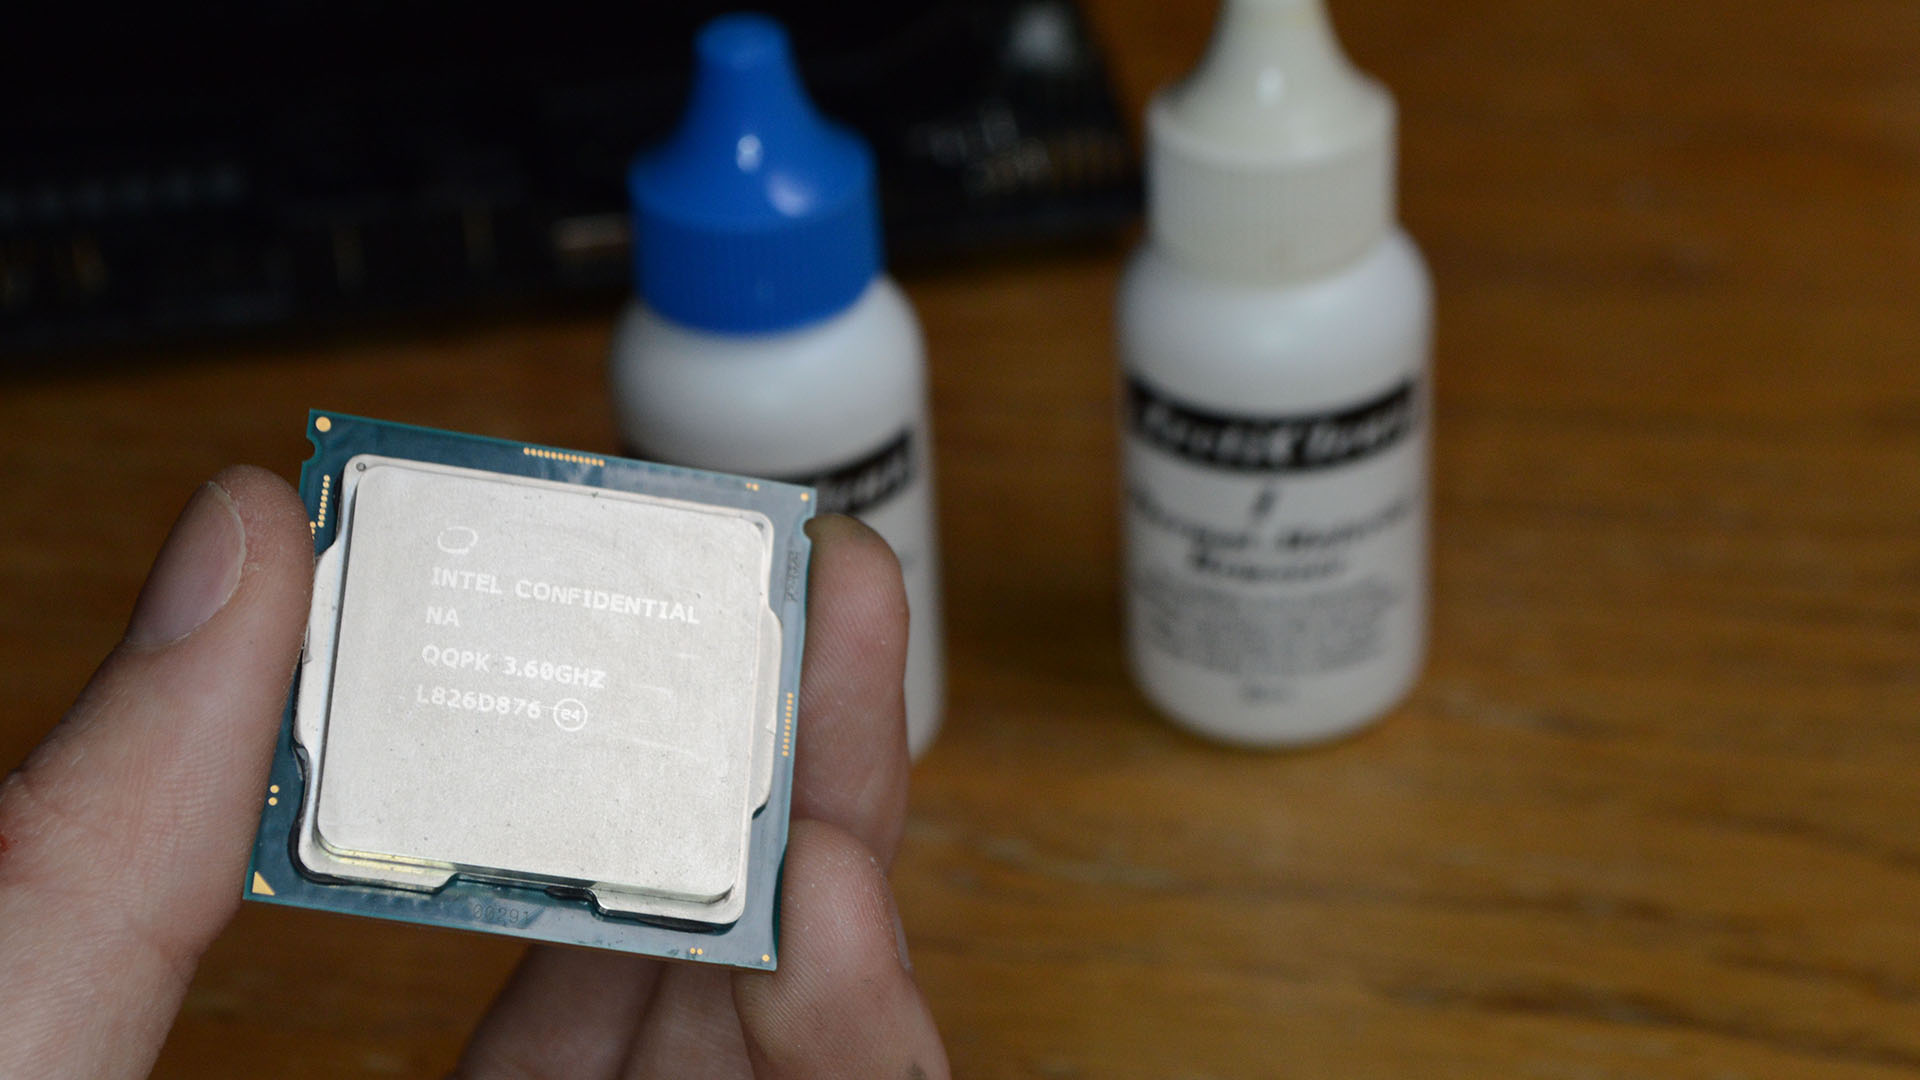
After dismantling my existing gaming PC, it was time to prep my components for a liquid lifestyle. To ensure a clean application (but mostly for my own peace of mind) I cracked out the Arcticlean thermal grease remover and got to work. It makes quick work of just about any thermal paste going, and my CPU was spick-and-span sharpish.
Following that, it was time to load up my motherboard and start the process of building into the Lian-Li O11. It's a relatively simple case layout, with a gratuitous access and copious cable tidy grommets. The side and front panels simply slide out once the top panel's been removed. Only two thumbscrews in and the whole case falls away, essentially.
My motherboard of choice for this build is the rather excessive Asus ROG Maximus XI Formula Z390, which is fitted with the EKWB Crosschill EK III VRM block. A dedicated VRM cooling block is not a requirement for a custom-loop PC, not by any means, and in fact this included water block brings us onto one very important aspect of open-loop building: choice of metal.
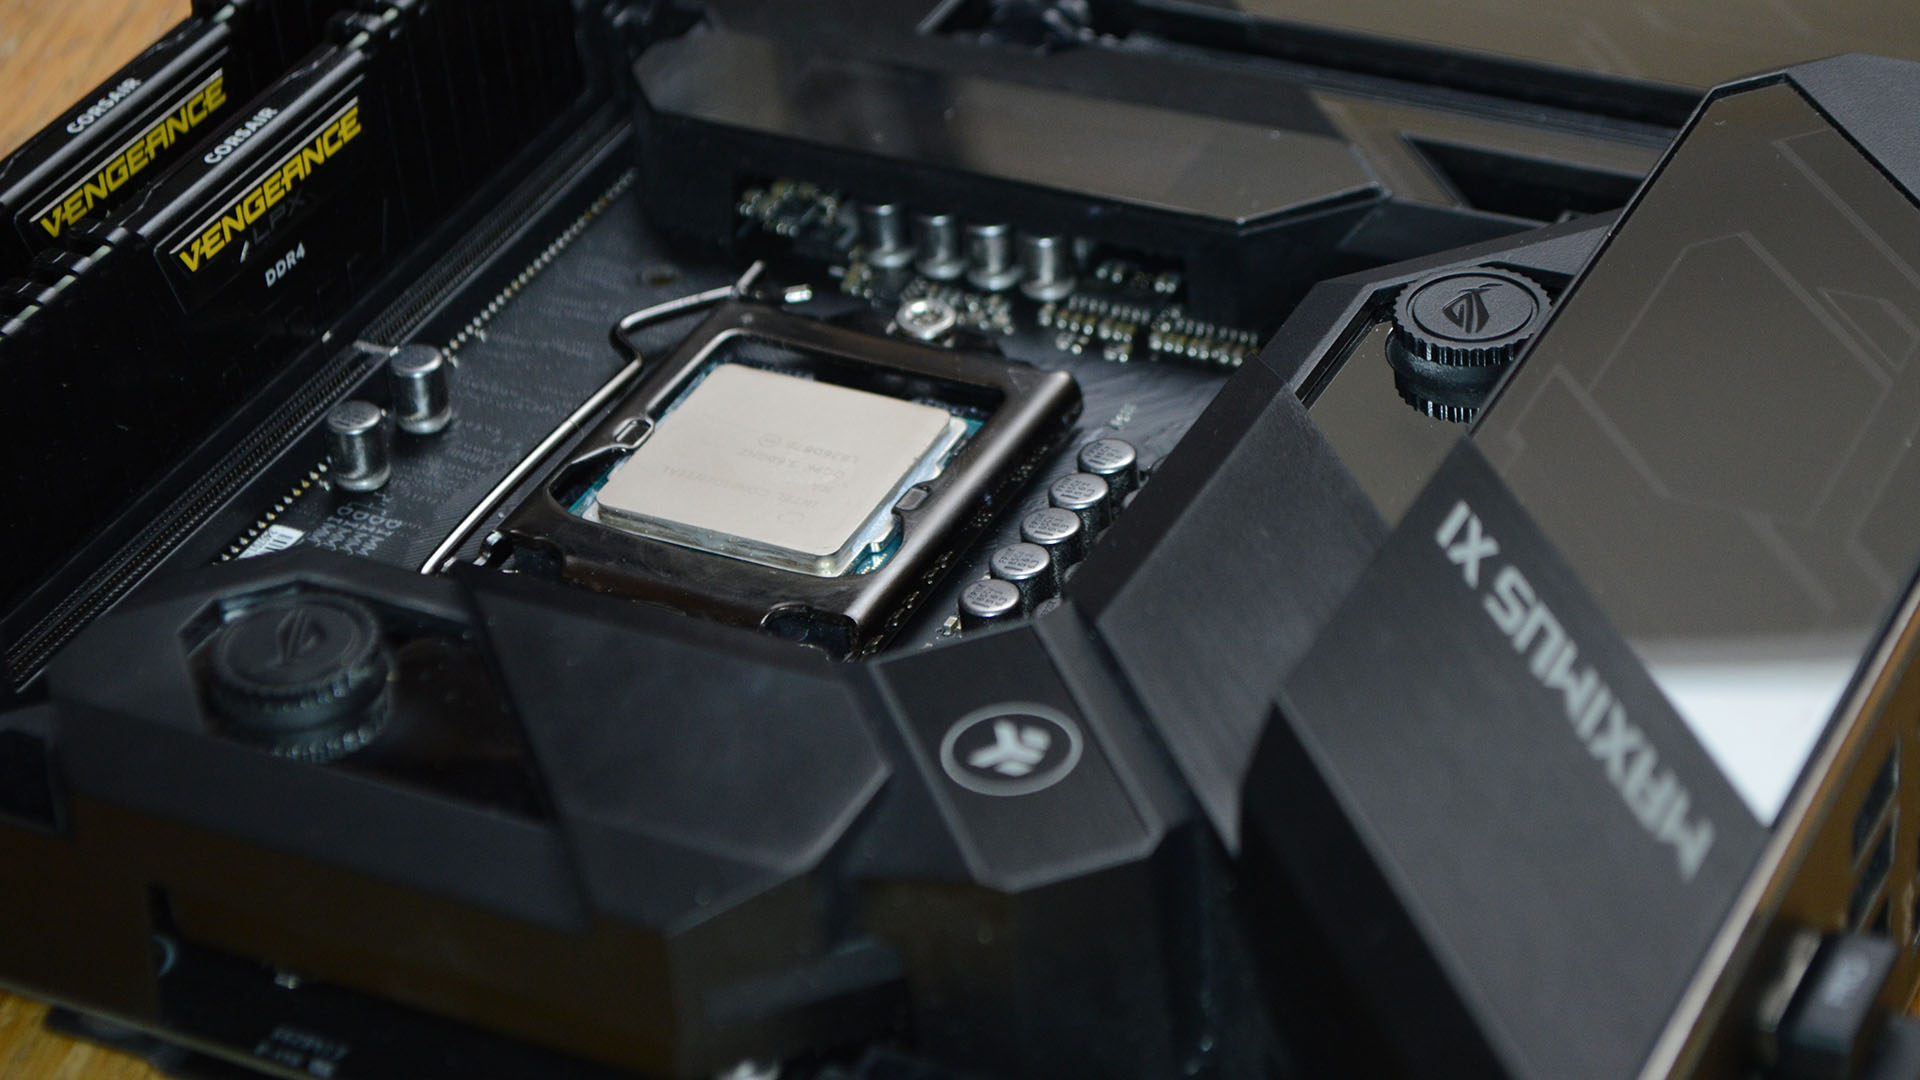
Despite having a compatible block already built-in to my motherboard, and just begging to be connected up, if I were to do so I'd break the whole damn thing. The EK III VRM block is made of copper. Every component included with the EKWB kit is manufactured out of aluminium. These metals cannot be mixed—'try telling Linkin Park that', my housemate responds.
If I were to mix my metals, the less noble of the two, in this case the aluminium, would slowly but surely dissolve and wear away due to the water flowing through it and the copper components. Eventually, the corrosion would render my entire rig useless.
Copper, and nickel-plated copper, are common across water blocks, and are favoured for their exceptional thermal performance. These don't come cheap, however, and that's why EK has settled for aluminium for its Fluid Gaming lineup—it's the more budget-oriented product line, after all. It still promises decent thermal performance nonetheless.
Onward with the (hopefully) corrosion-free build!
With the CPU slotted into place and the motherboard secured, it was time to fit the CPU water block sans tubing or fittings. The installation process is a simple one, not unlike the best all-in-one coolers available today, albeit a little more heavy-duty than most. Simply fit the rear rubber layer to the rear of the mobo, hold firm the metal backplate atop of that, and secure with some lengthy bolts through the mobo on the front-facing side. The instruction manual recommends proceeding with this whole process before you install the motherboard, but to hell with it—it works.
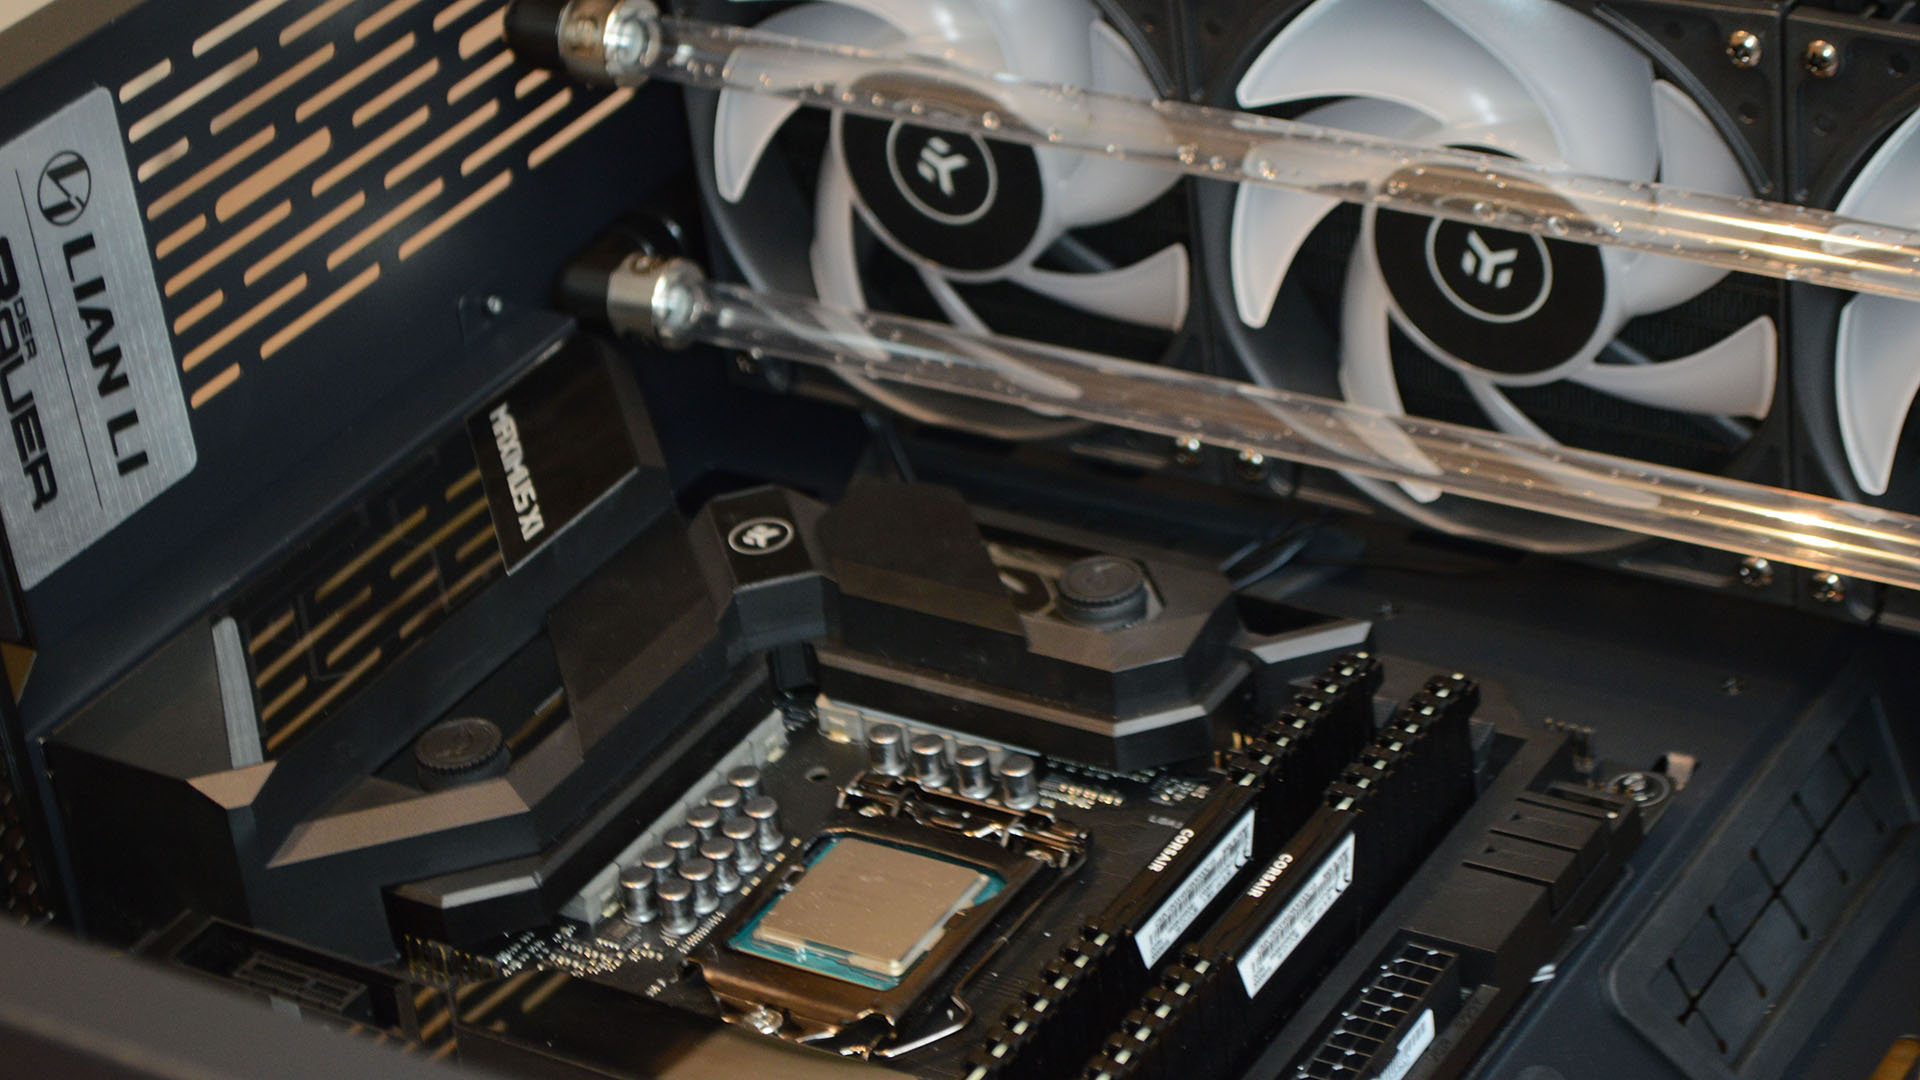
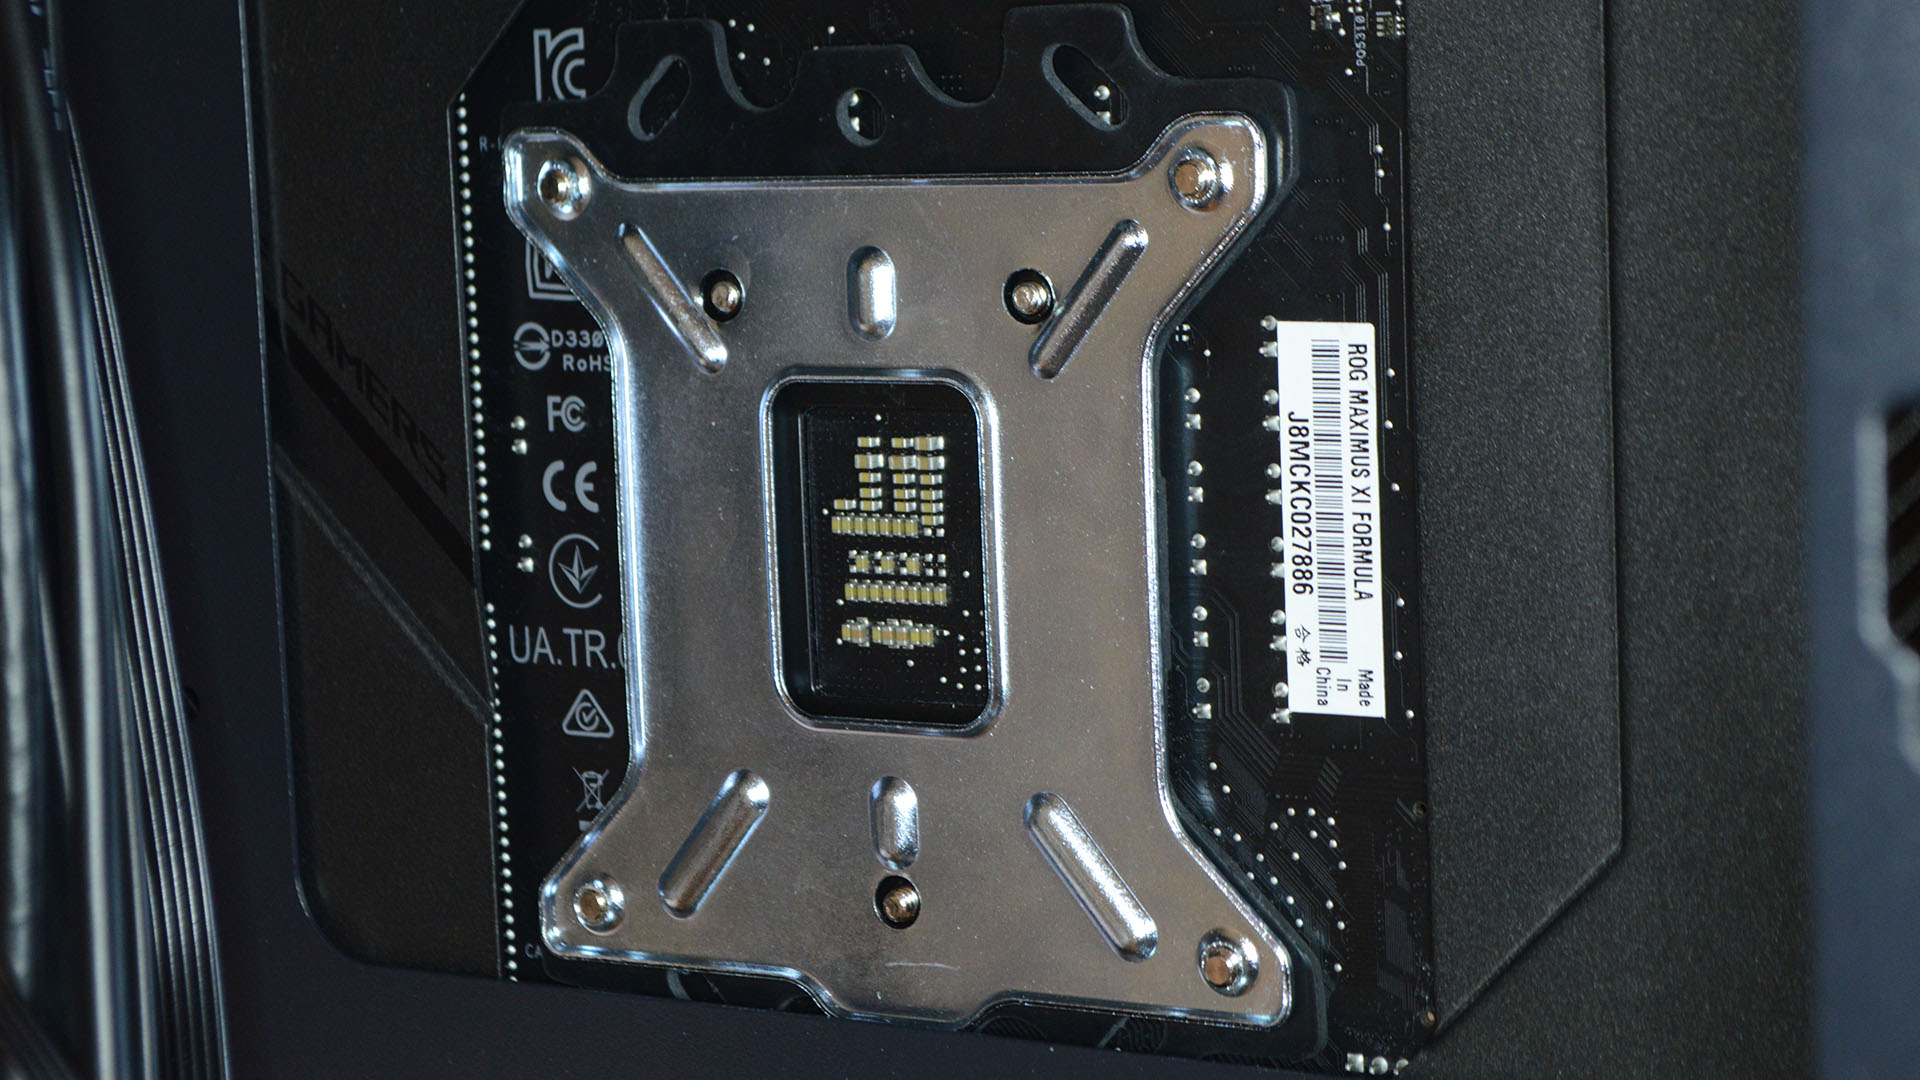
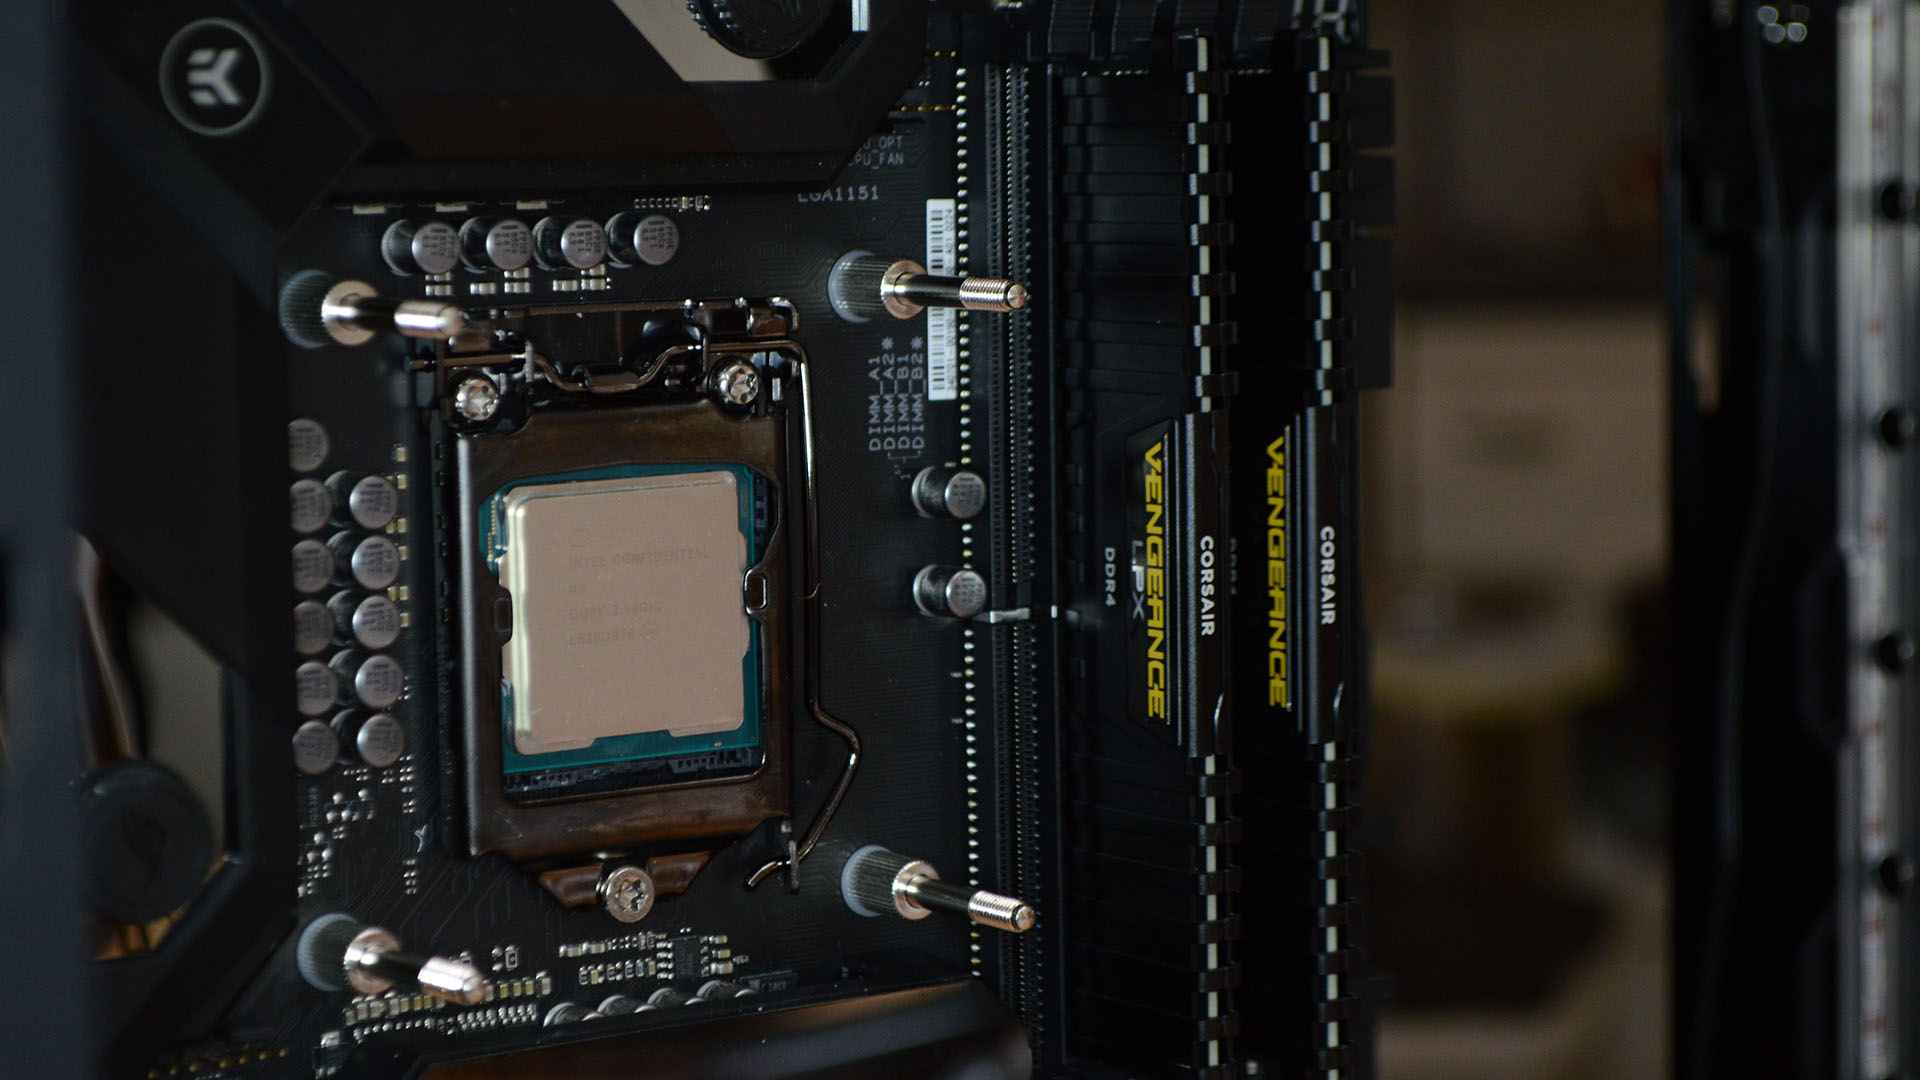
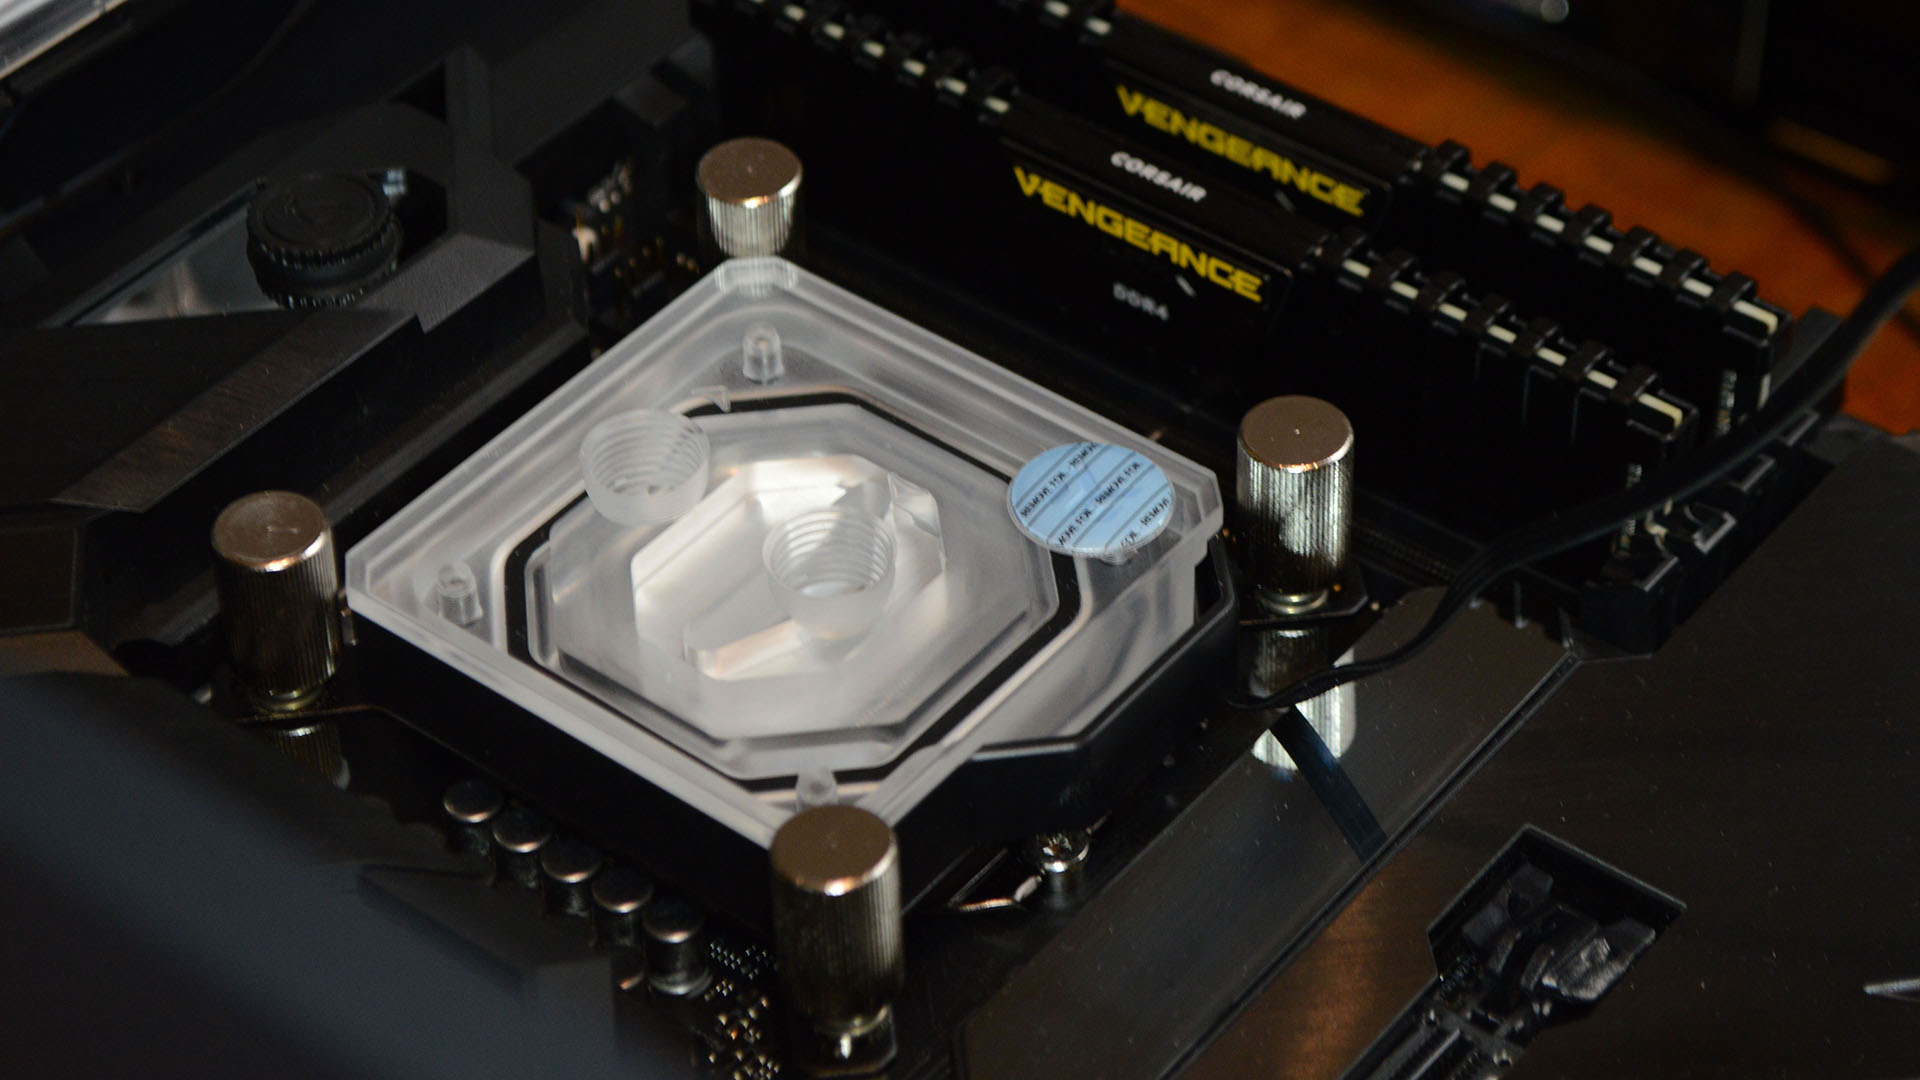
Once fitted, you can apply a decent serving of the included thermal paste to the CPU heat spreader, slot the cooler on top, and then tighten the included screws to secure it in place.
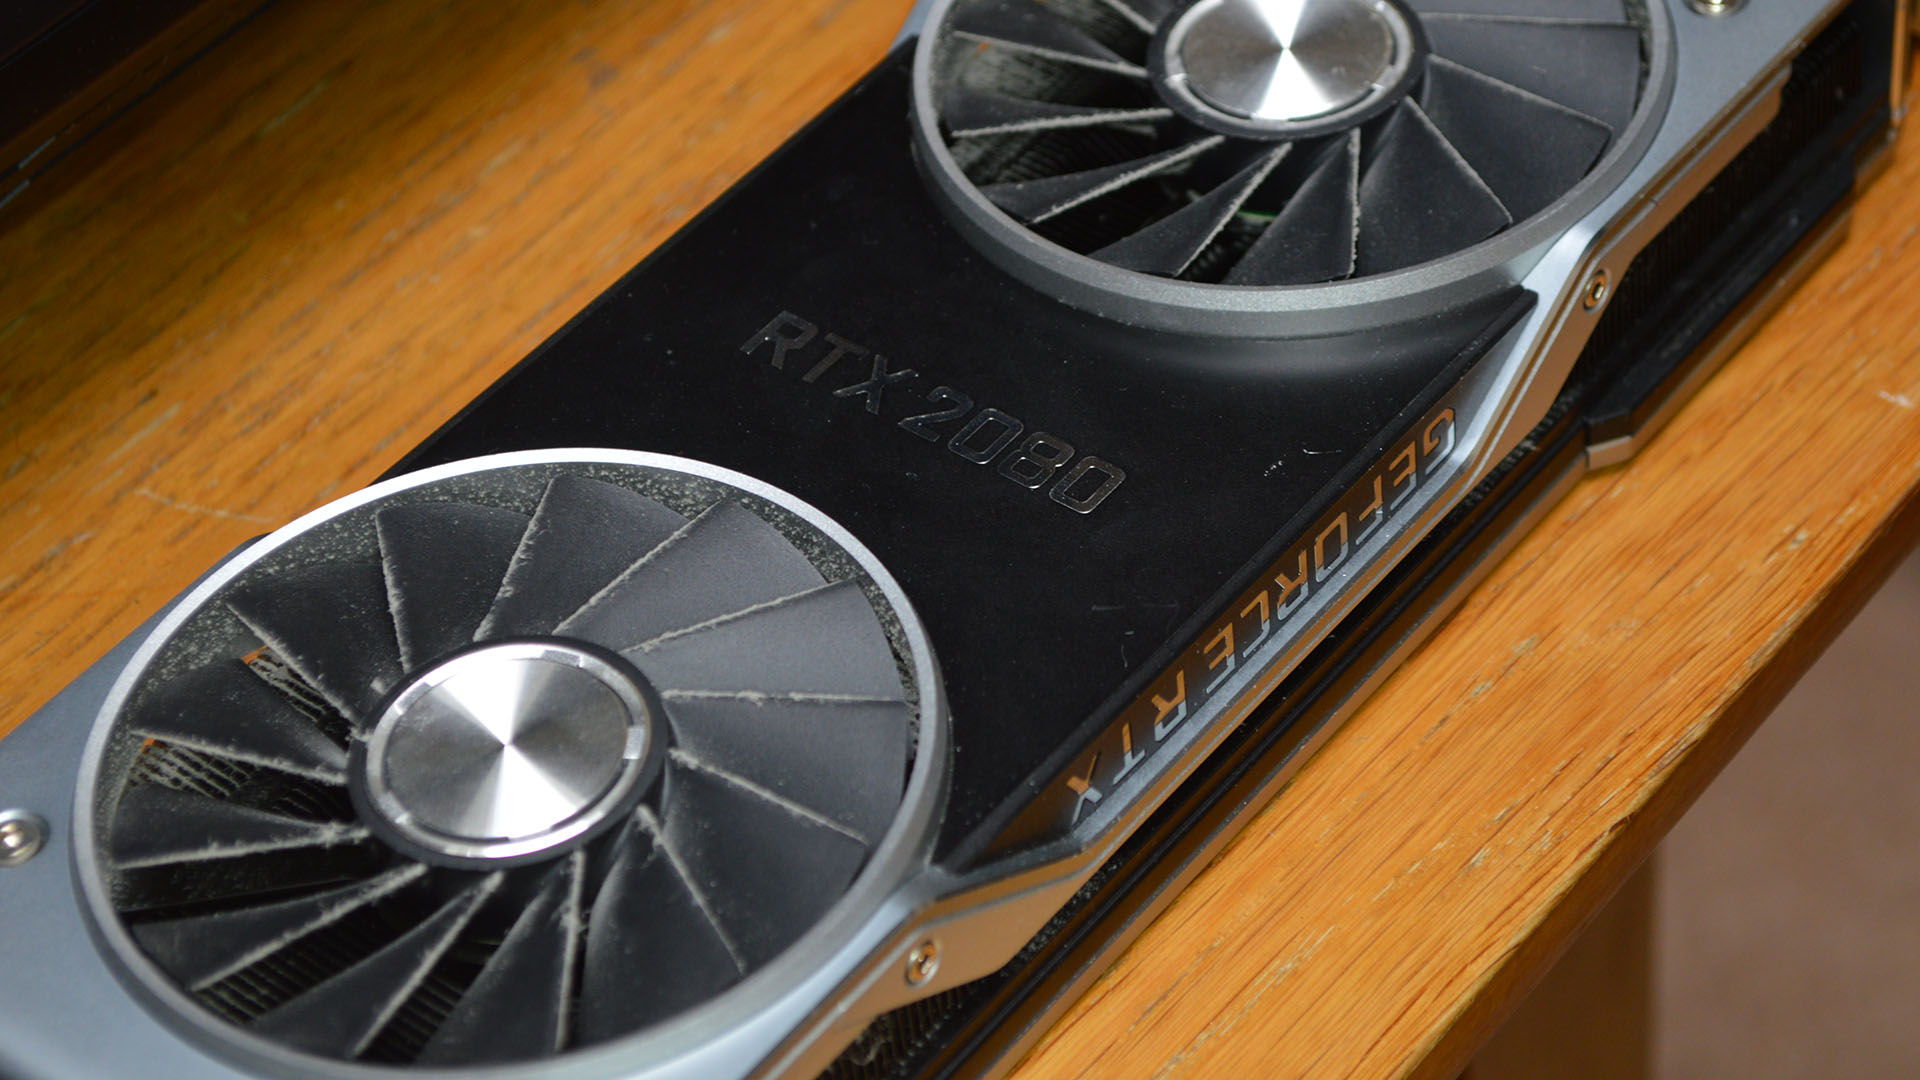
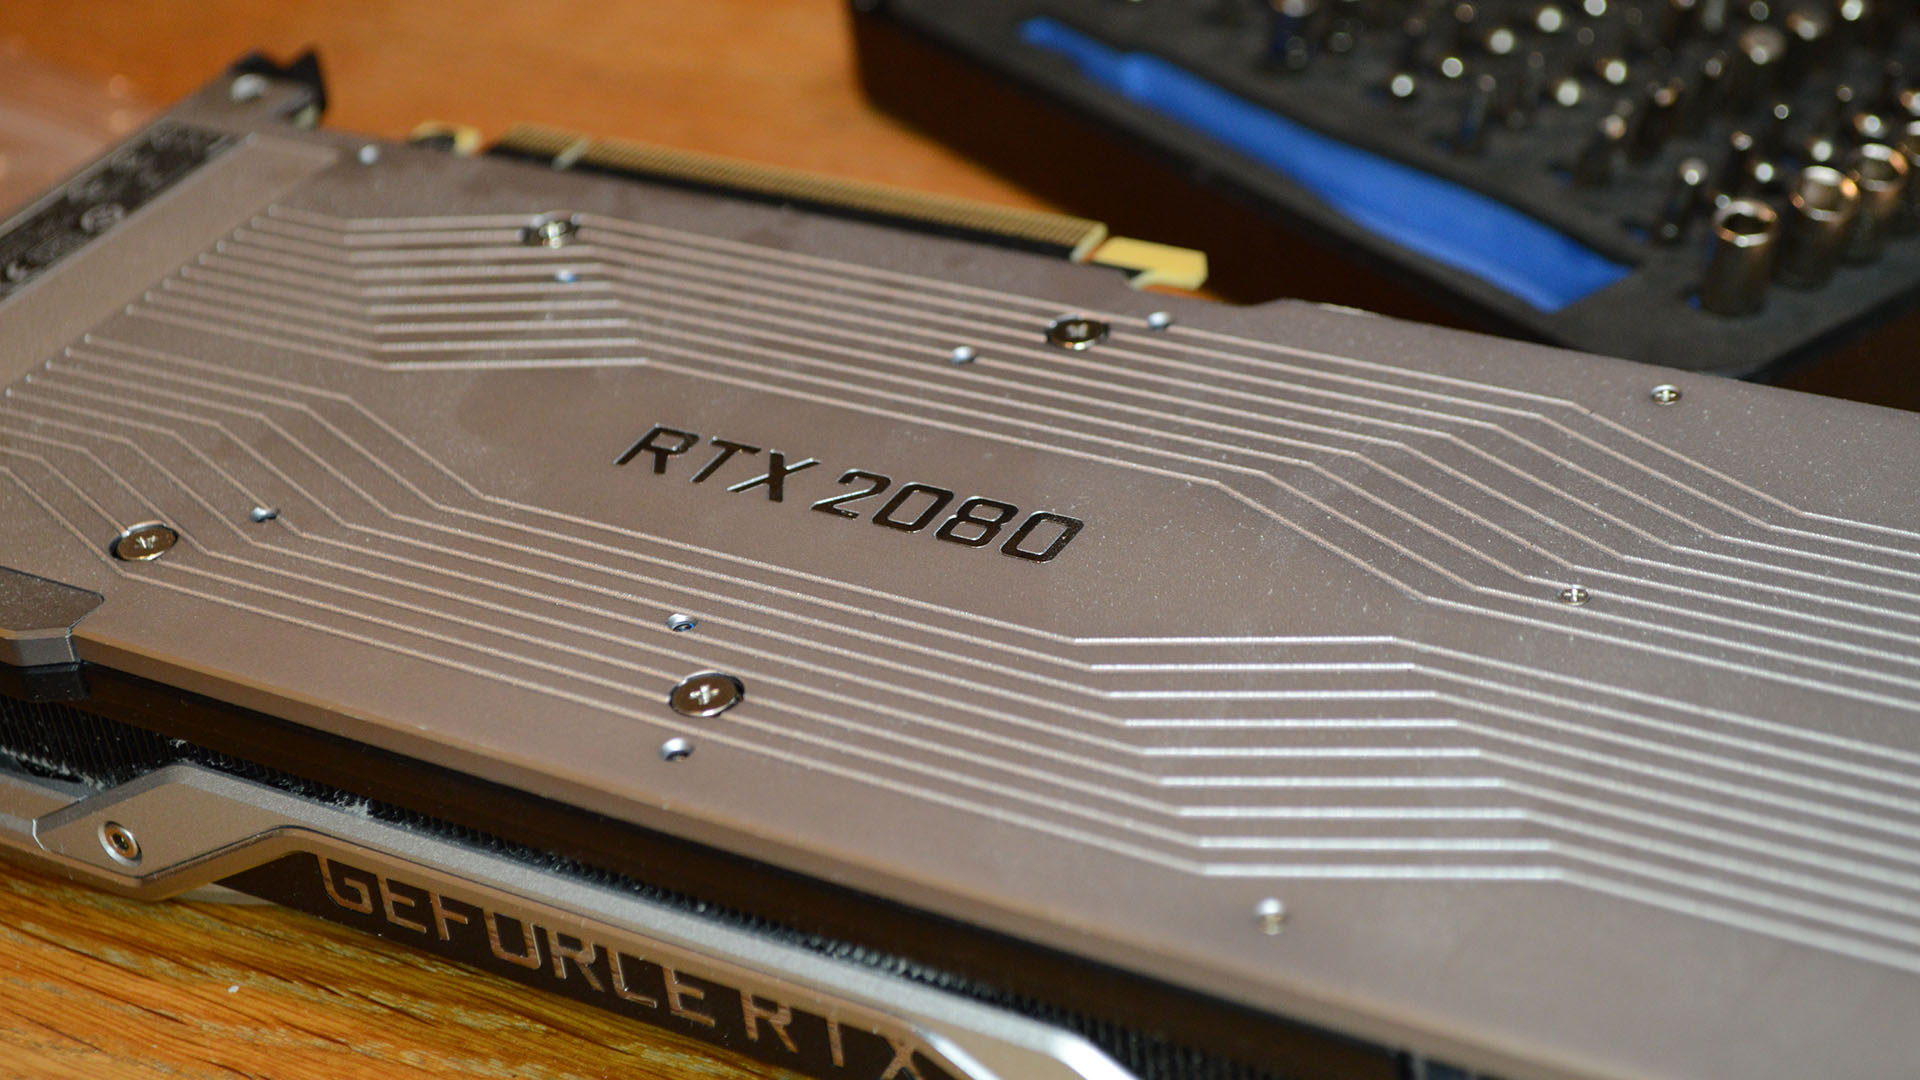
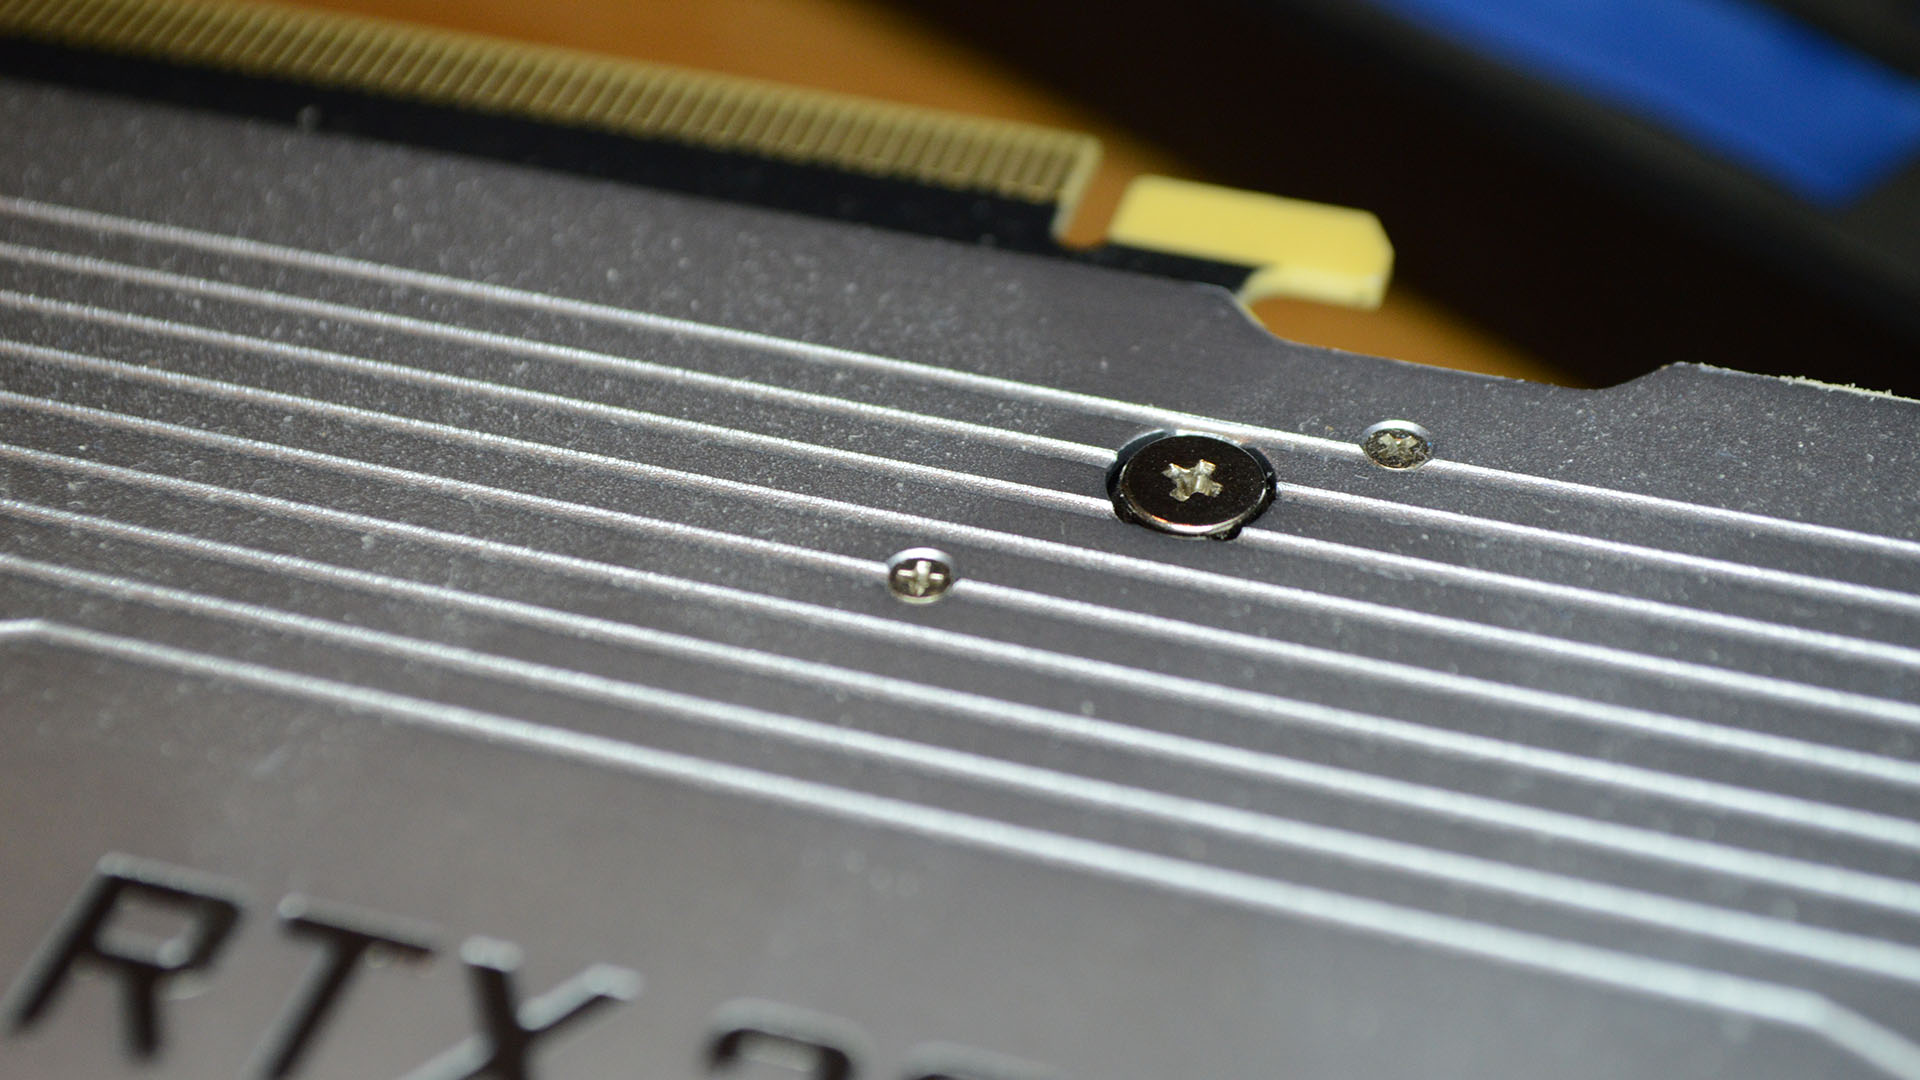
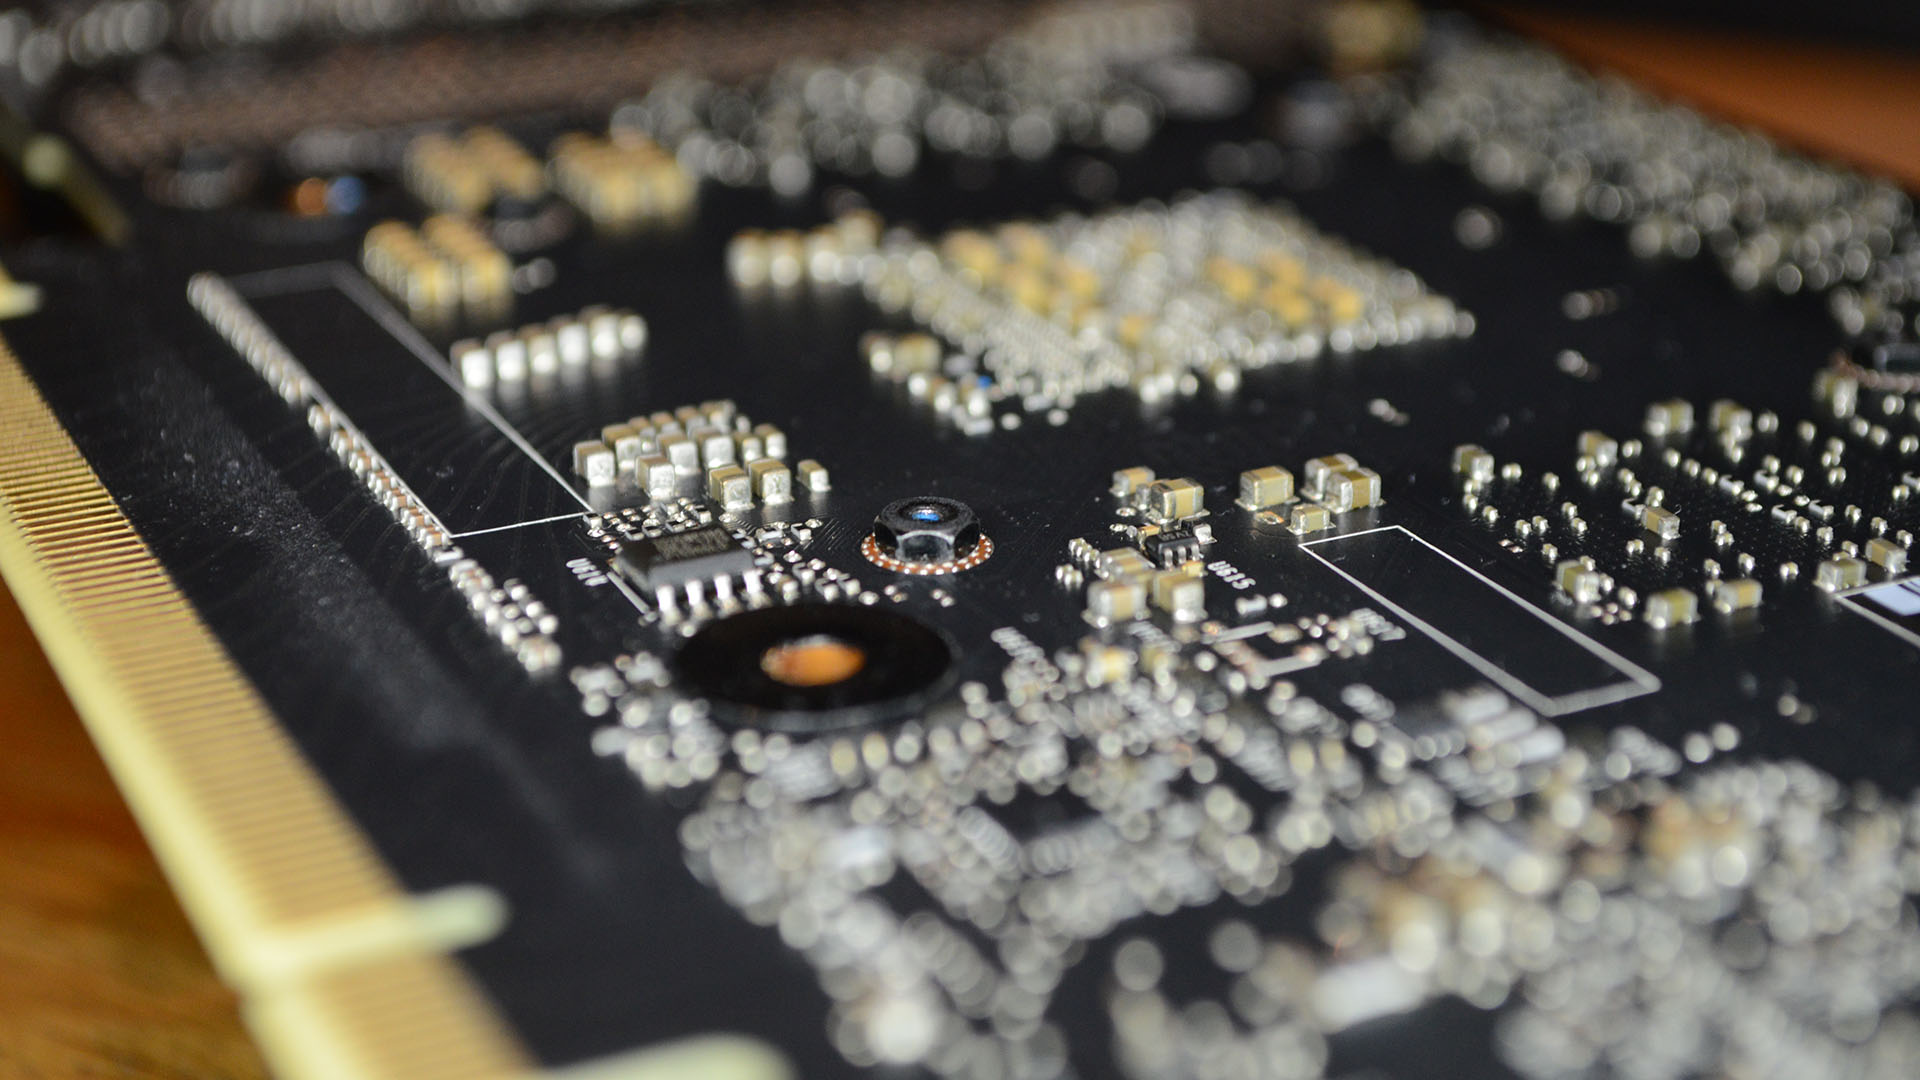
From there it's straight onto dismantling the graphics card. And what a mammoth task that is. I had no idea how many screws I would have to remove in order to take apart an Nvidia RTX 2080 Founders Edition. I naively thought this to be the easiest job of the lot (and the most dangerous; GPU dies are fragile) but it turned out to be just the most arduous and time-consuming.
Even the screw holes on an RTX 2080 have screw holes.
Everything is a screw, and those screws unscrew from screw holes that are themselves screws. My housemates asked me how I was getting along and I felt like I was losing my mind trying to explain it to them. You'll need a selection of cross-head screwdriver tips to get them all out, and a nut driver, too.
Thankfully, I came prepared with an iFixit kit I've been using for a couple of years now, and that had all the necessary bits to get the job done.
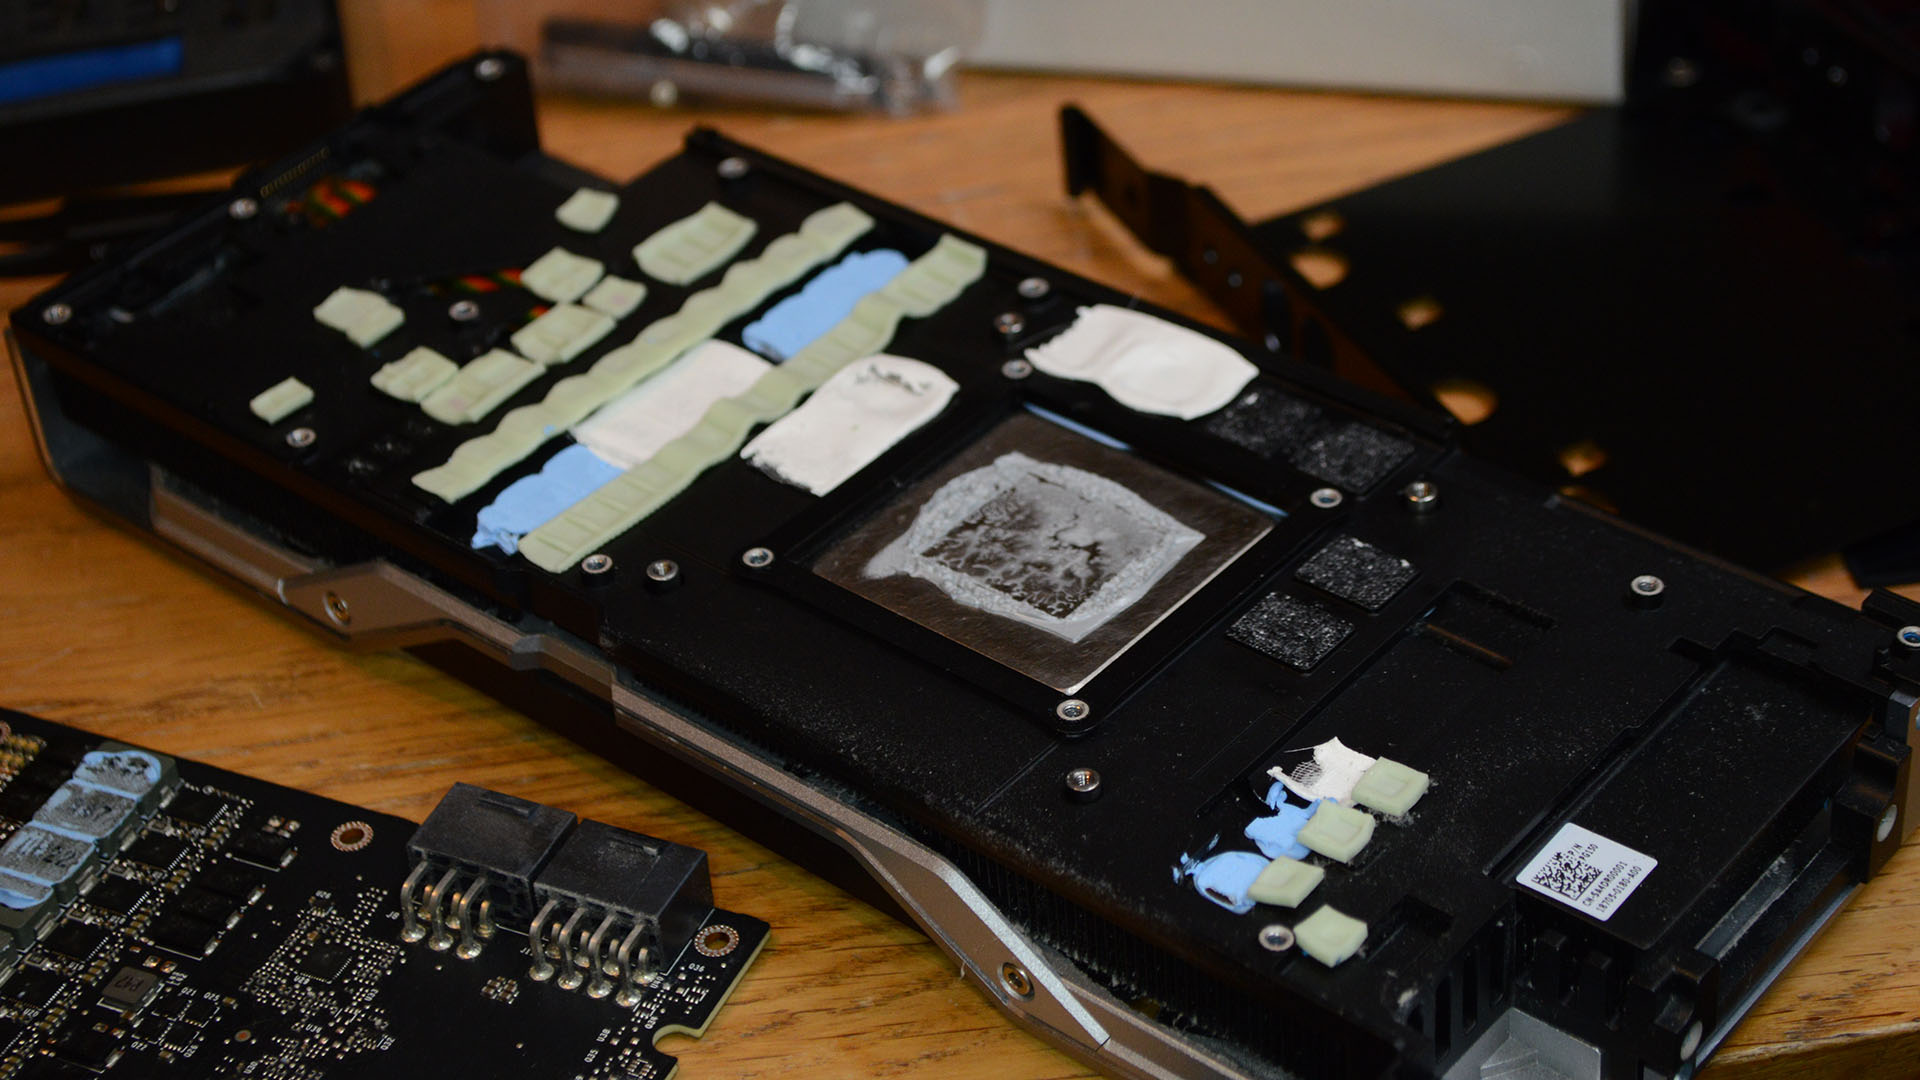
I'll admit I felt a little bad removing the Founders Edition shroud, too. It's a fantastic cooler, and its twin-fan design is a huge improvement on the old radial blowers of days gone. Of all the 20-series graphics cards I've tested since their release, the Founders Edition remains my favourite. Now it's in pieces sat in a box in my garage.
There's something about this weighty hunk of aluminium and acrylic that speaks to me on a more nerdy level than any other piece of PC hardware
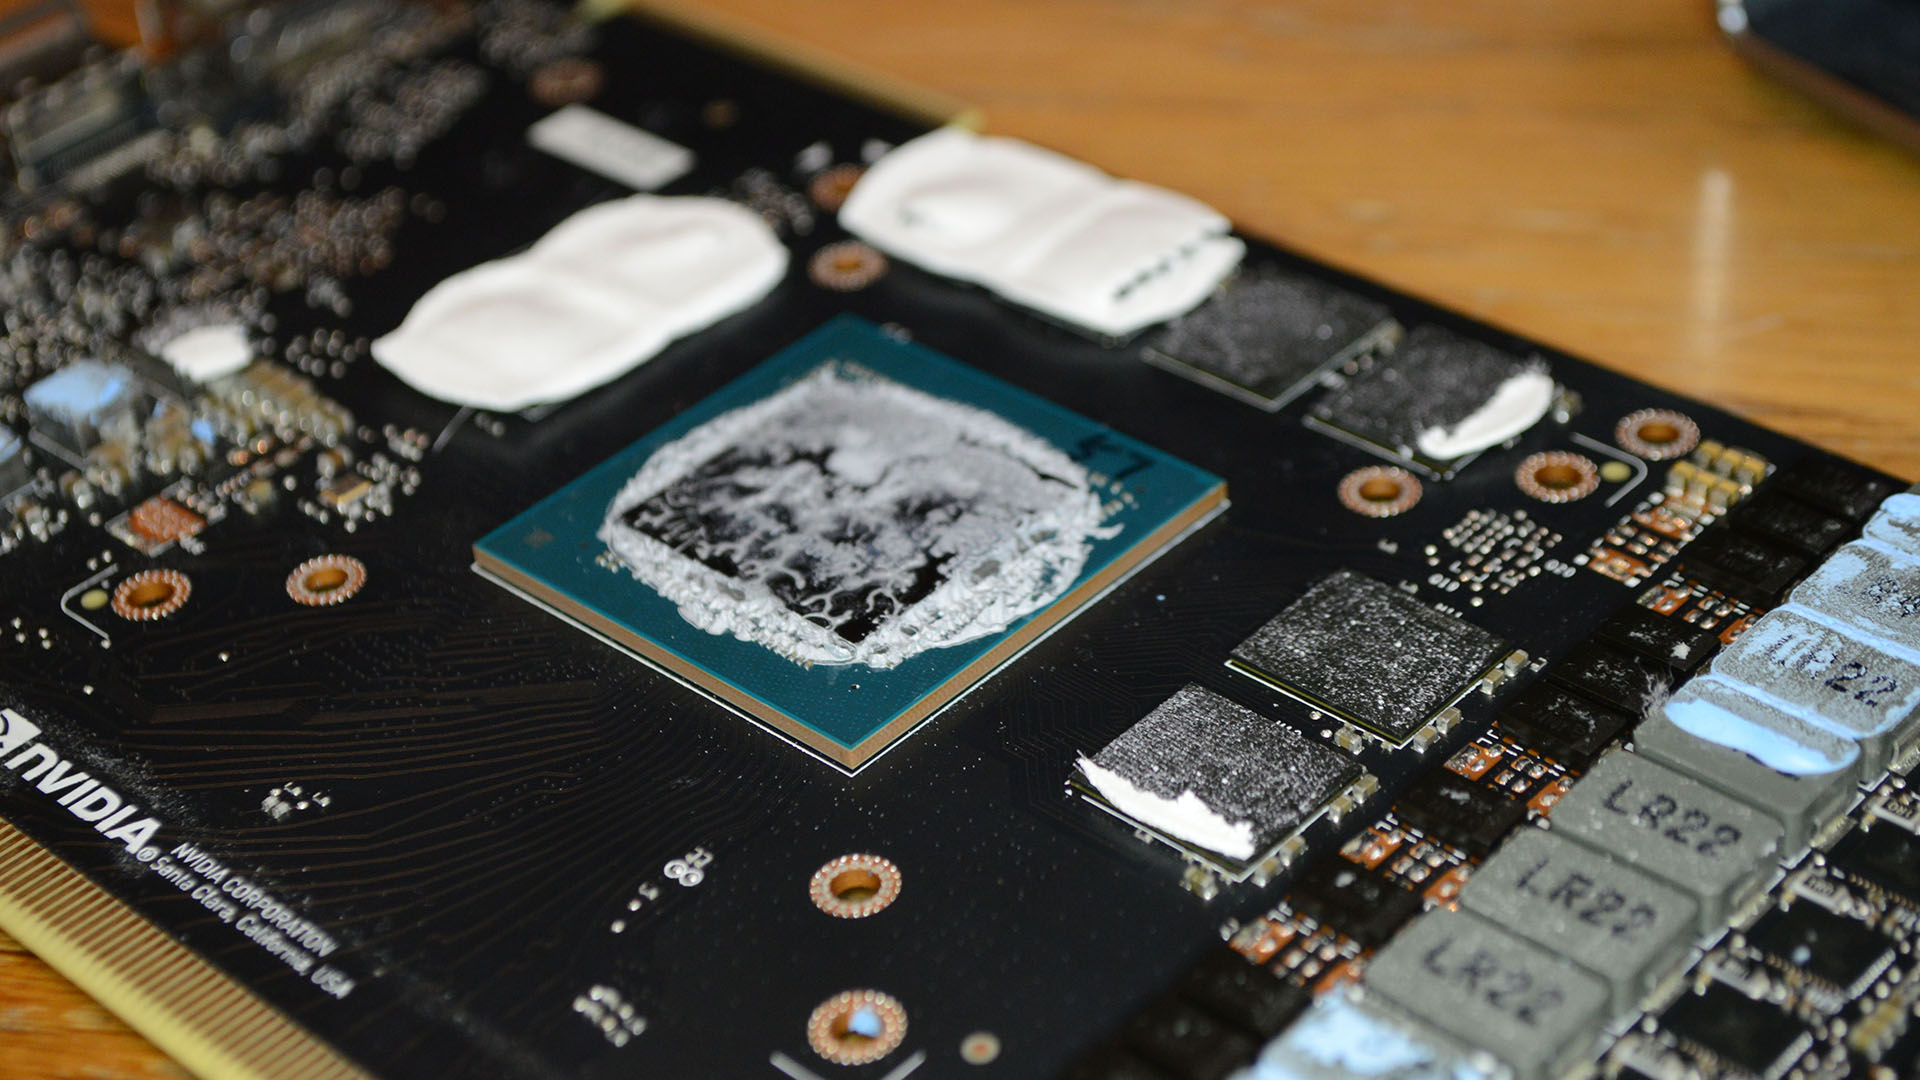
With the shroud in two pieces and the bare PCB in all its flimsy and very breakable glory in front of me, it was time to clean off the old thermal paste and pads. I think I did a pretty damn good job of it, too. That chip sparkled once I was done.
Thermal pads for the MOSFETs and GDDR6 memory come included in the kit, and you need only trim the former down to size. Once installed, I showed the GPU the thermal paste and gently lowered the water block onto the chip and PCB. Once it was in the right spot you have to flip the whole card over and go about screwing it all carefully down into place. Once secured to the PCB, the included black metal backplate can be screwed in on top and the GPU mounted in the build alongside the remaining key components.
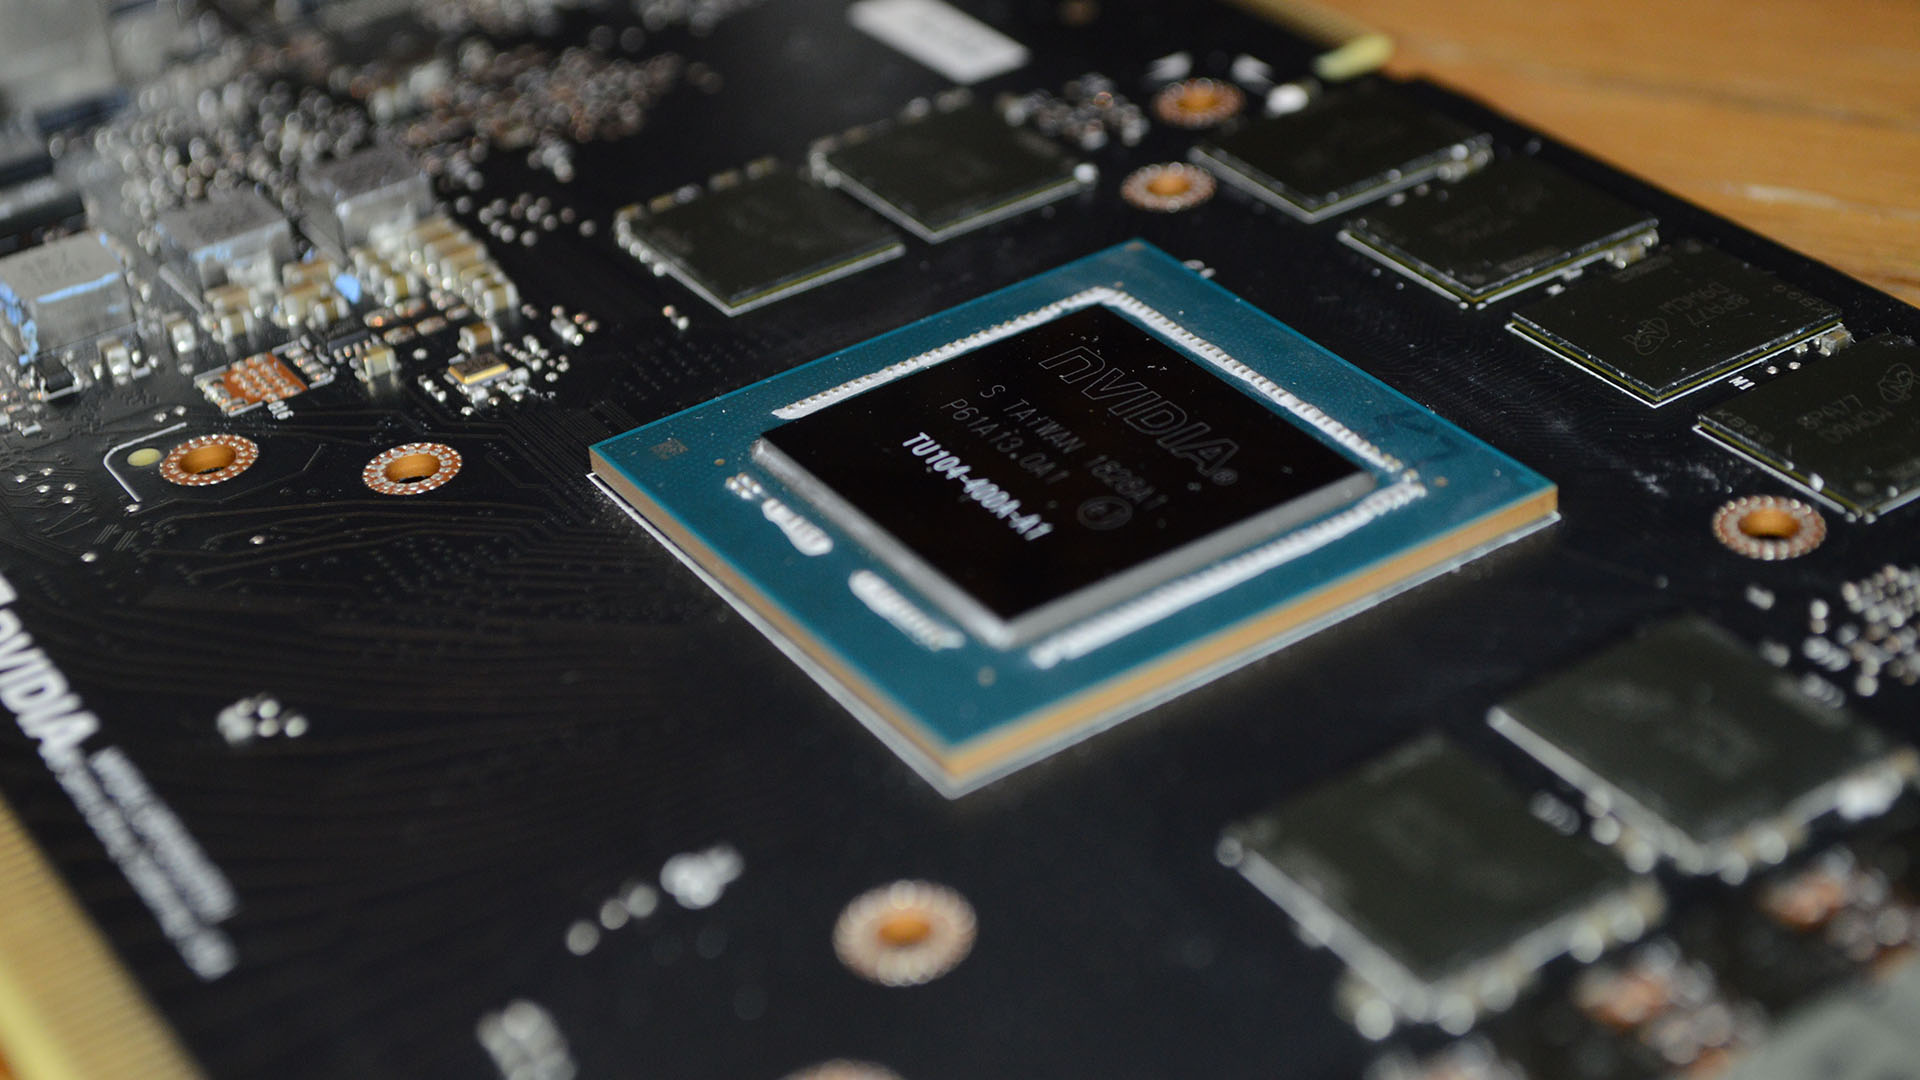
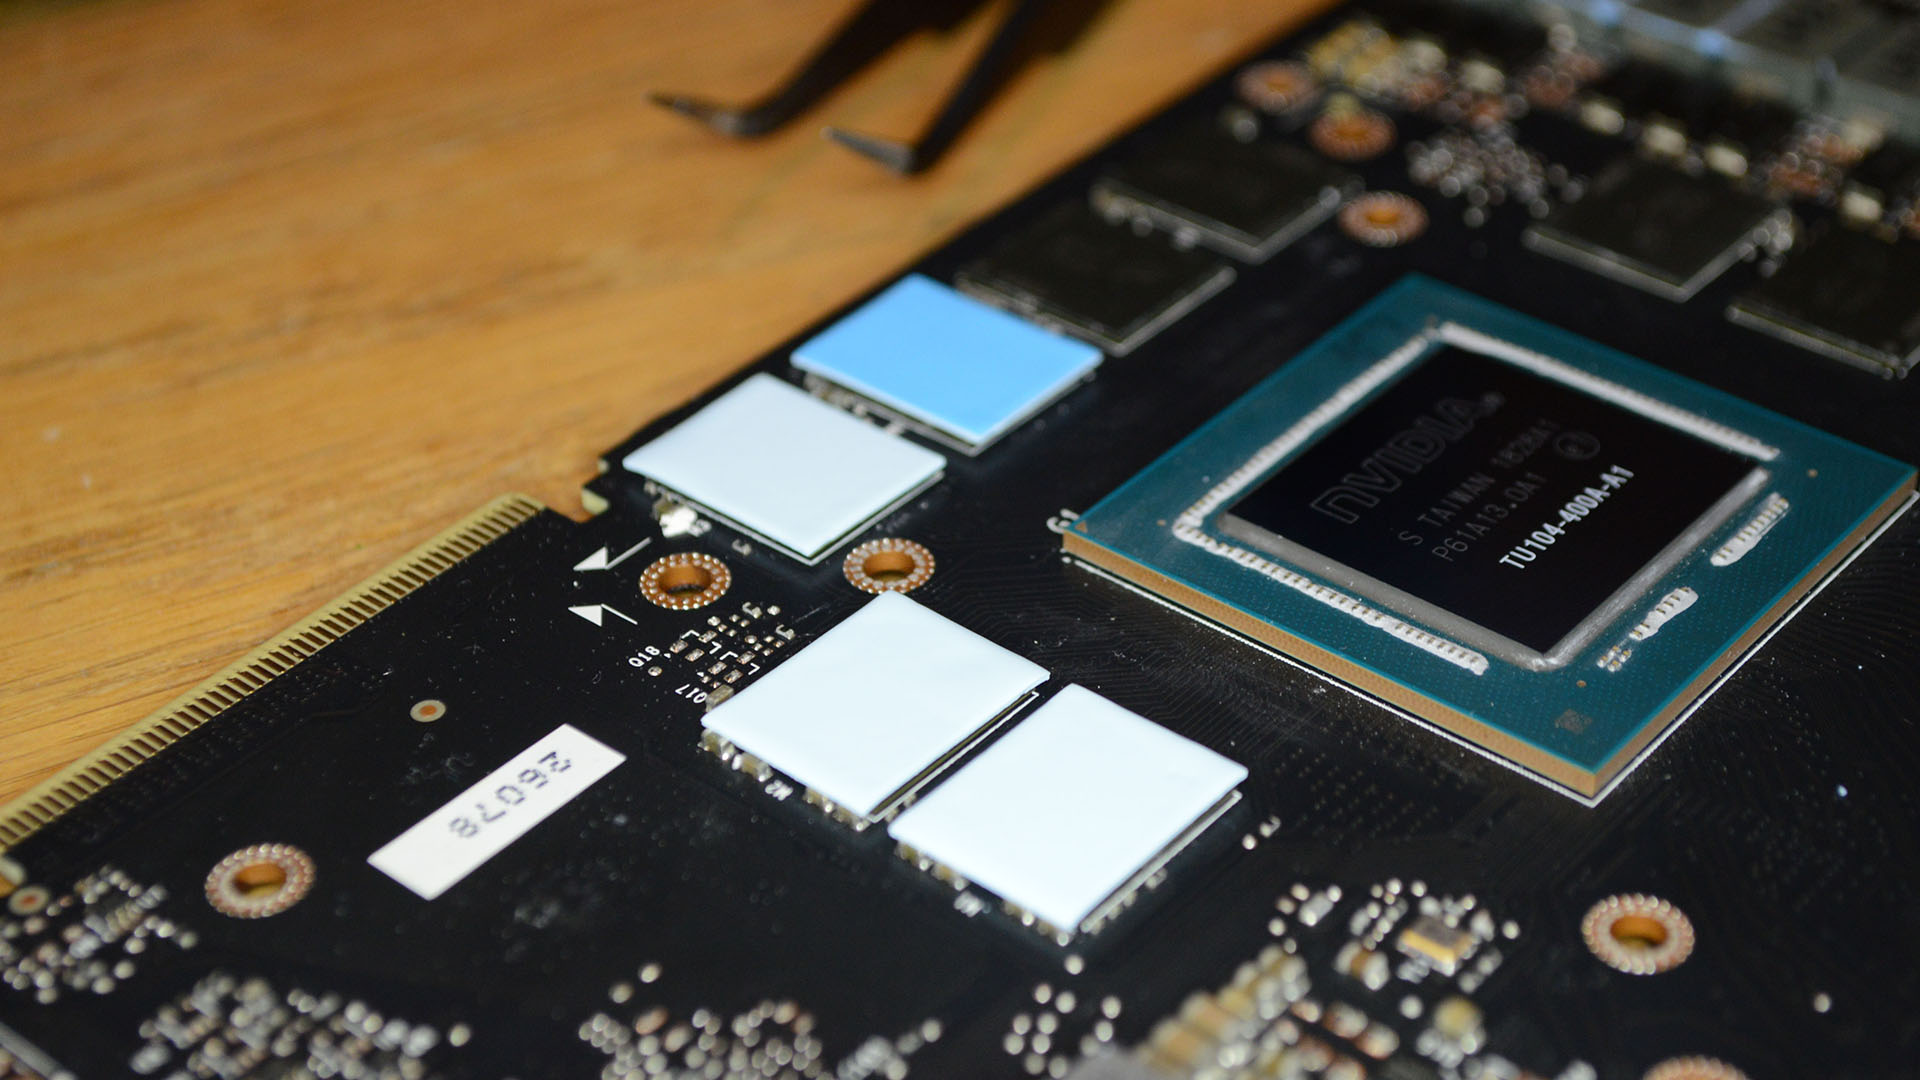
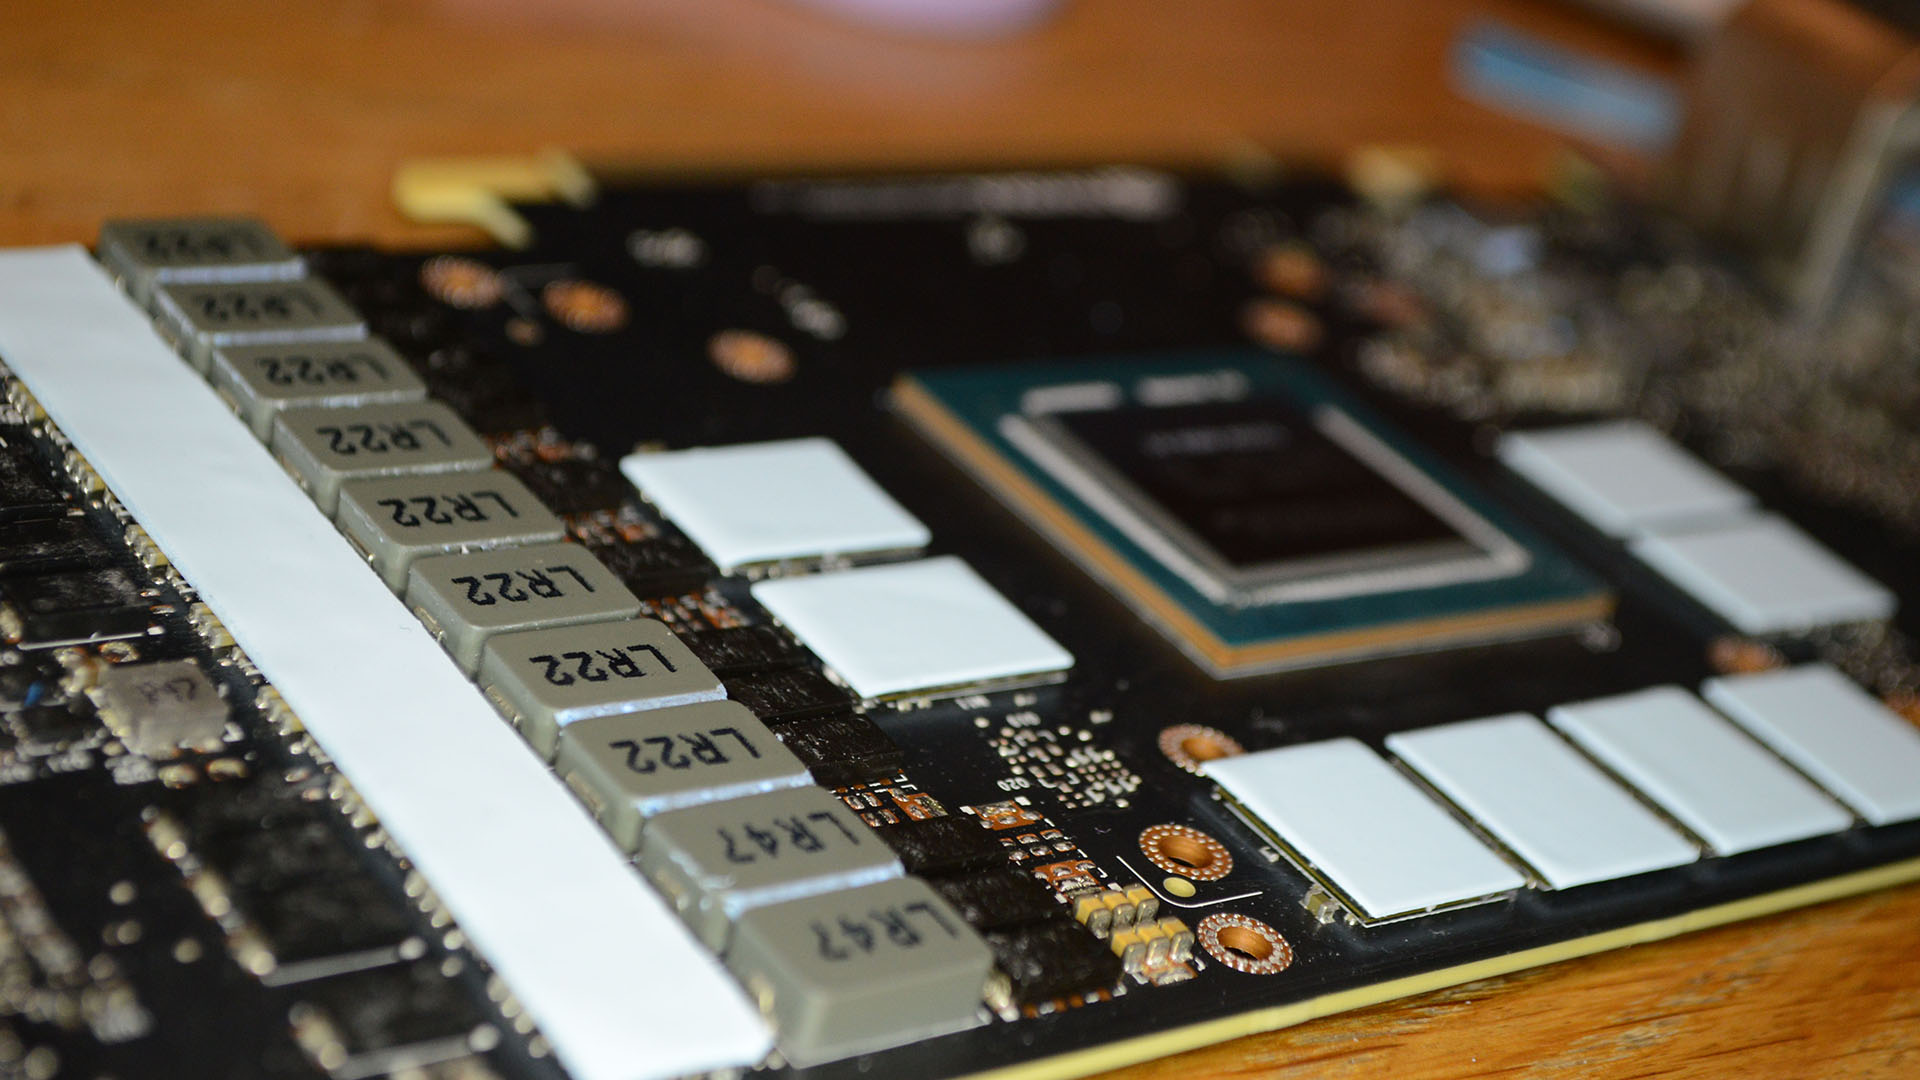
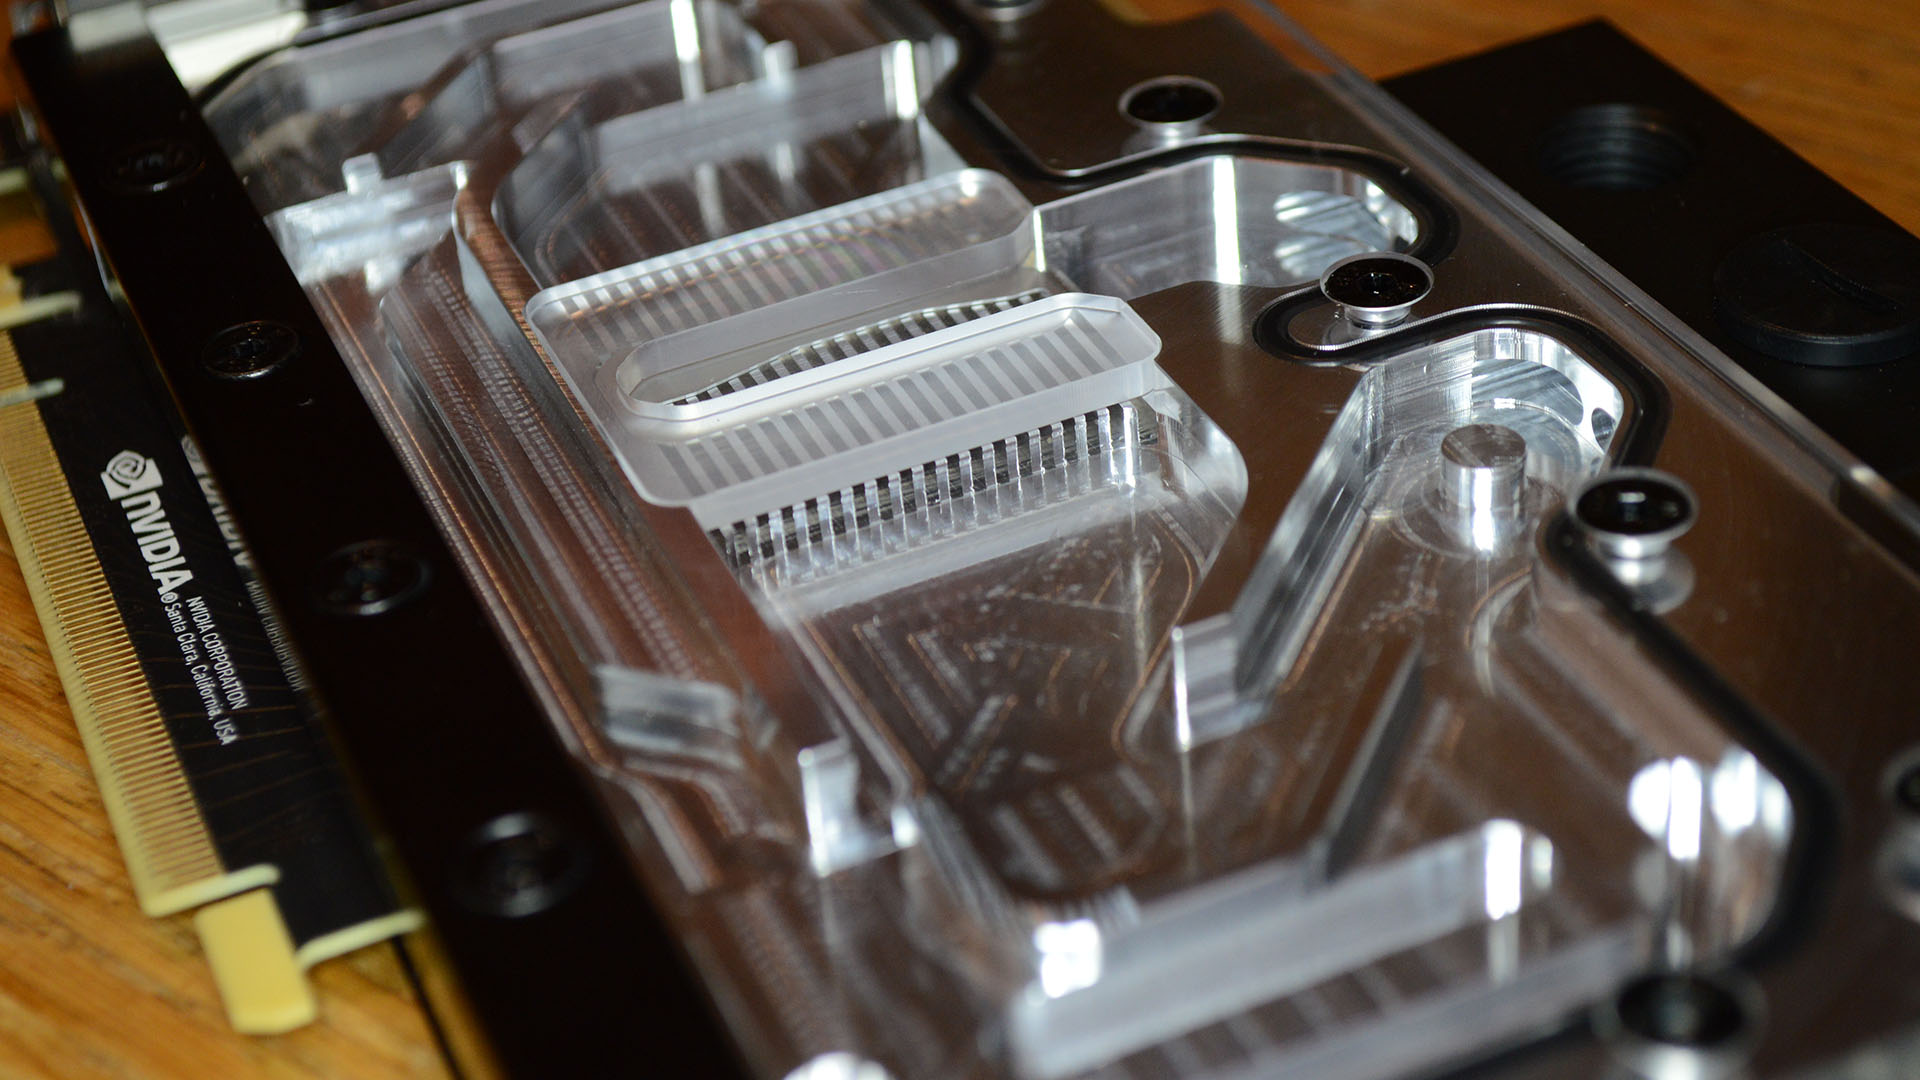
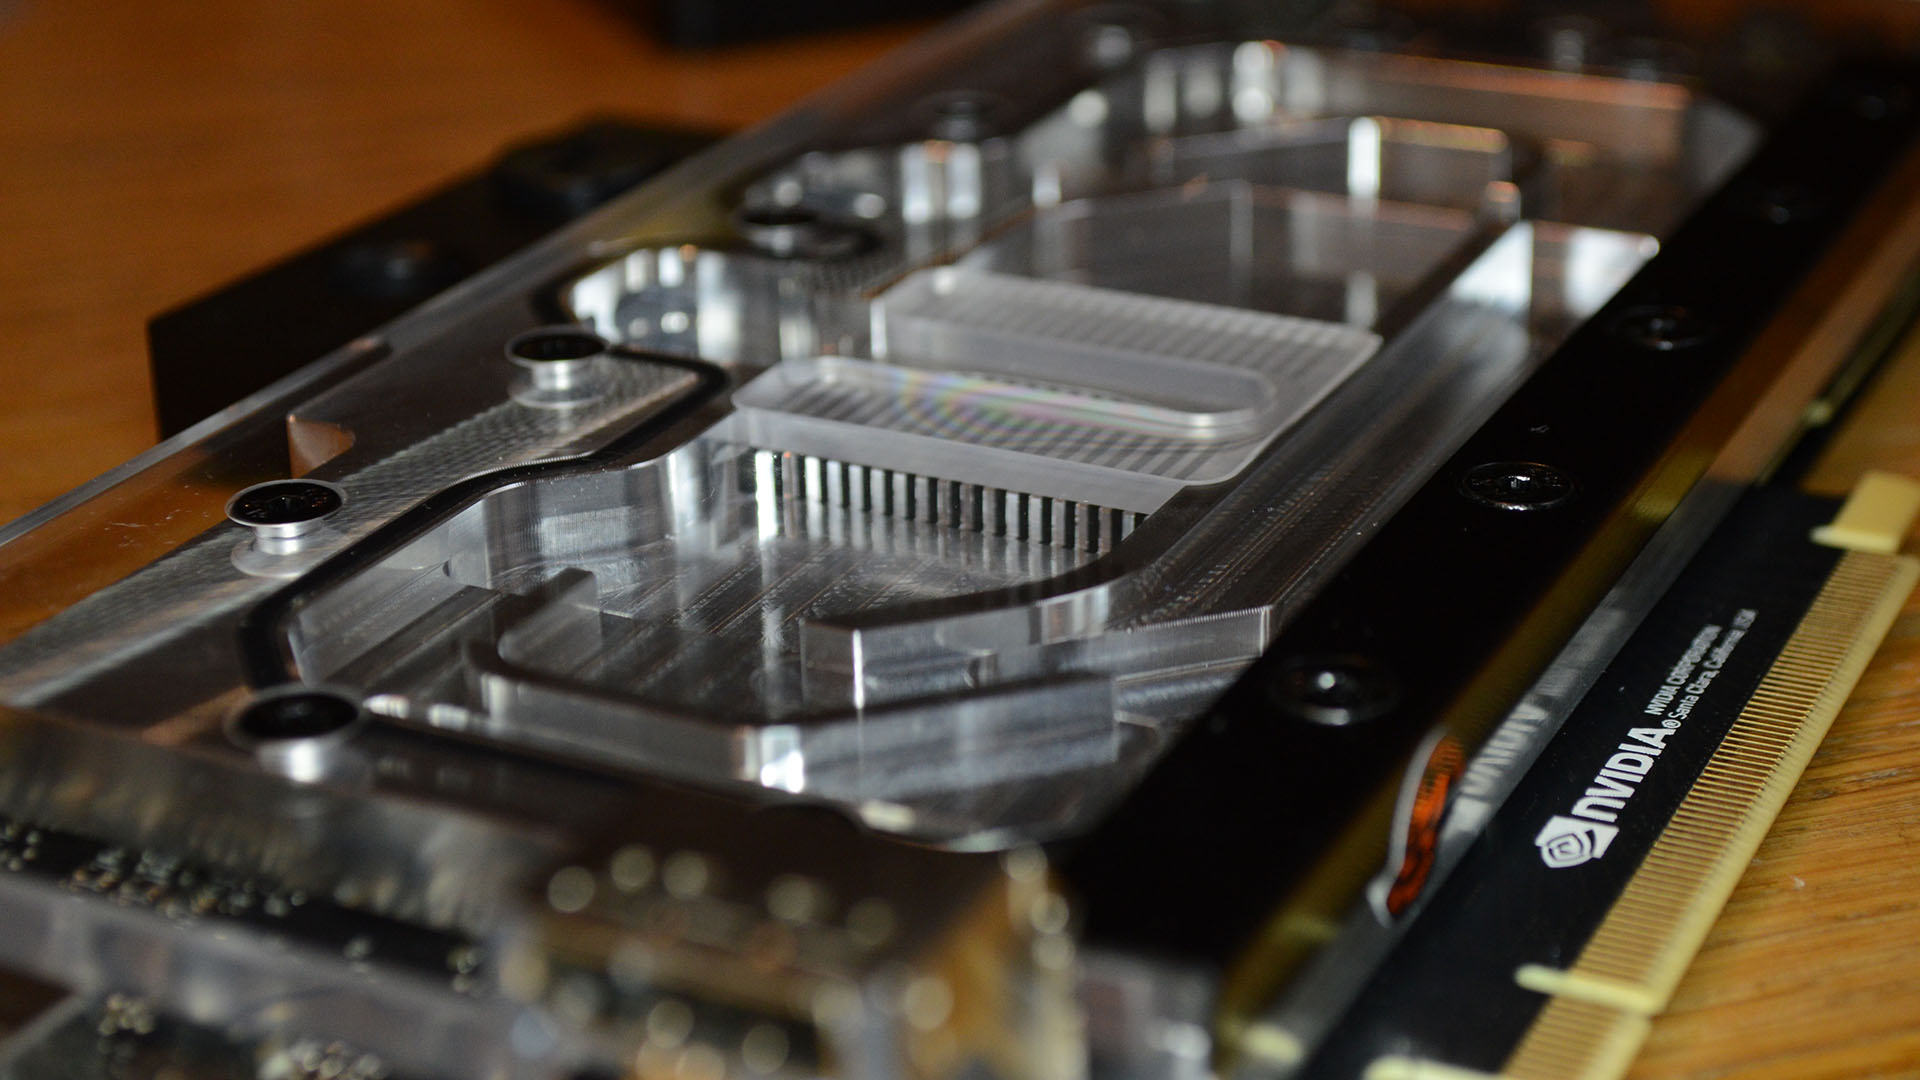
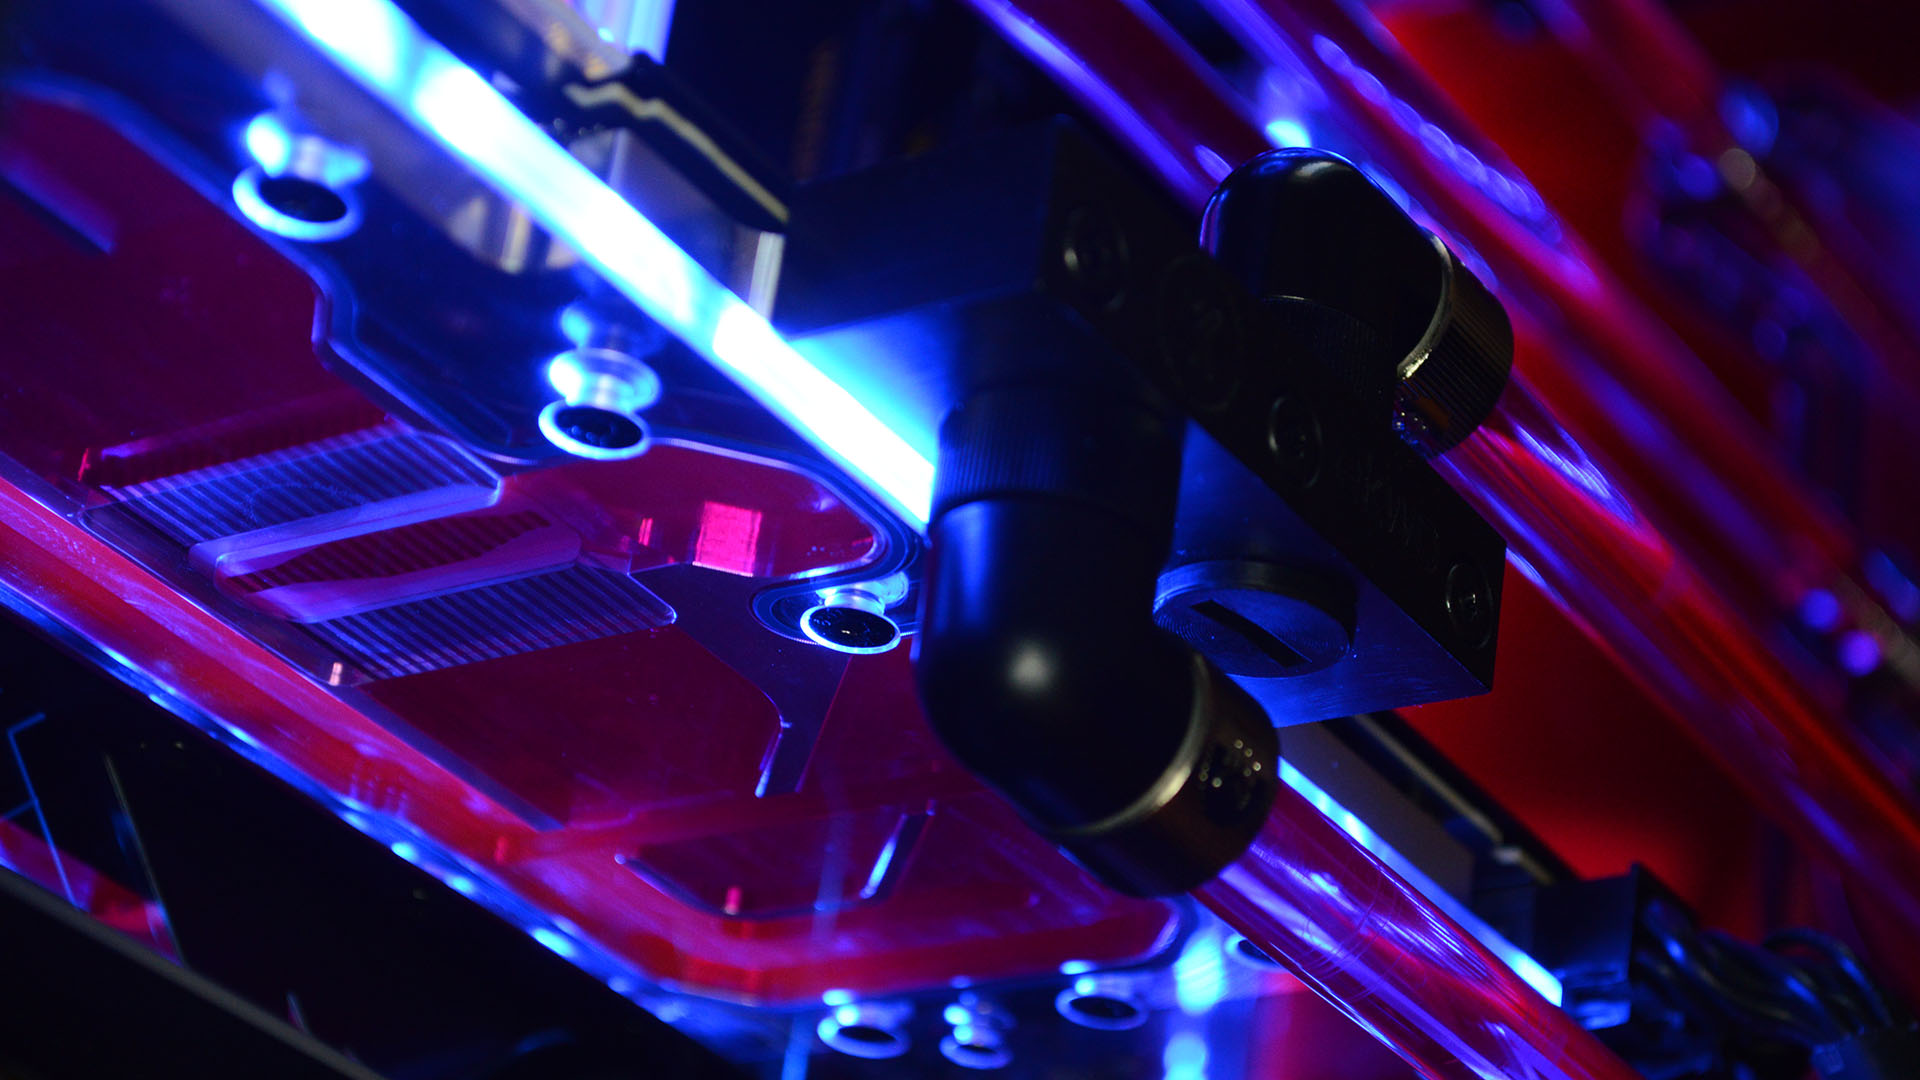
The GPU block has to be the best part of the build for me. There's something about this weighty hunk of aluminium and acrylic, carved into heat-dissipating channels, that speaks to me on an unfathomably more nerdy level than any other piece of PC hardware. But I couldn't get distracted for long—as my PC Gamer cohort Alan Dexter tells me: proclaiming you're nearly there with a custom-loop PC build before even touching saw to tube is like laying your running gear on your bed the night before a marathon and claiming you ran the whole 26 miles.
Not one to be deterred, my next step was to attempt to measure the exact length and angle of tubing required for my new custom-loop gaming PC using only a tape measure from a Christmas cracker. To my surprise, it actually worked out rather well. The tubing, anyways. The rest of it… oh god.
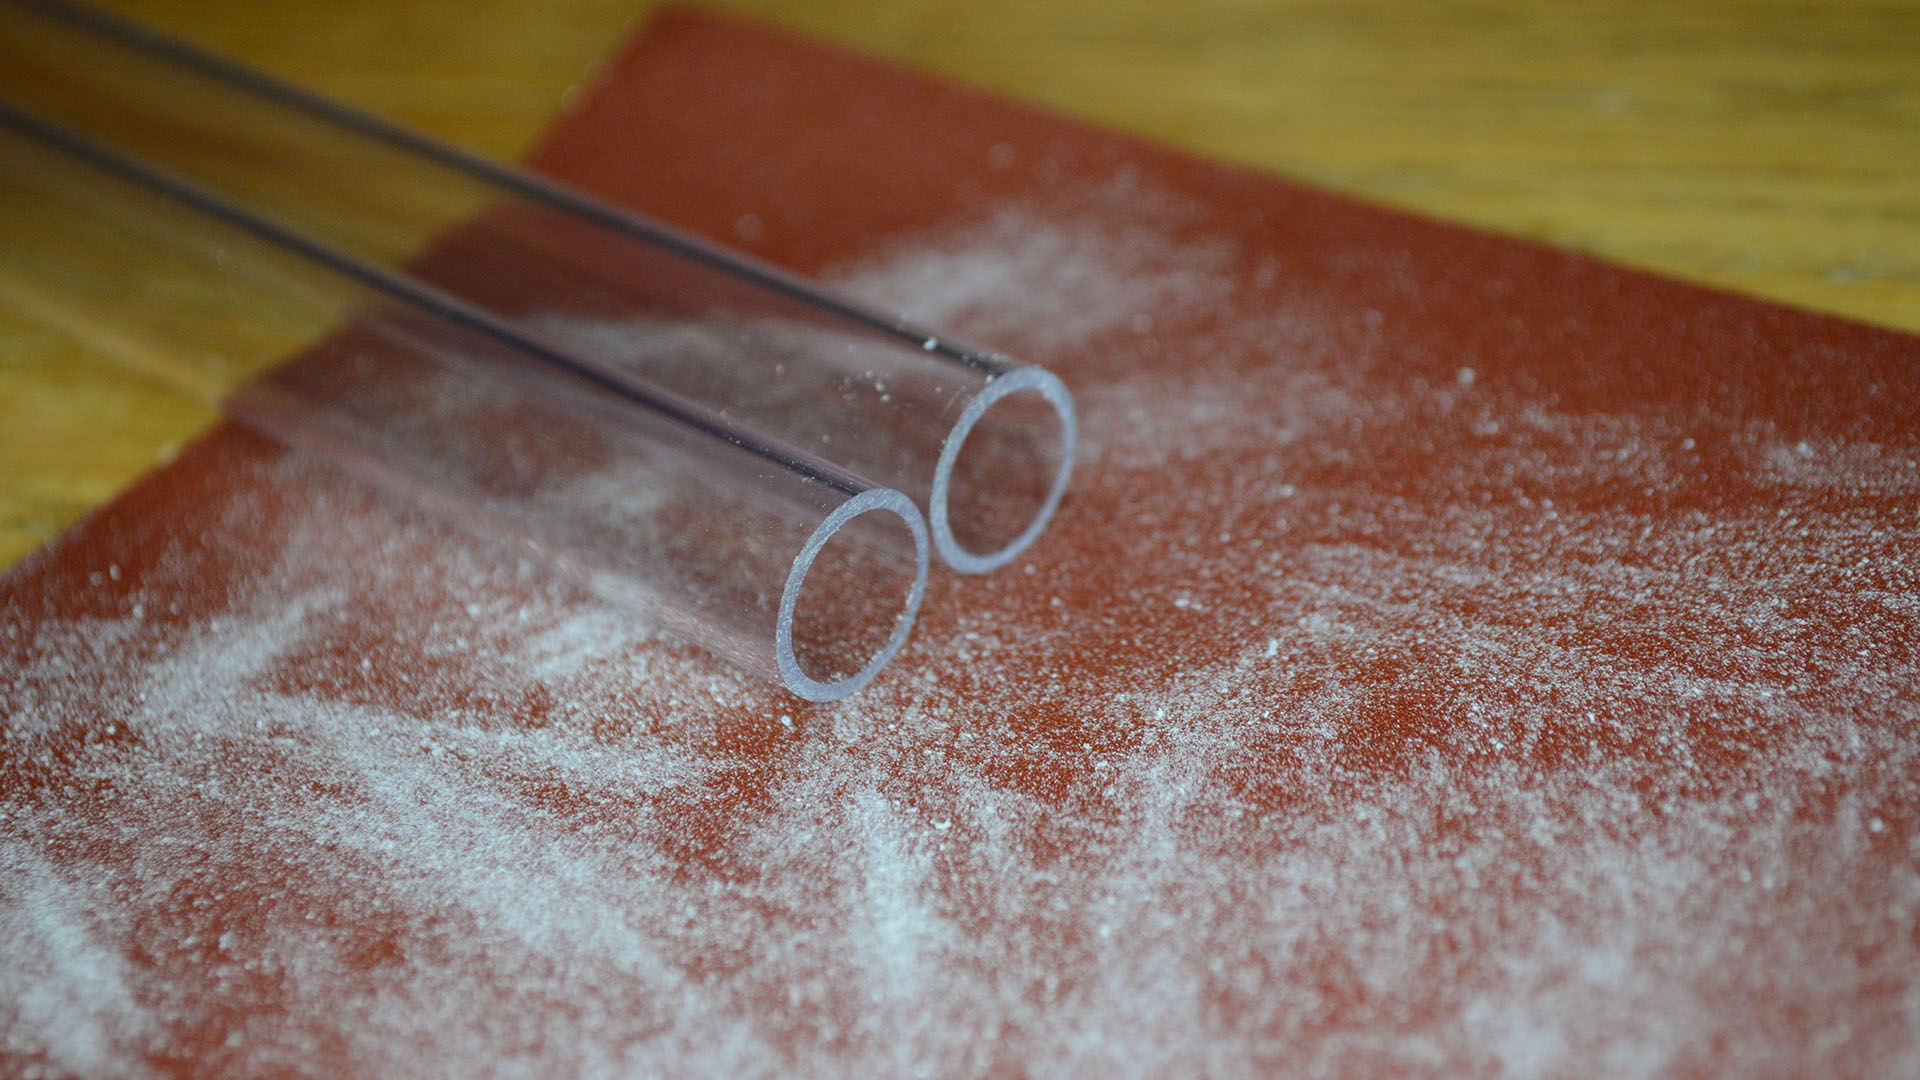
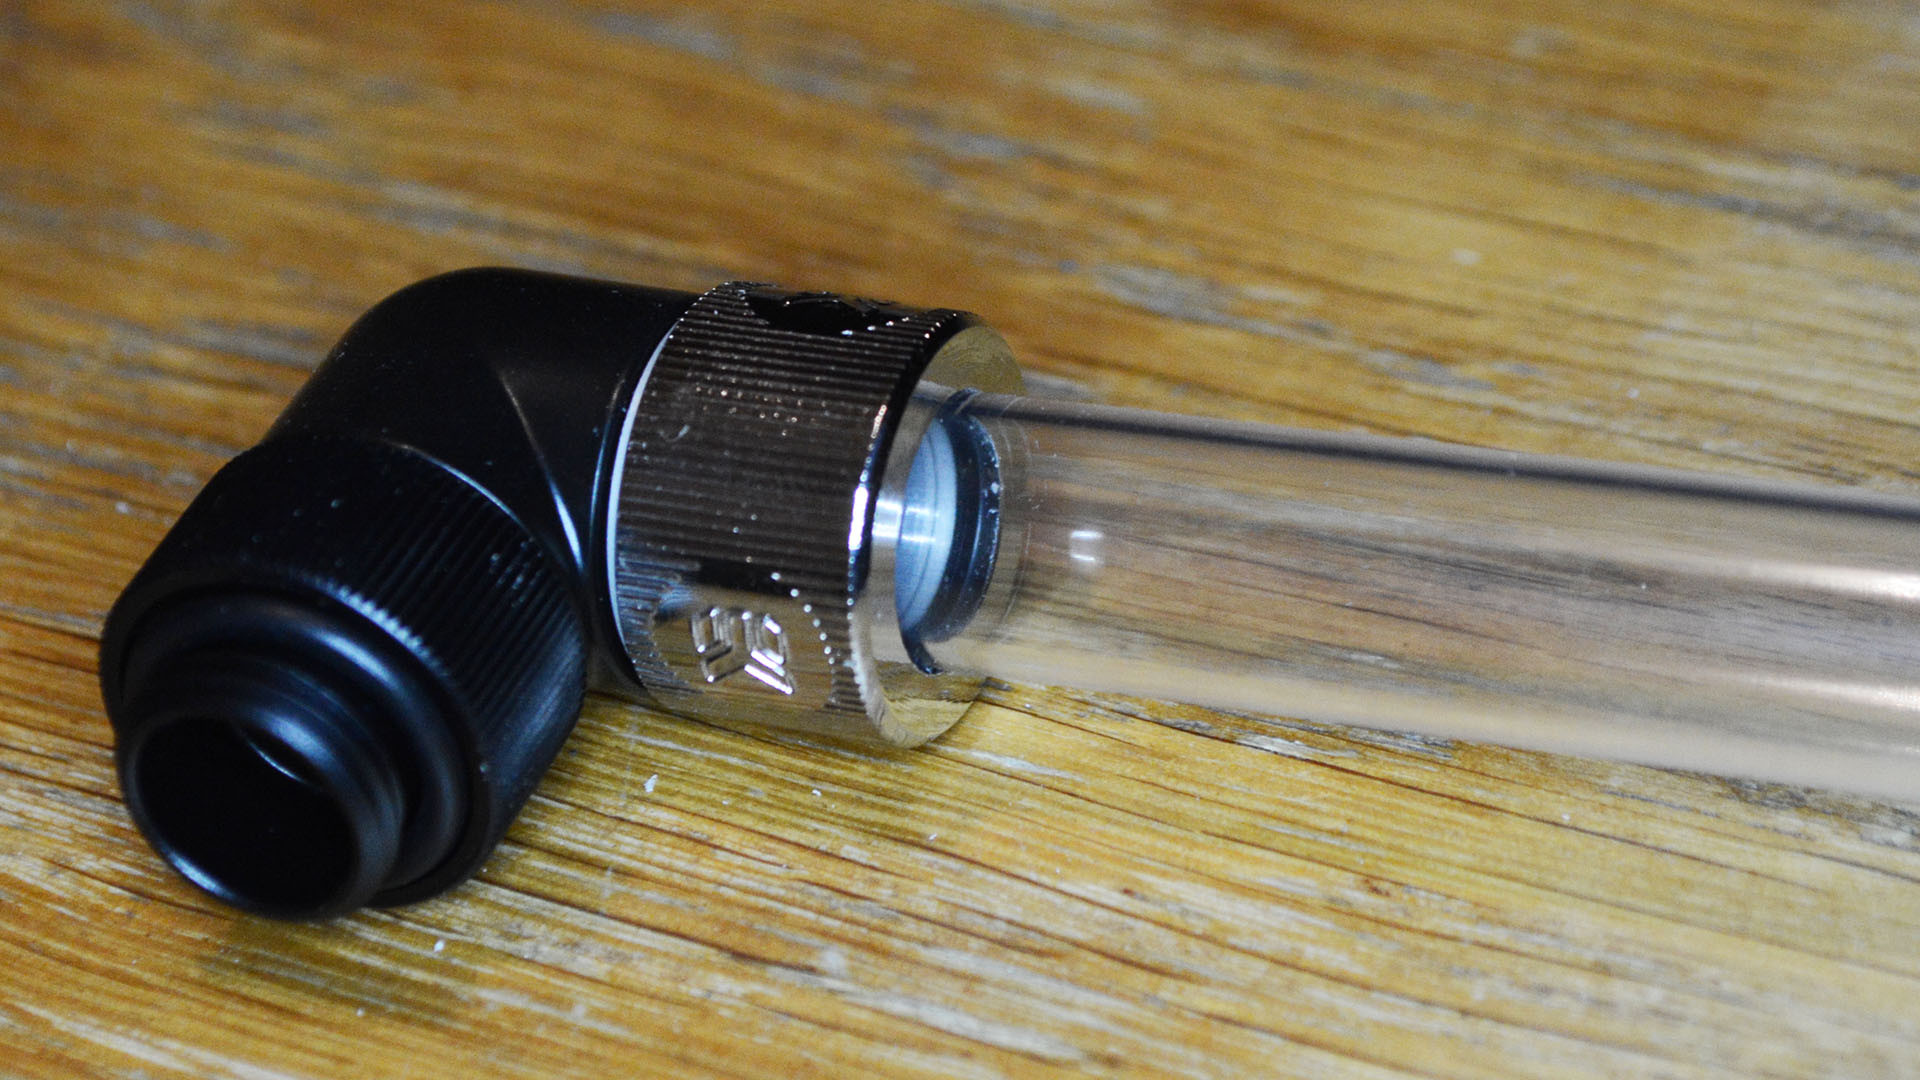
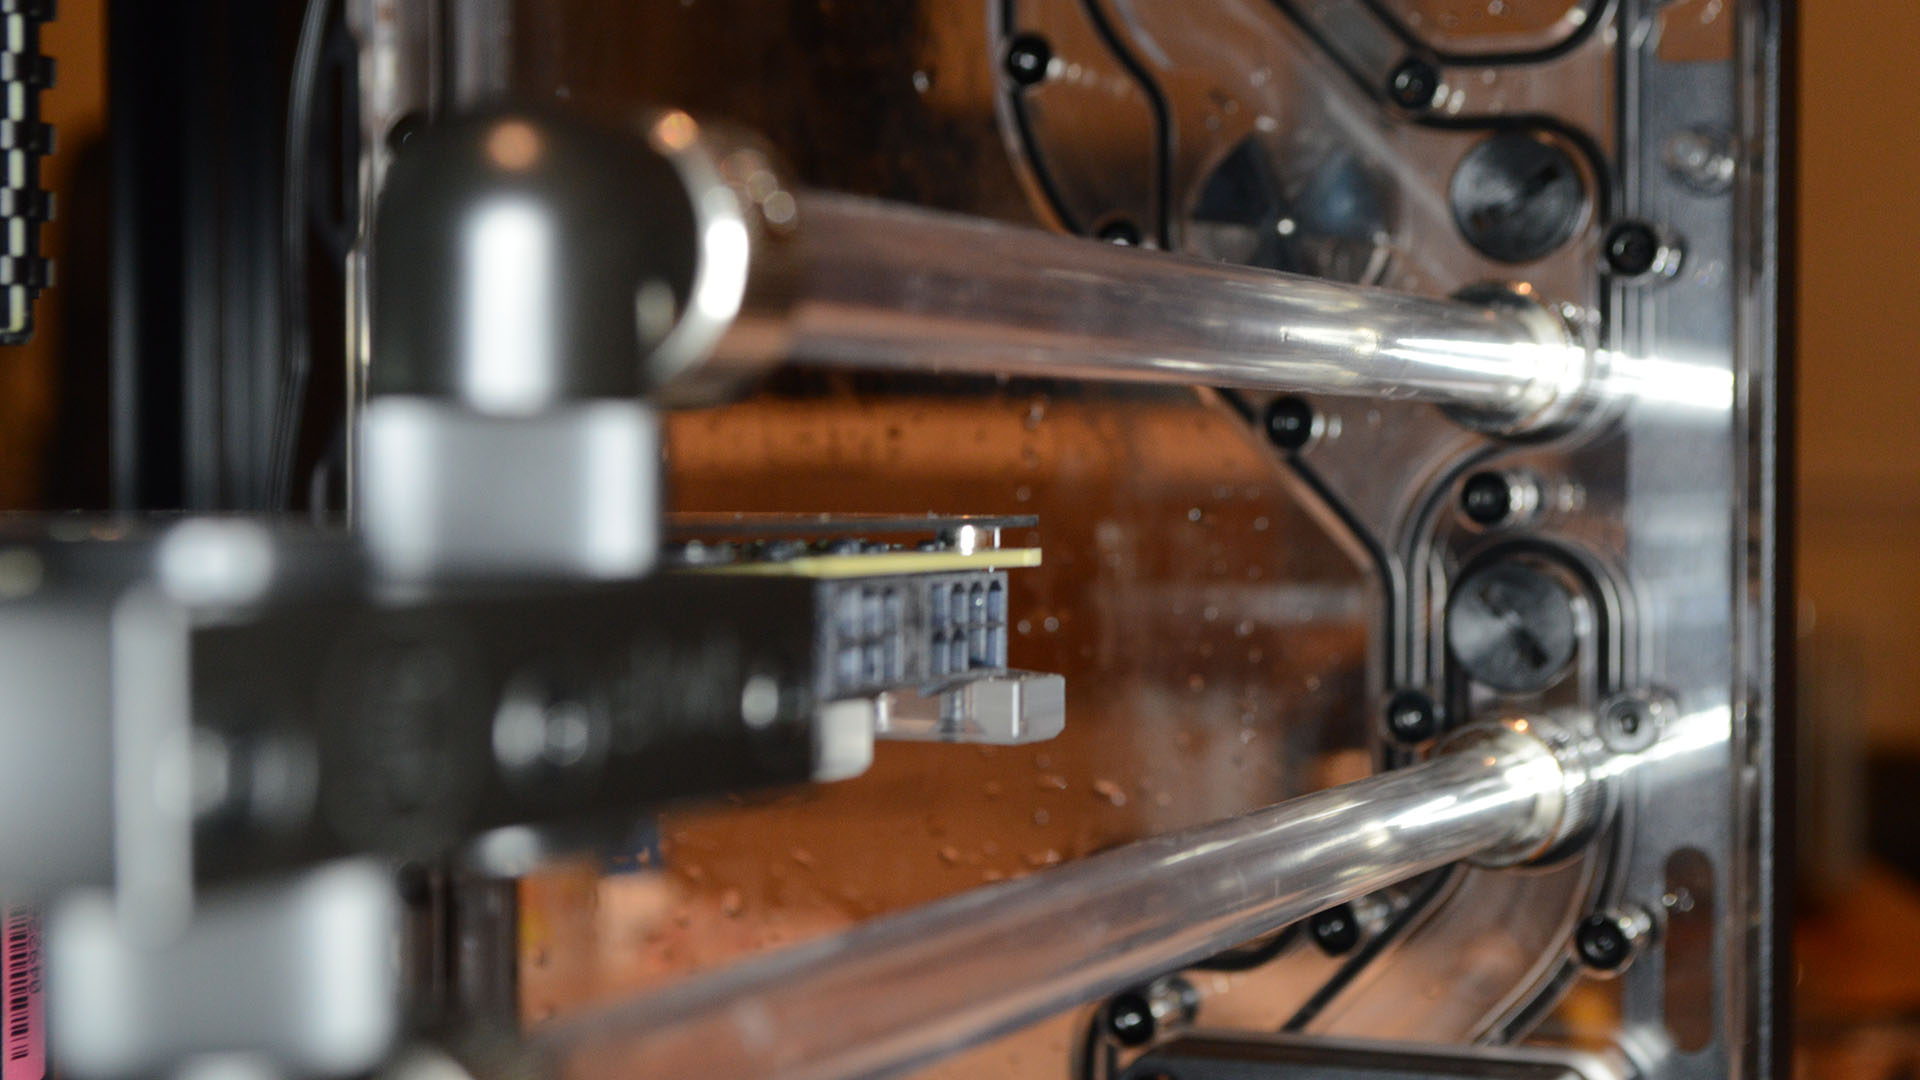
To get the tubing just right you have to measure both the horizontal and vertical distance between the tube and the dead-middle point of the port on the water block. The easiest run was the intake for the GPU, which runs from the bottom left of the distribution plate, just above the pump, and along the length of the GPU. It's a straight shot, so you don't have to worry too much for bends or angles.
Measure the length, lay your tubing into the included mitre, measure the length again, leave a millimetre or so on the end as extra precaution (it can always be worked with a little sandpaper later), and get to lopping the rest off. Once your done, sand the edge down and wipe the tube down. I also blasted a little compressed air through each tube to ensure no loose plastic was still lingering around.
Once I'd checked the length, I did the same thing for the slightly shorter top run, which would eventually loop liquid back into distro plate, into the CPU, back out of the CPU, into the radiator, out of the radiator, and finally back into the reservoir to be cycled back through the pump ad infinitum until I eventually get bored and want to change juice flavour—that is to say: anti-growth, low-conductivity EKWB Cryofuel. Don't smoke this, vapers.
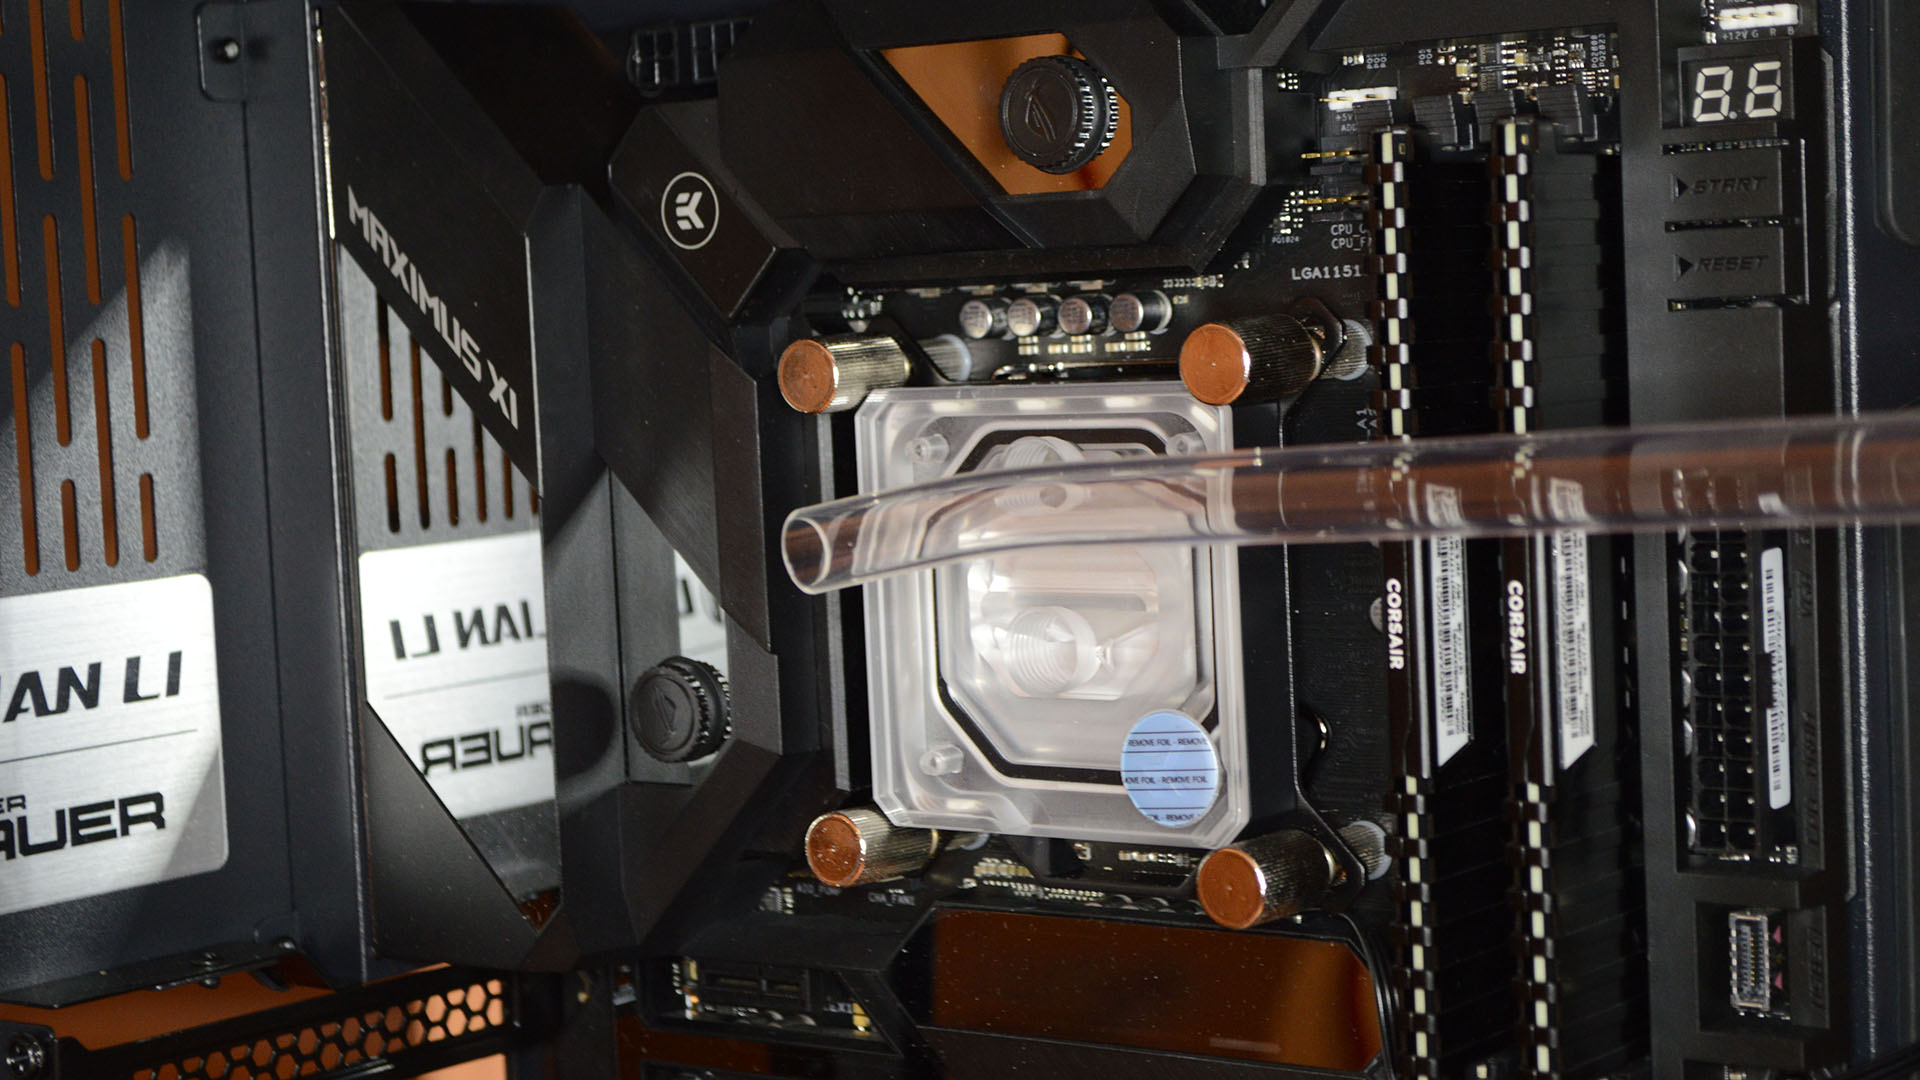
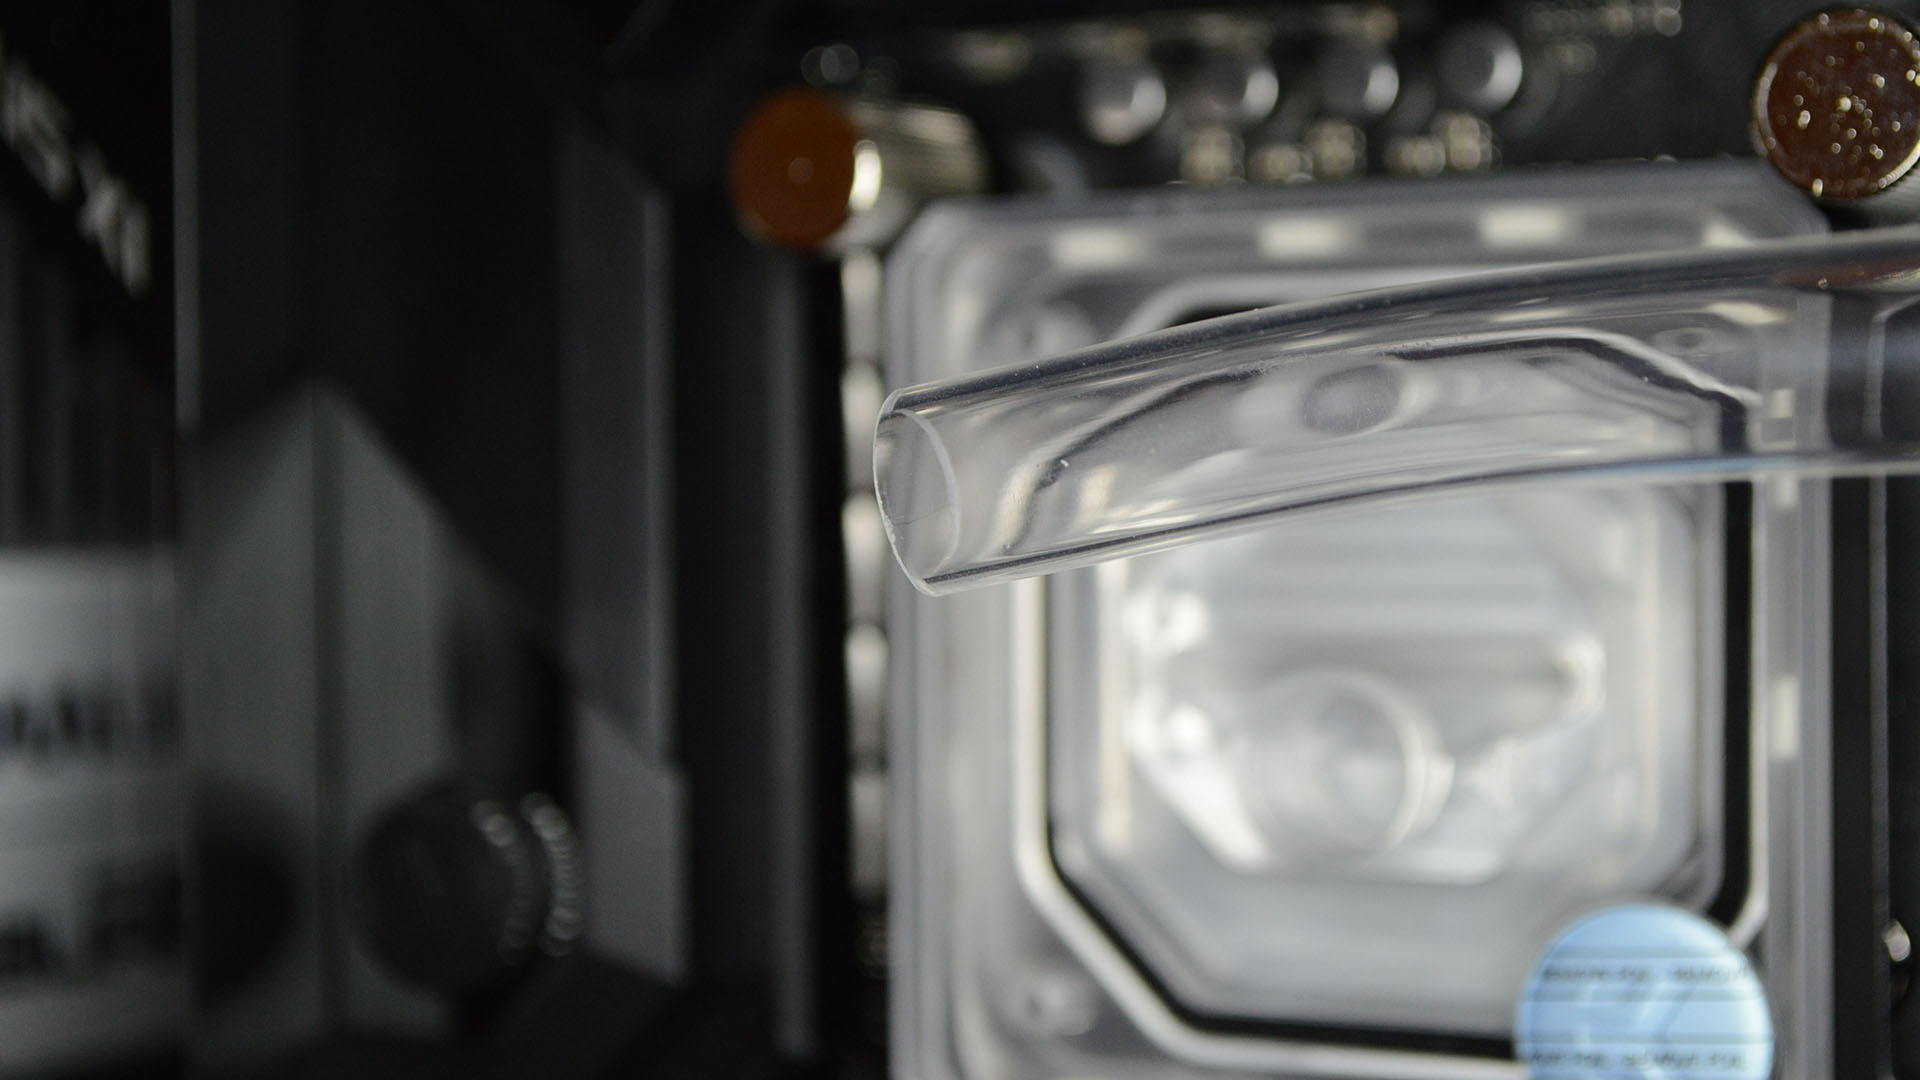
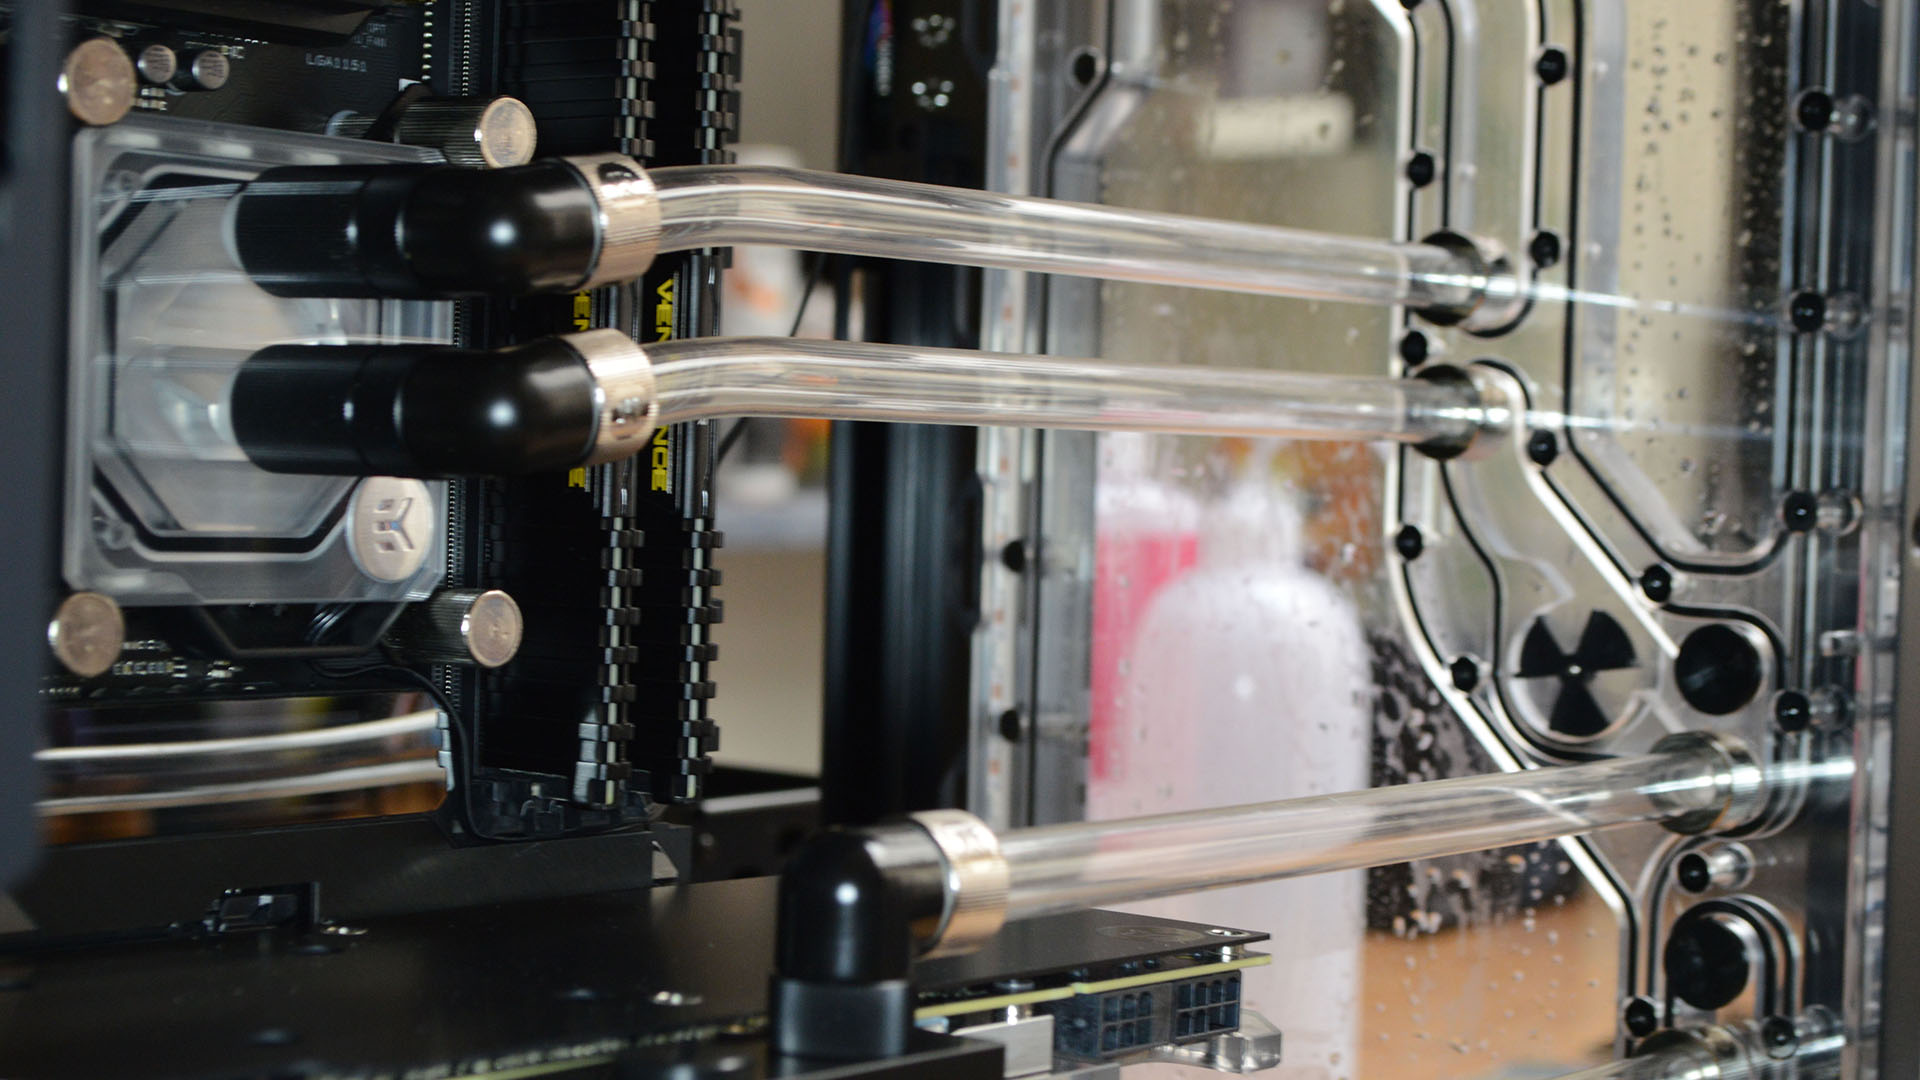
But before we get to filling this rig to the brim with liquid, we need to finish the loop runs. This is where things get a little tricky. Not every LGA 1151 socket is located in the exact same position. Hence why EK chucks in a couple of pre-angled pipes for you to cut-down to fit the slight variance between boards. It's a slightly daunting but relatively straightforward process once you get a grasp of the diagram located in the manual that explains just how short you need to chop each tube for an optimal fit.
My overconfidence was to be my downfall; my hubris the three weekday beers
What makes this cut a little more frightening than the last is the fact you only get two angled tubes in the box. You need two angled tubes for the build—there are no second chances. I crack out the trusty tape measure, loosely measure the vertical distance, and get to sawing. Lo and behold, it comes together nicely. Admittedly, I have to trim a little more off the end of this first run—I was a little careful to leave some spare length just in case—but it fits a treat. The second run, too, goes off without a hitch.
'Smashed it', I think to myself as I sit there, three beers into a liquid-cooled PC build in the early evening, 'I'll be done by 11 o'clock'. My overconfidence was to be my downfall; my hubris the three weekday beers.
It was at this point that I decided to prep the fittings in order to ready everything for the final step: filling. I picked up one of the angled G1/4 fittings, one of the compression fittings, and screwed them together. There we, ready for the tube to slot in—oh no, wait, I'm being an idiot. I need to load the tube in first and then tighten the compression fitting.
Ah, it's stuck, like really stuck. What I've done is tightened the thread onto the angled fitting prior to actually stuffing it with the tube, meaning the tube no longer fits and the two fittings are effectively glued together by my own hand.
This never happens. I'm a whizz at IKEA furniture. Hell, I'm one of those weirdos who enjoys it. There's a lip of thread about 2mm deep visible from the outside of the fitting. That lip is all I've got available in order to wrench this thing back off. So I start twisting at it. I twist at it a lot. I twist at it so much that the side of my index finger and thumb, on both hands, start bleeding.
Maybe two hours later and I've finally freed the damn thing using a contraption of tubes and fittings—a relatively simple rig that enabled me to gain enough leverage on the compression fitting alone. I would likely have had success with a pair of small pliers, but they aren't a common Christmas cracker surprise, and therefore I do not own any.
With sliced hands, a tea towel soaked in blood and WD-40, and two now separate fittings, I could continue with my PC build. This was around 11:00 PM on a Thursday. With the knowledge that I could never rest easy knowing the PC was only half-built, I soldiered on. I eventually fitted all the tubing into the build, correctly fitting the tubes, prior to tightening the compression rings, and completed the loop.
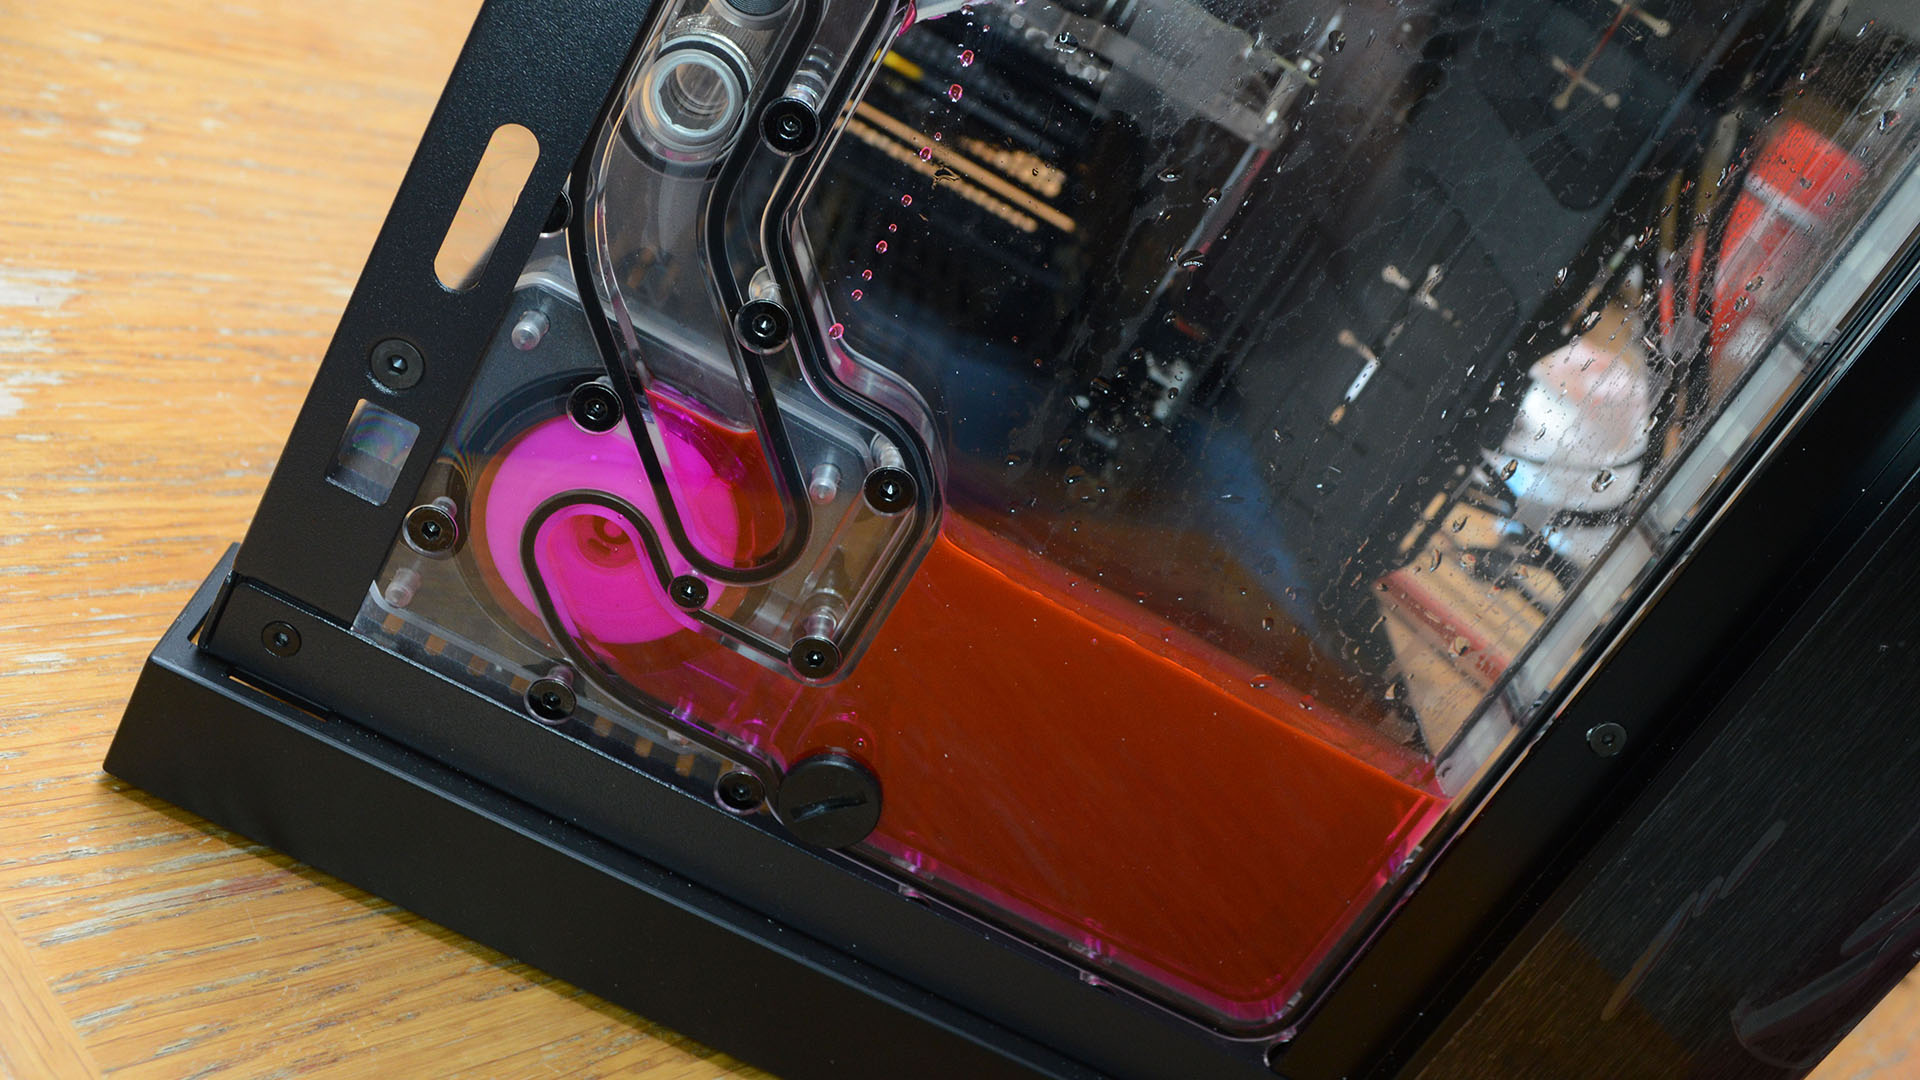
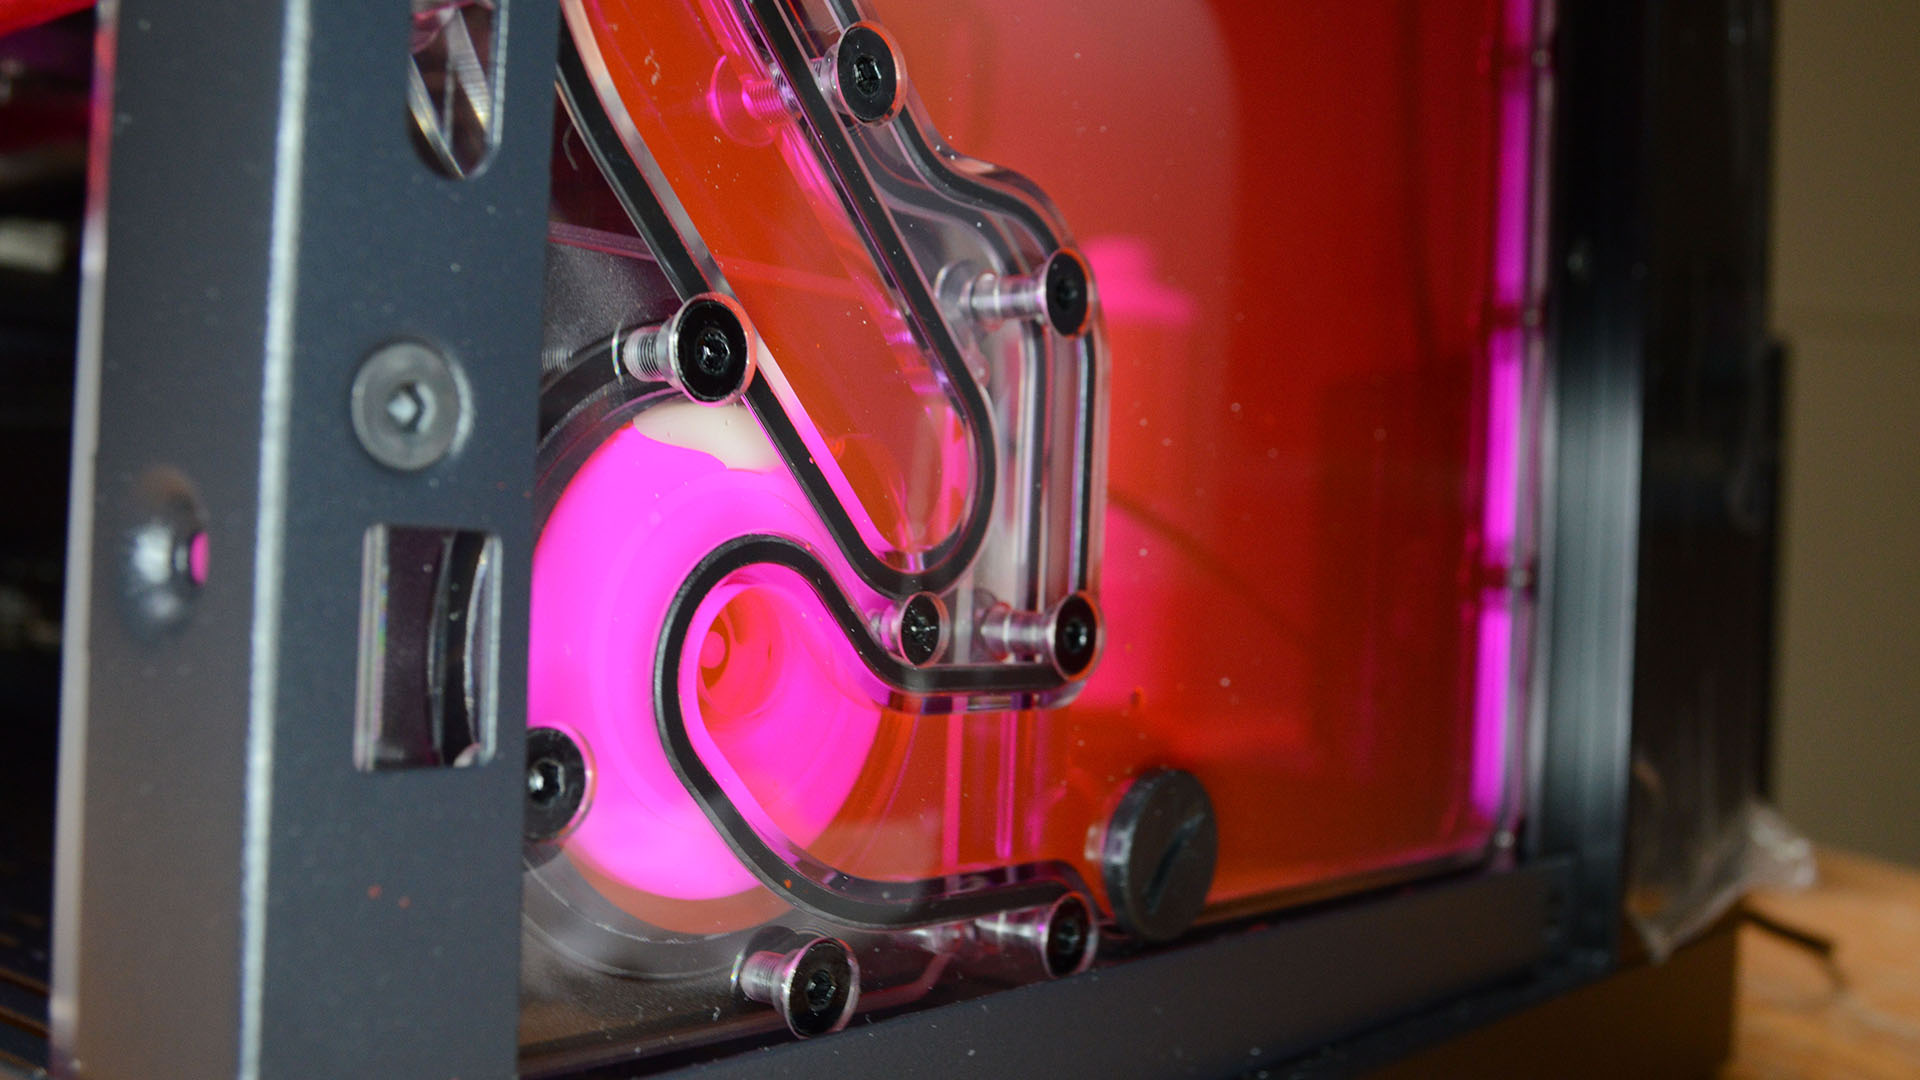
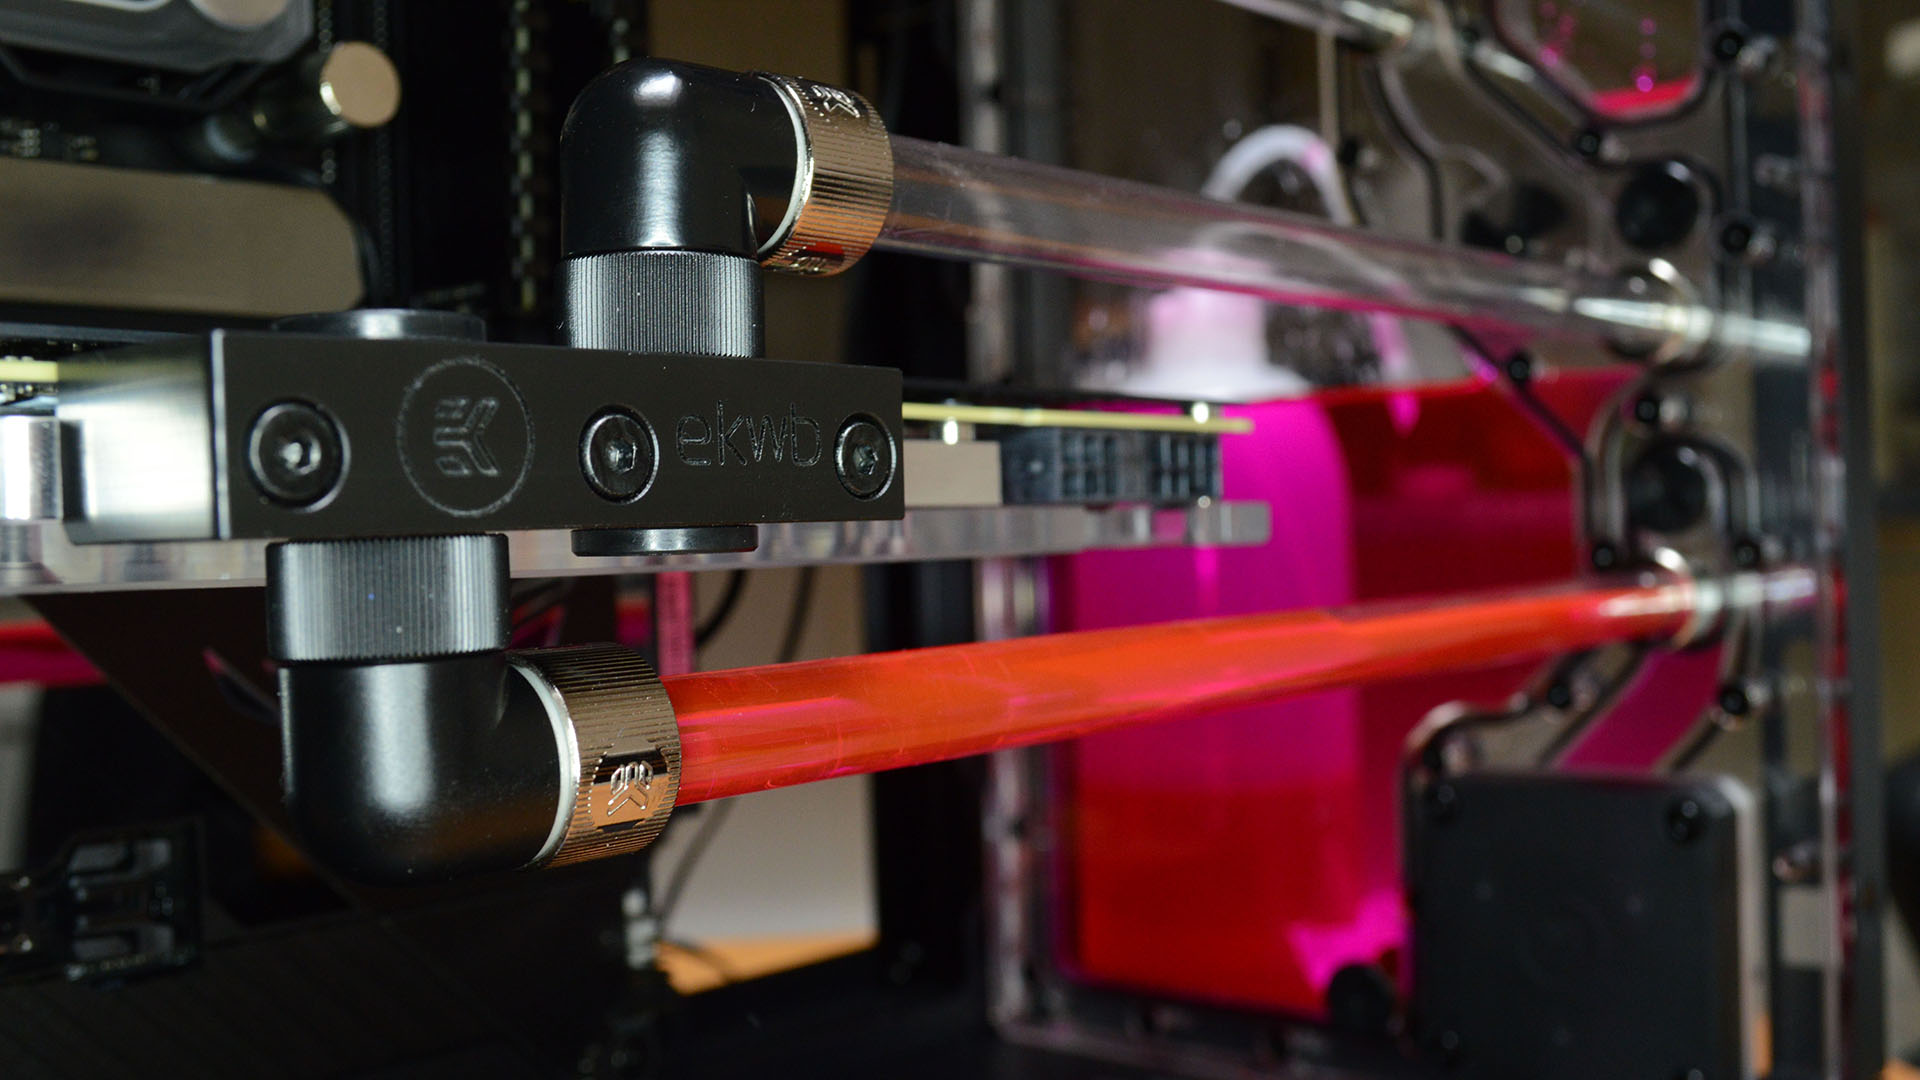
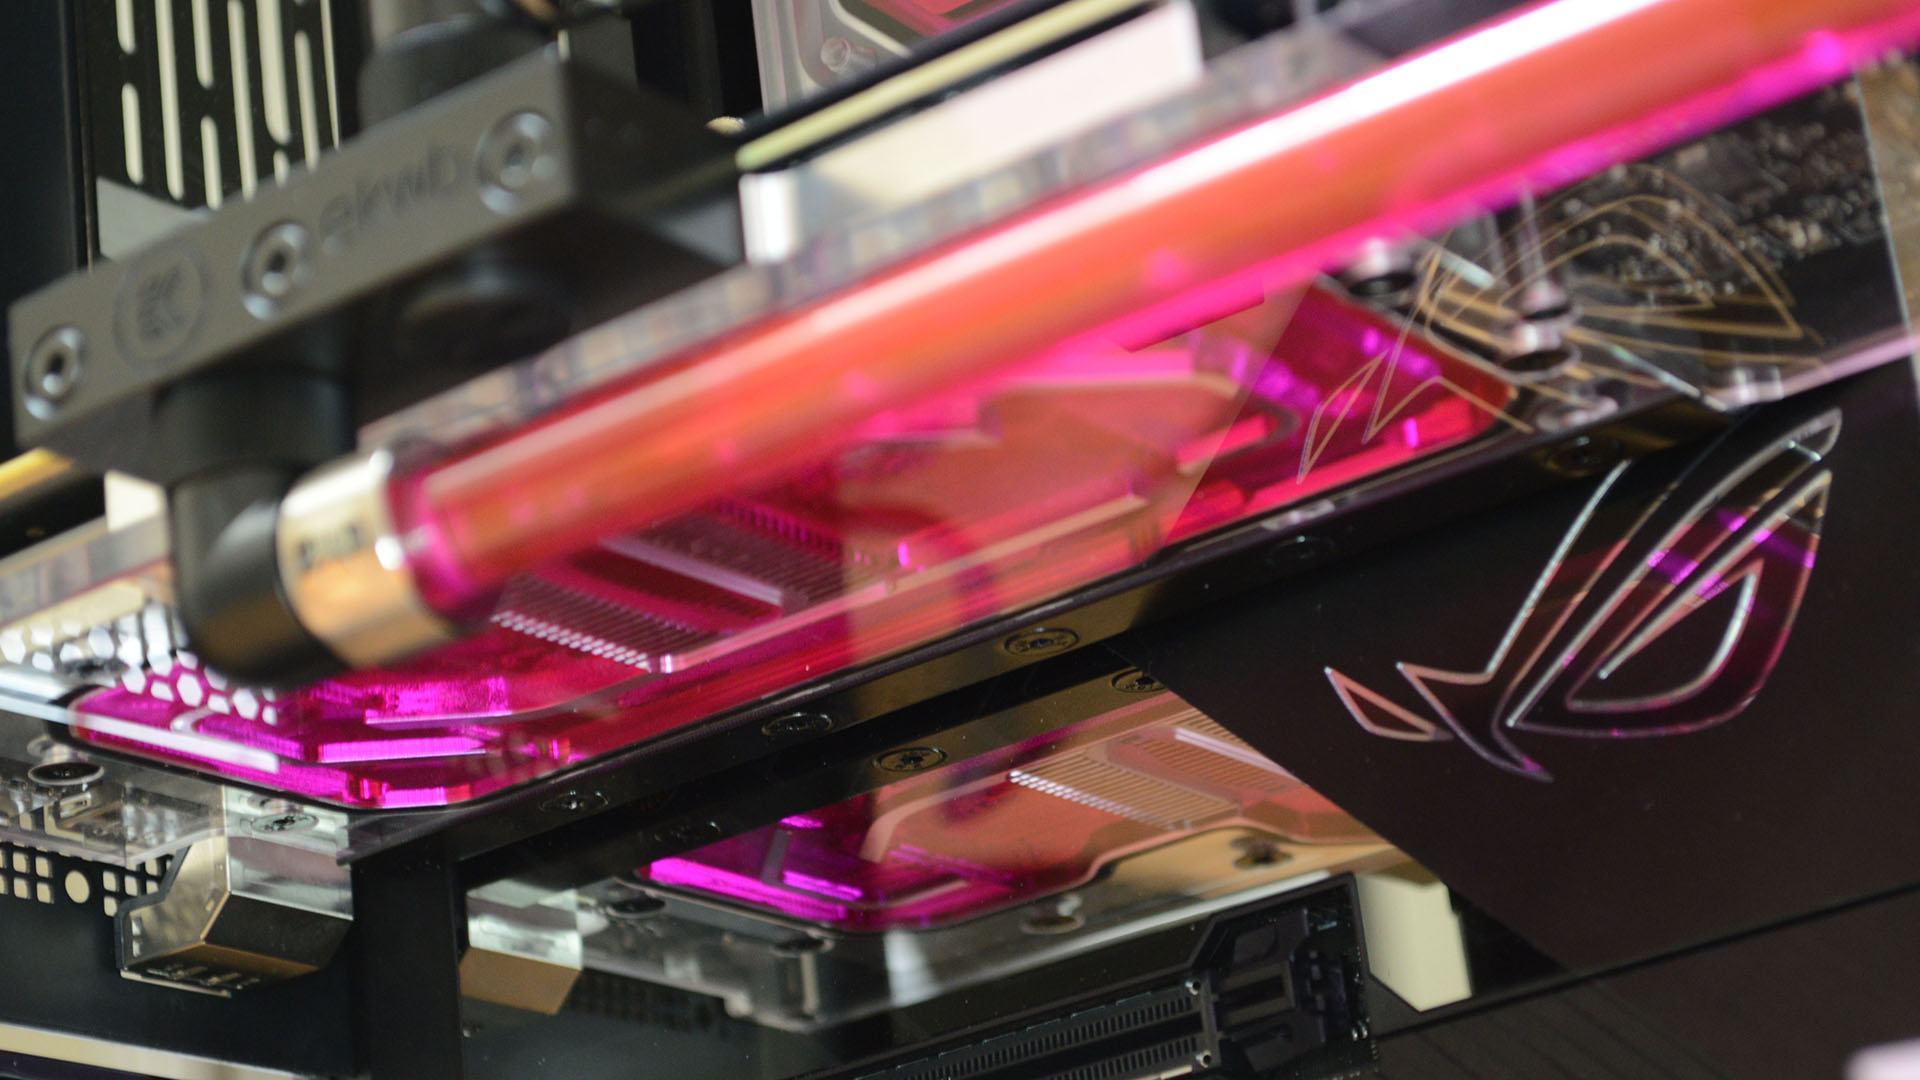
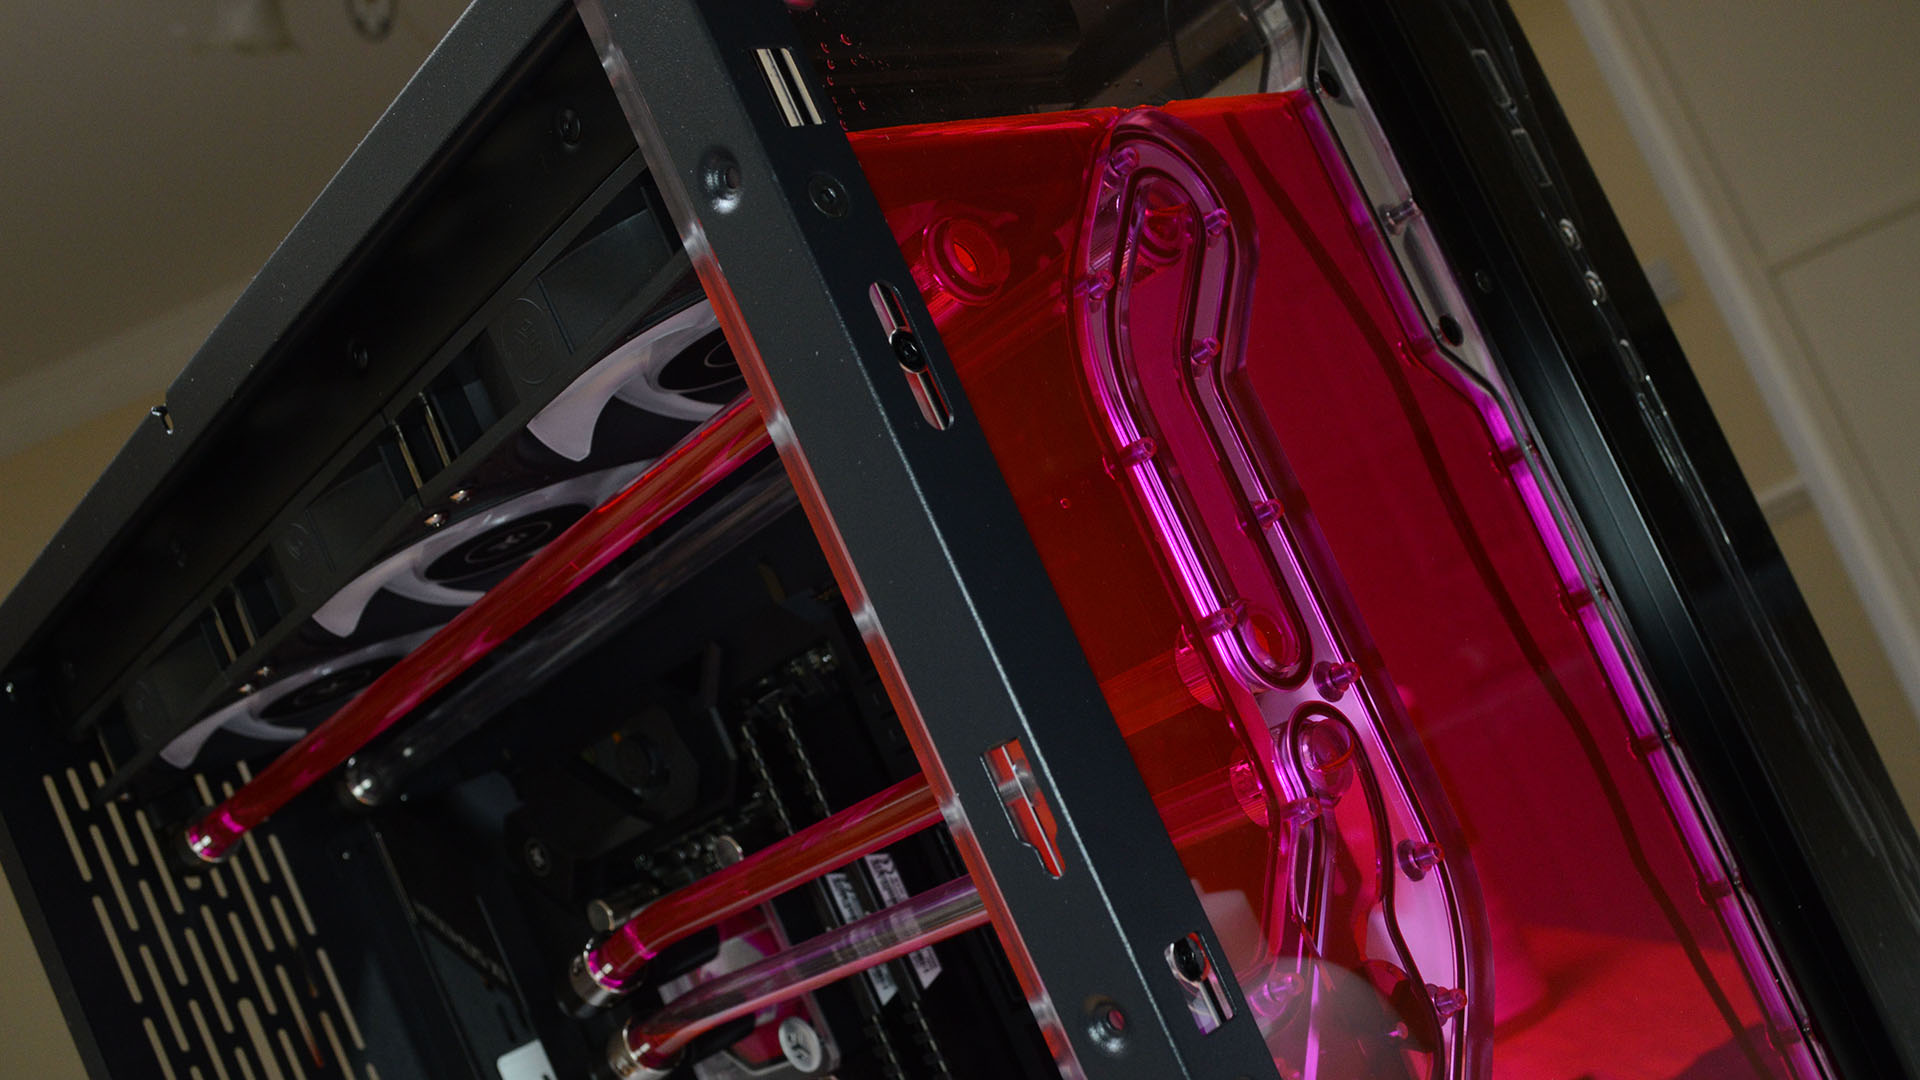
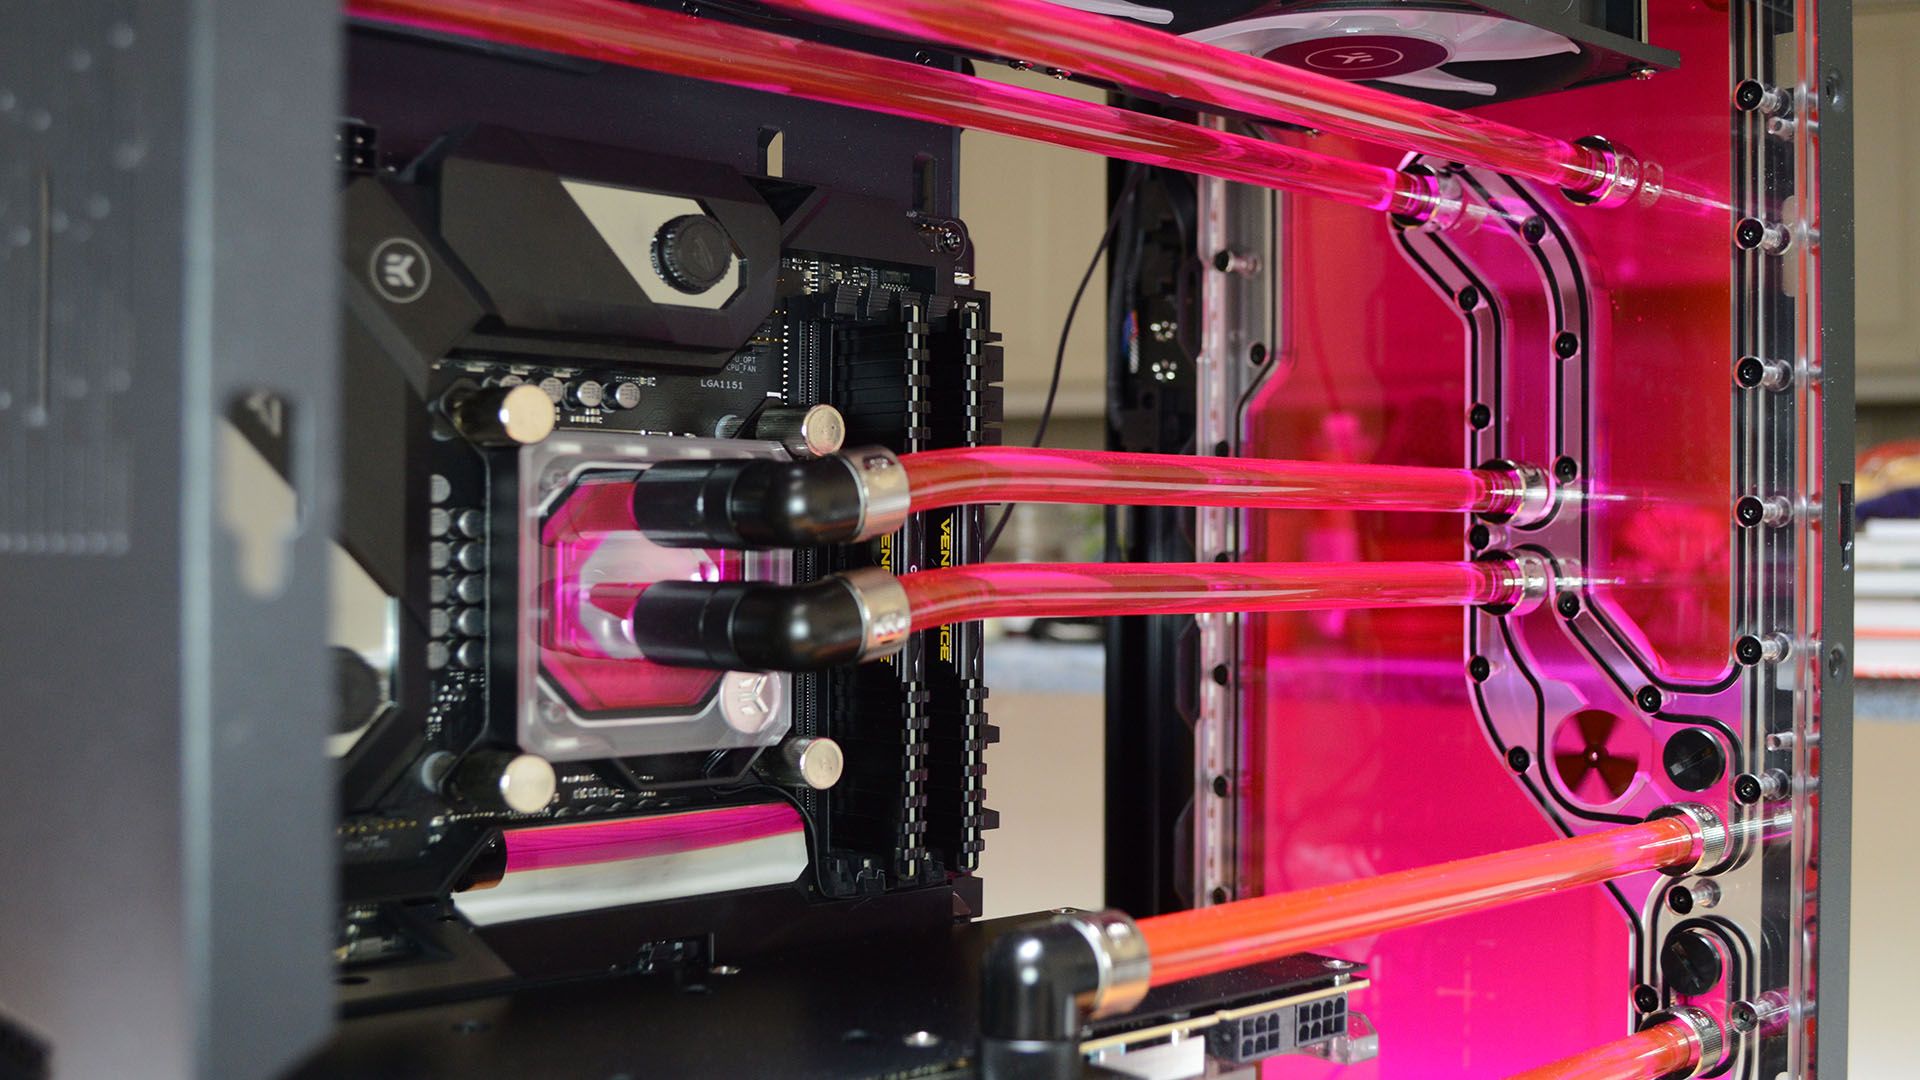
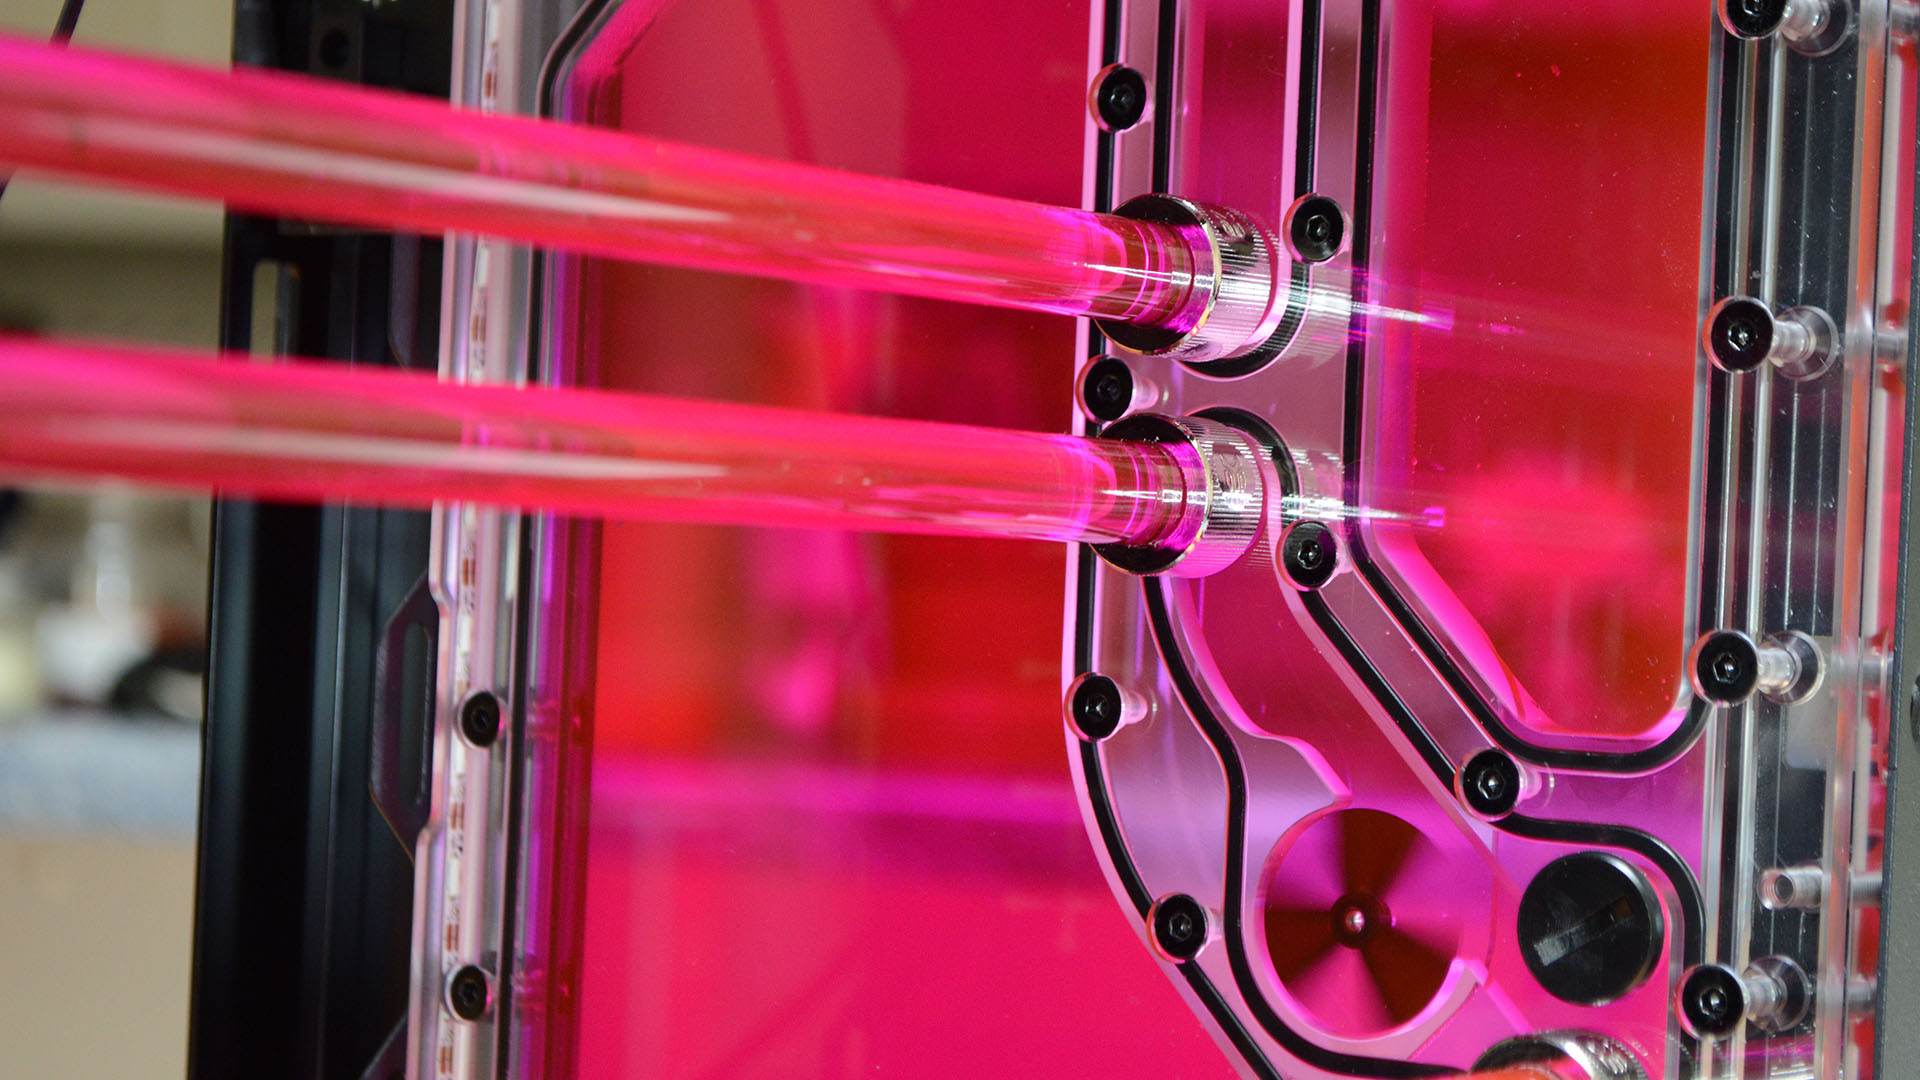
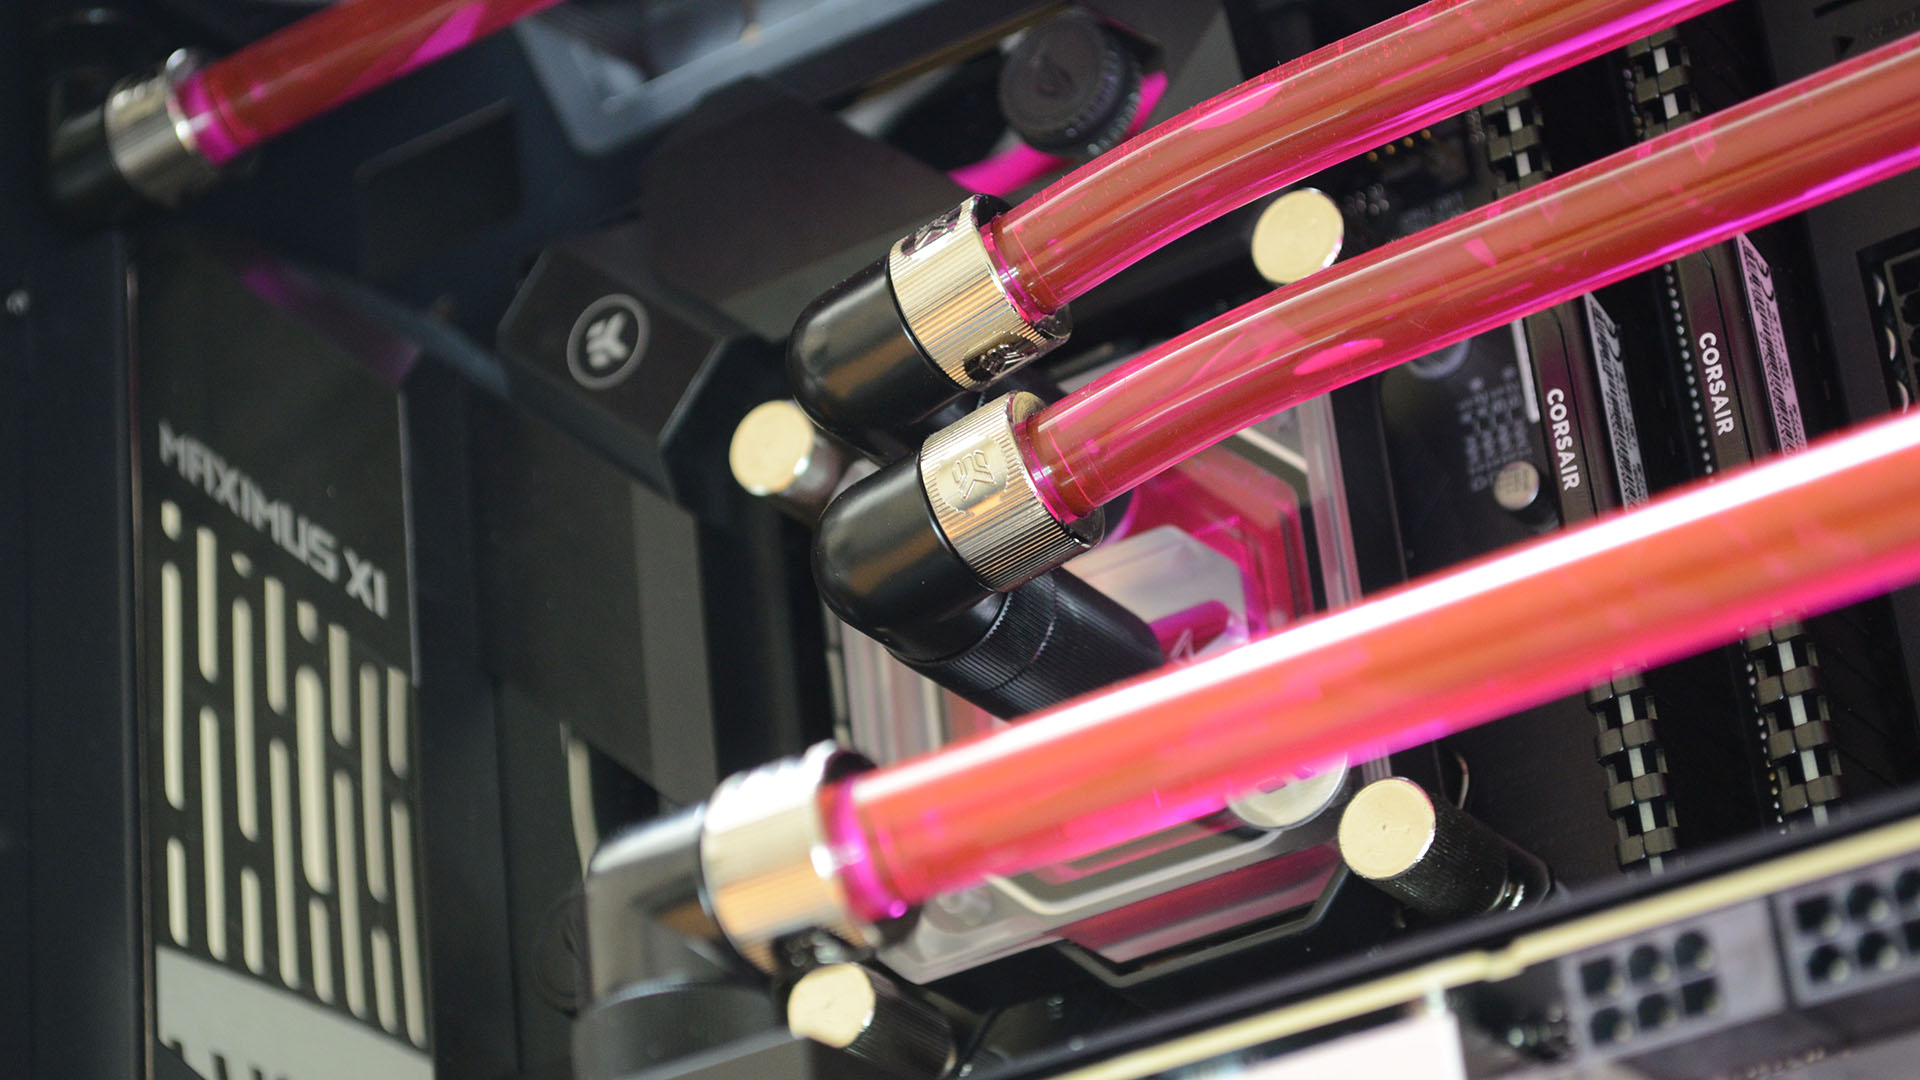
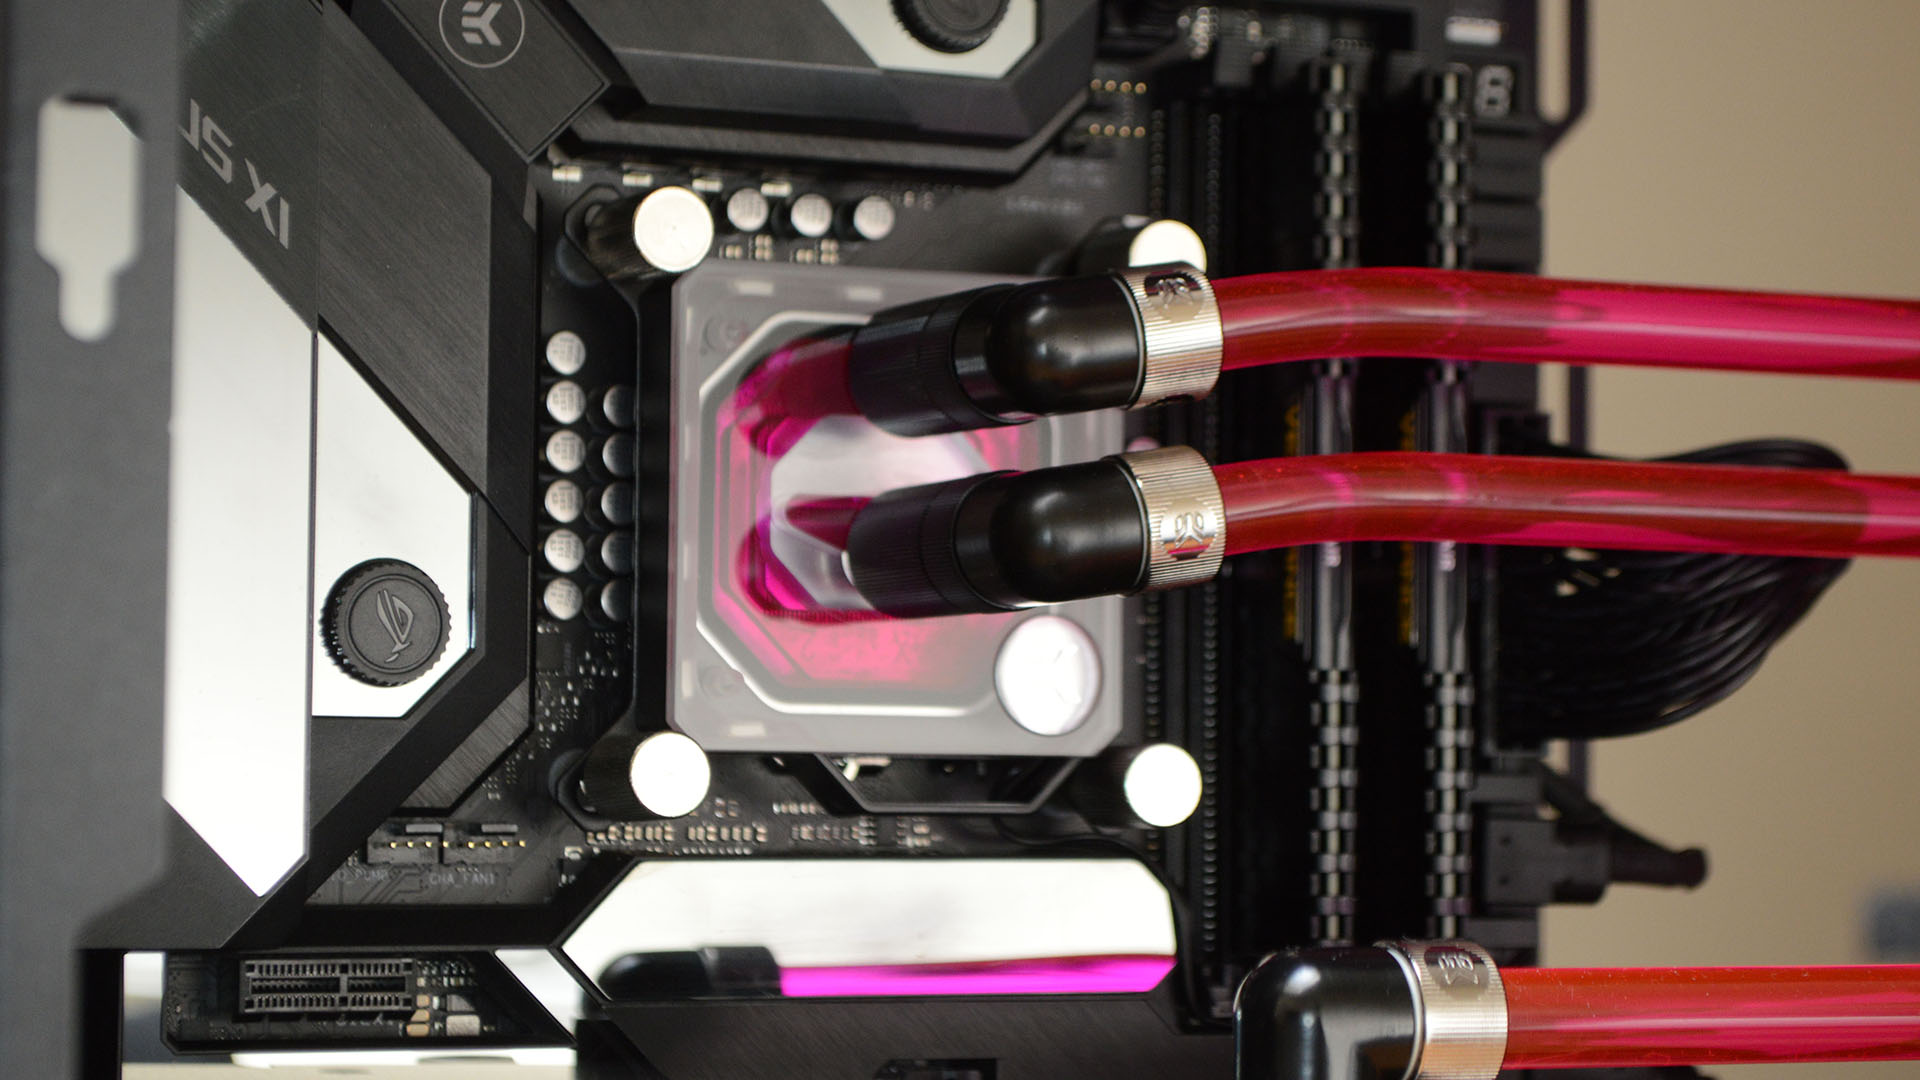
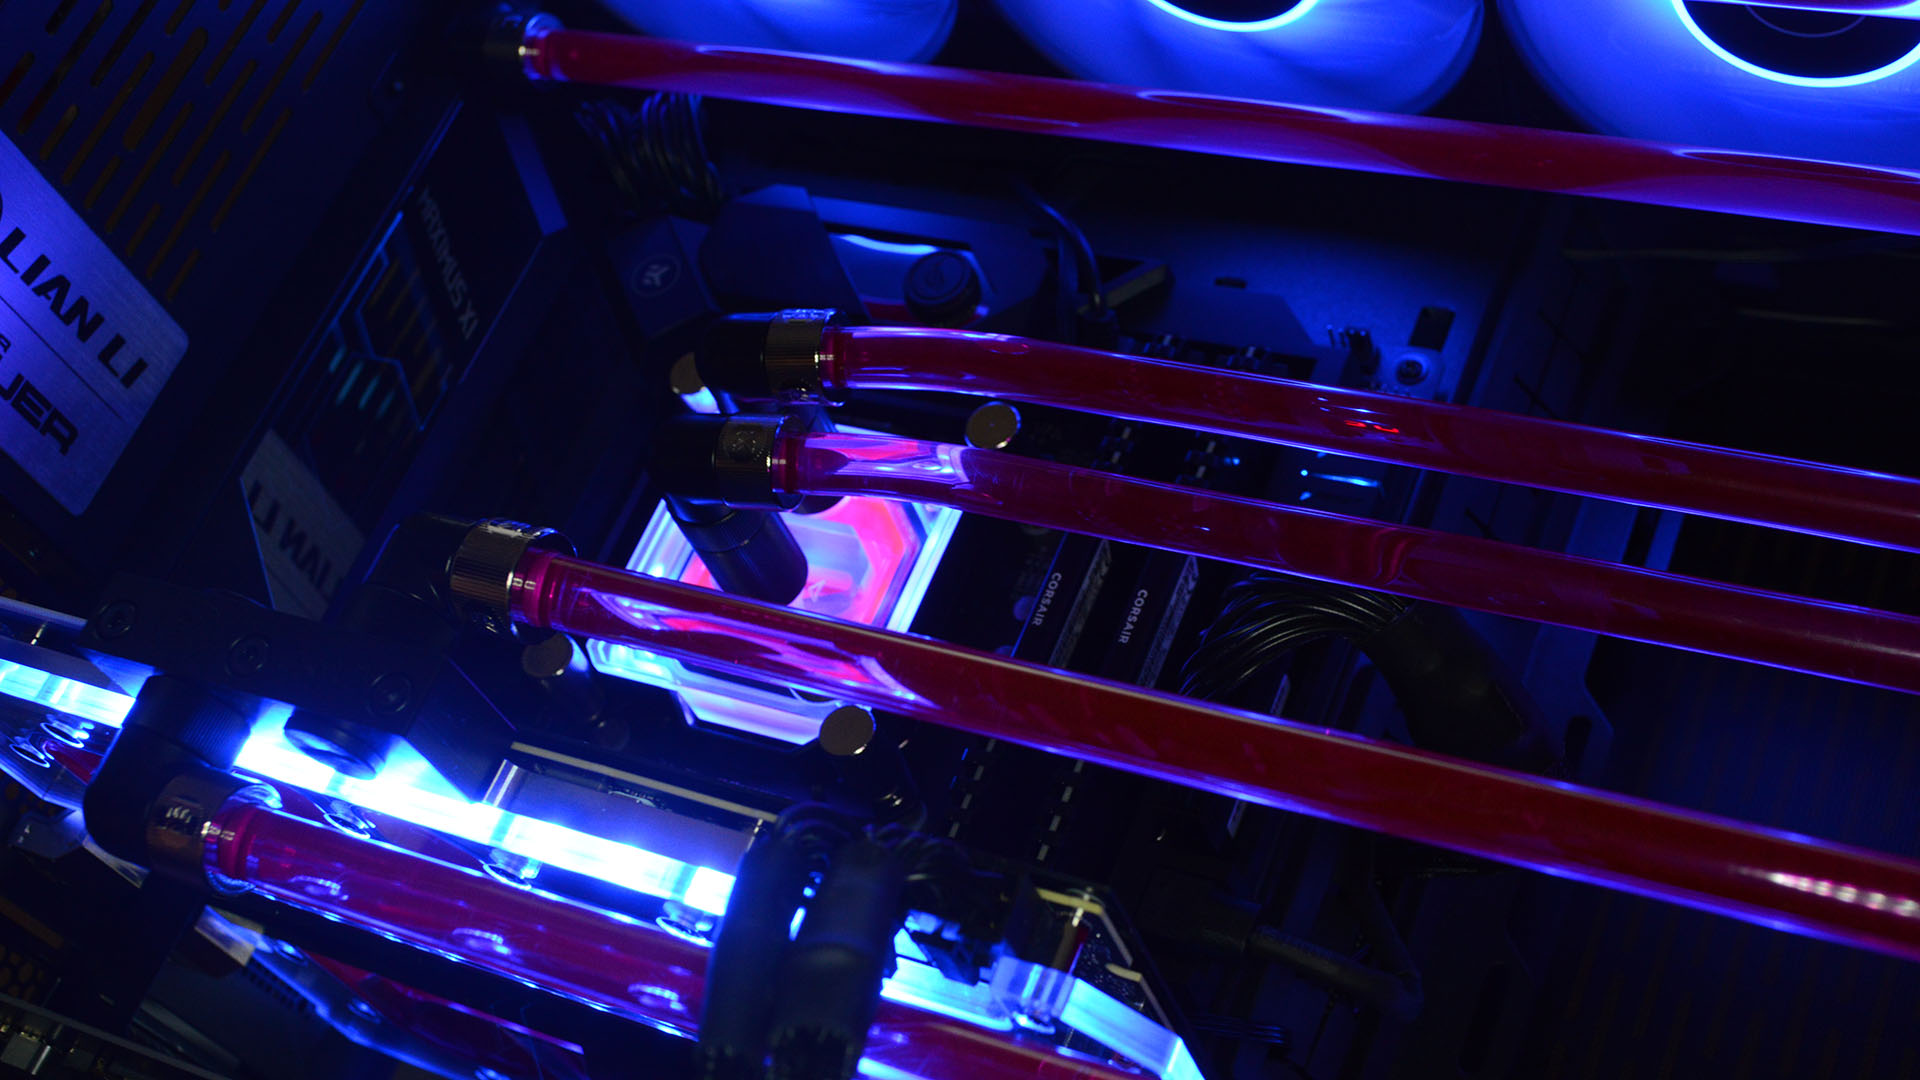
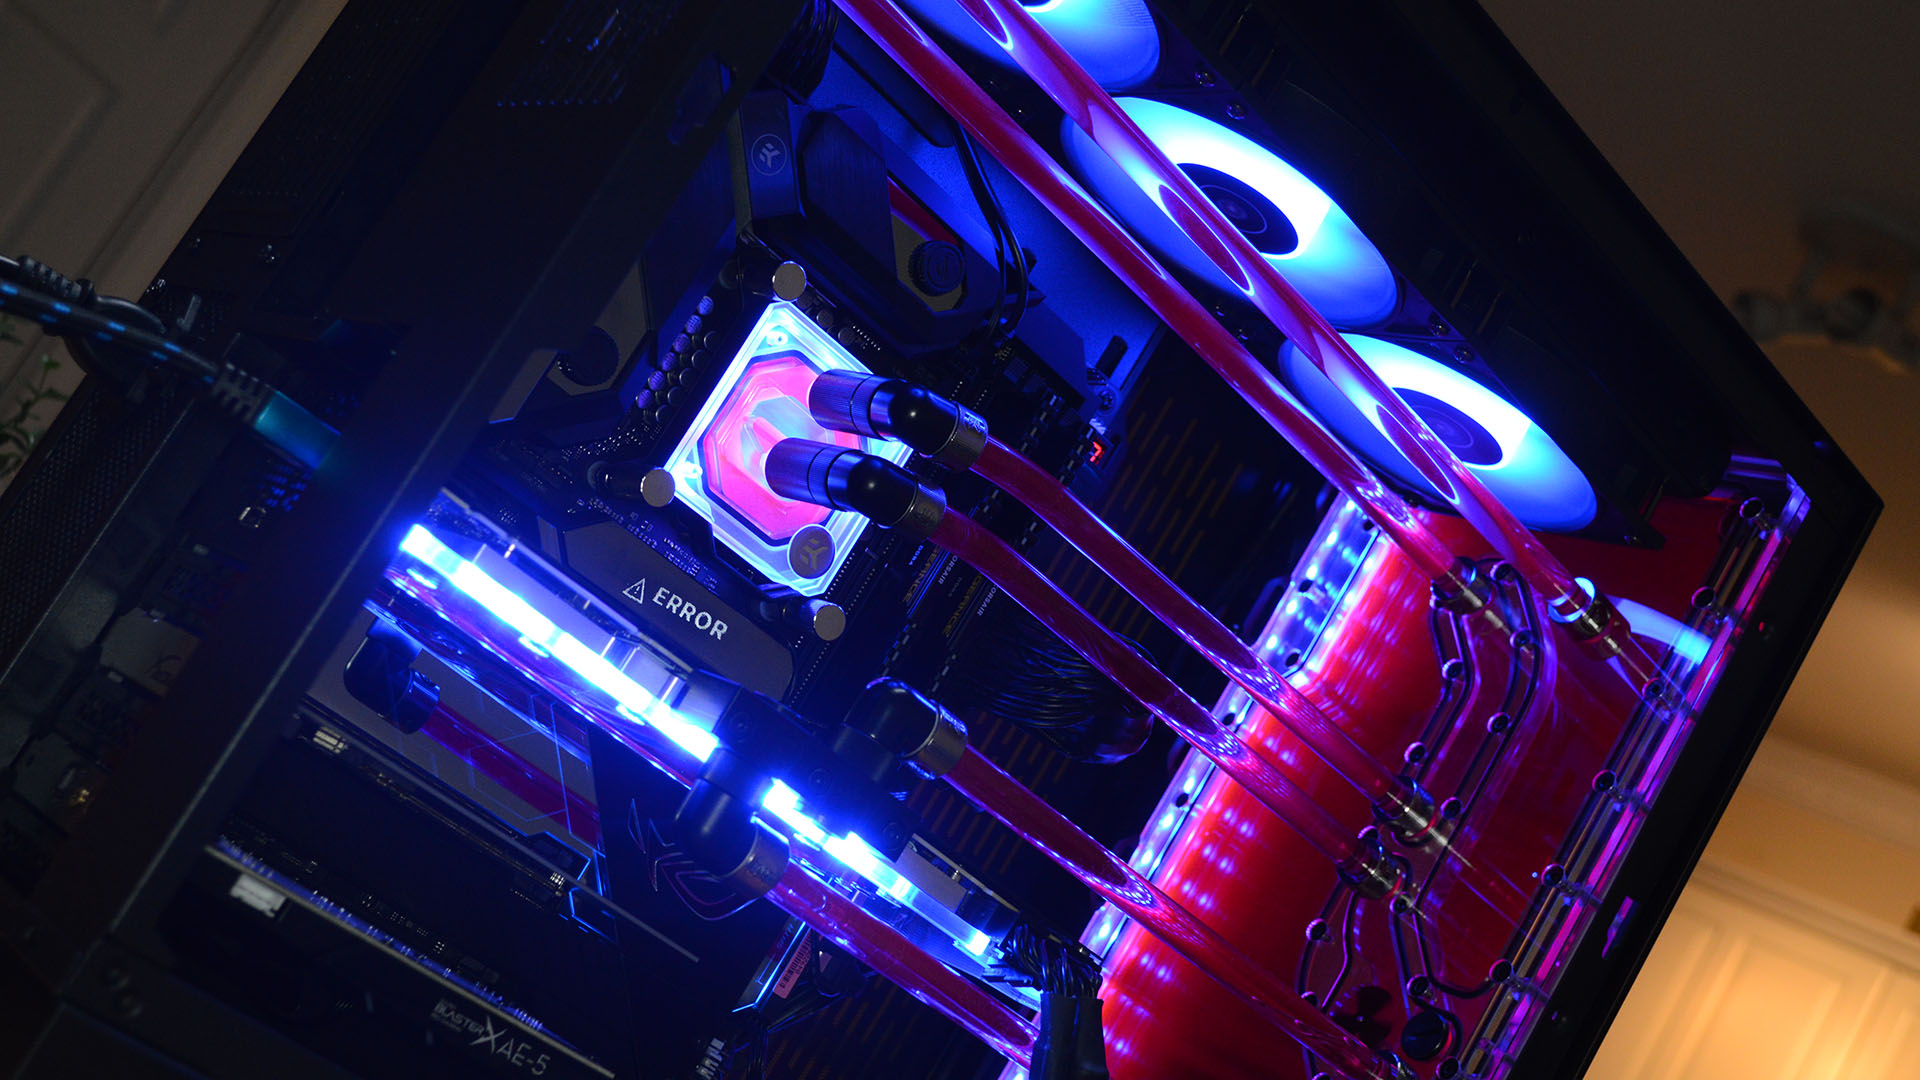
The next morning, after a fitful sleep, I swiftly returned to the building process, and to my surprise it actually all looked rather impressive. The tubing runs are clean and consistent, the fittings look in good order, and the whole build honestly looks fantastic.
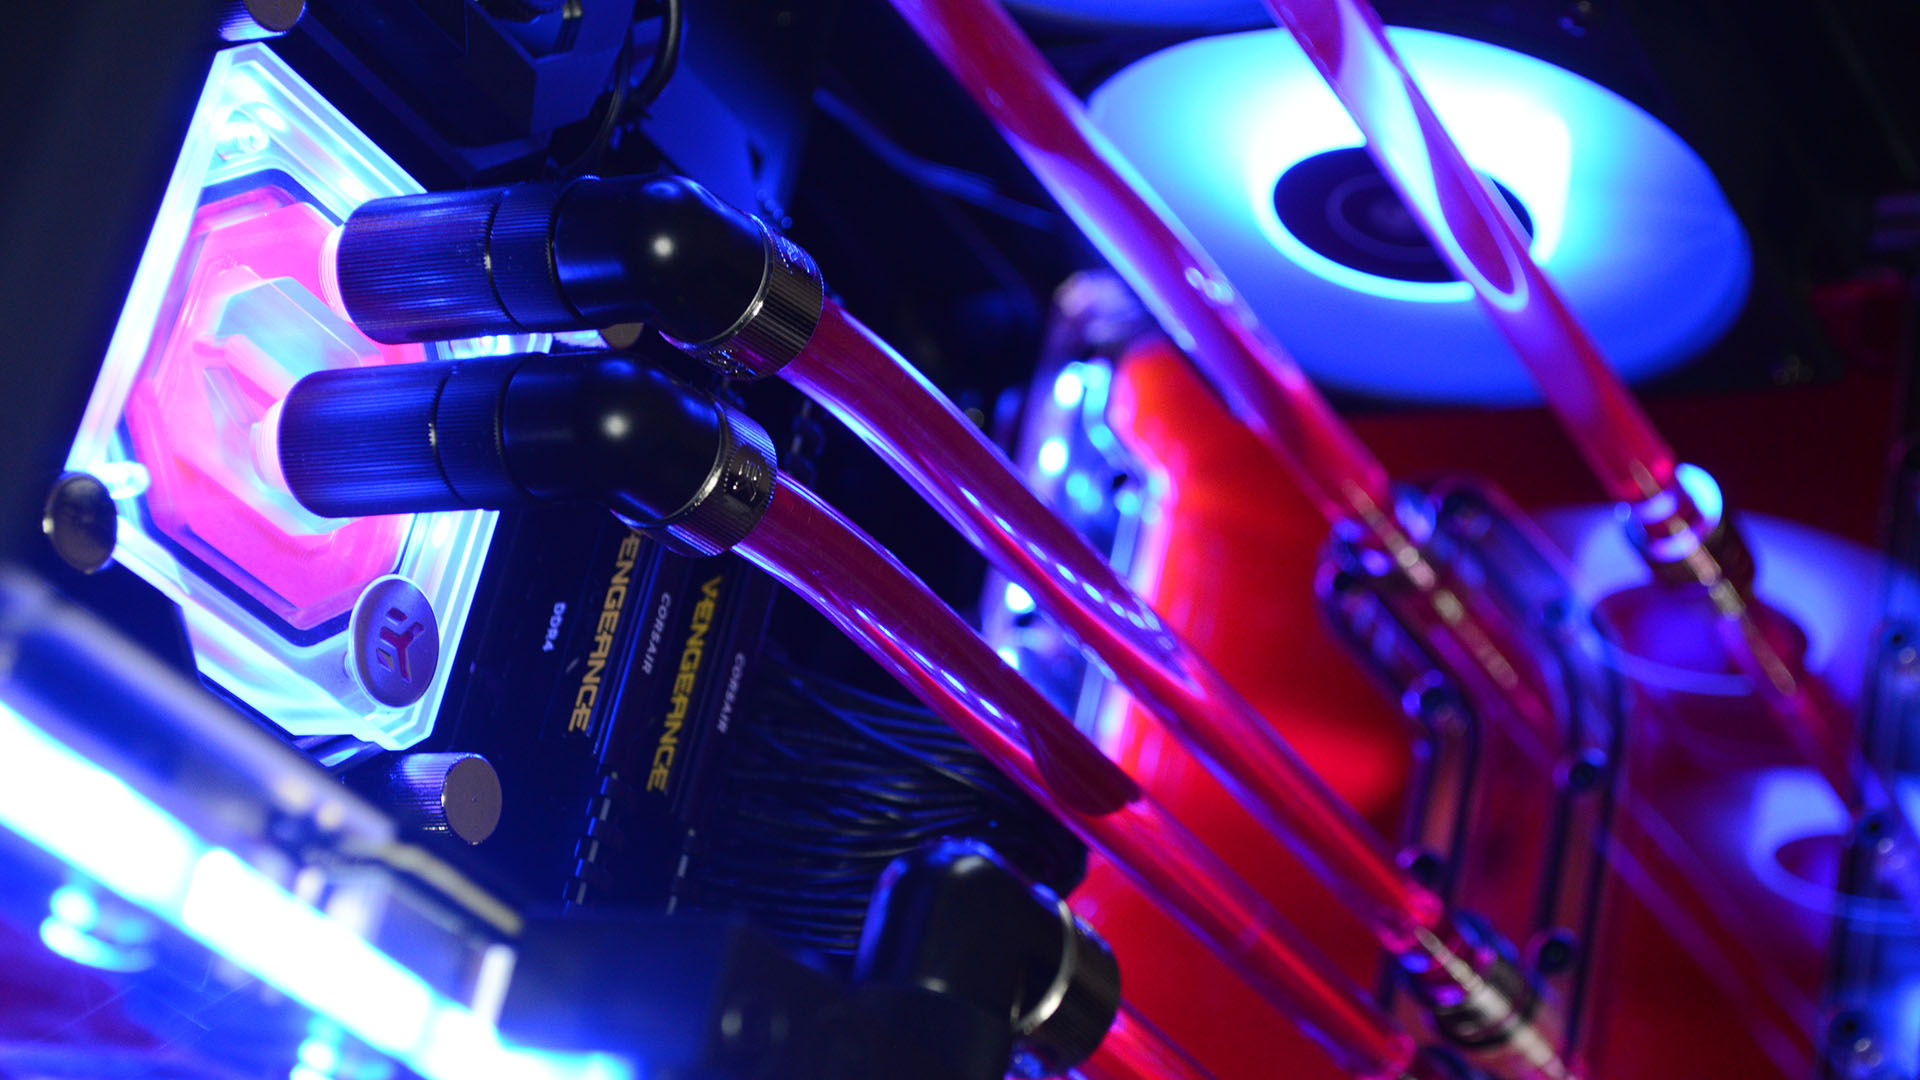
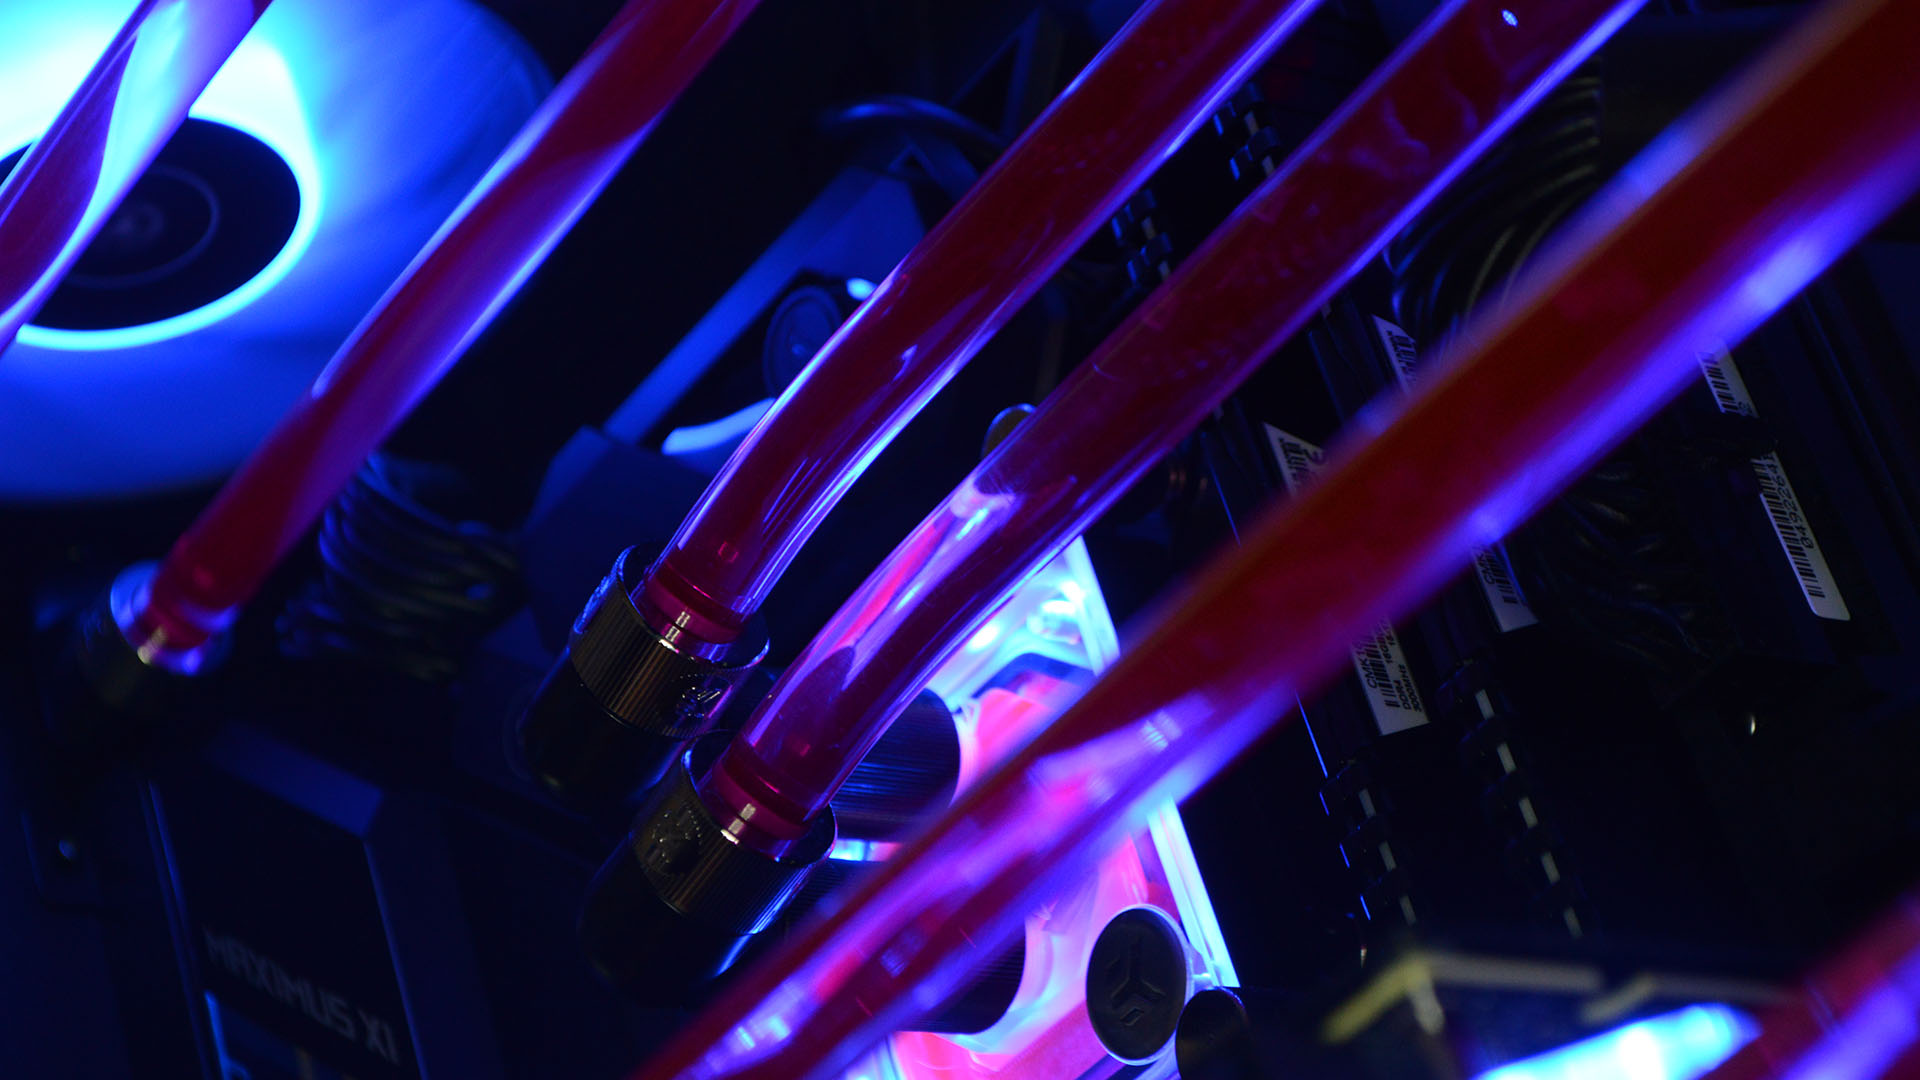
Next step: filling and checking for leaks. I ordered two bottles of EKWB CryoFuel prior to the build, which is premixed fluid that ticks all the necessary anti-bacterial, non-conductive boxes. There are a heap of colours available—from navy blue to blood red—but I went for pink. Power Pink, to be exact.
Thanks to the inclusion of a filling port on the upper left-hand corner of the distro plate, it's easy to gently fill the system. It didn't take long to fill the entire loop, switching the pump on for a moment every so often to cycle the liquid through the system, as instructed. I lay down some tissue beneath most of the fittings to monitor to soggy patches, and following the shenanigans of the night before I was a little surprised to find that there were no evident leaks.
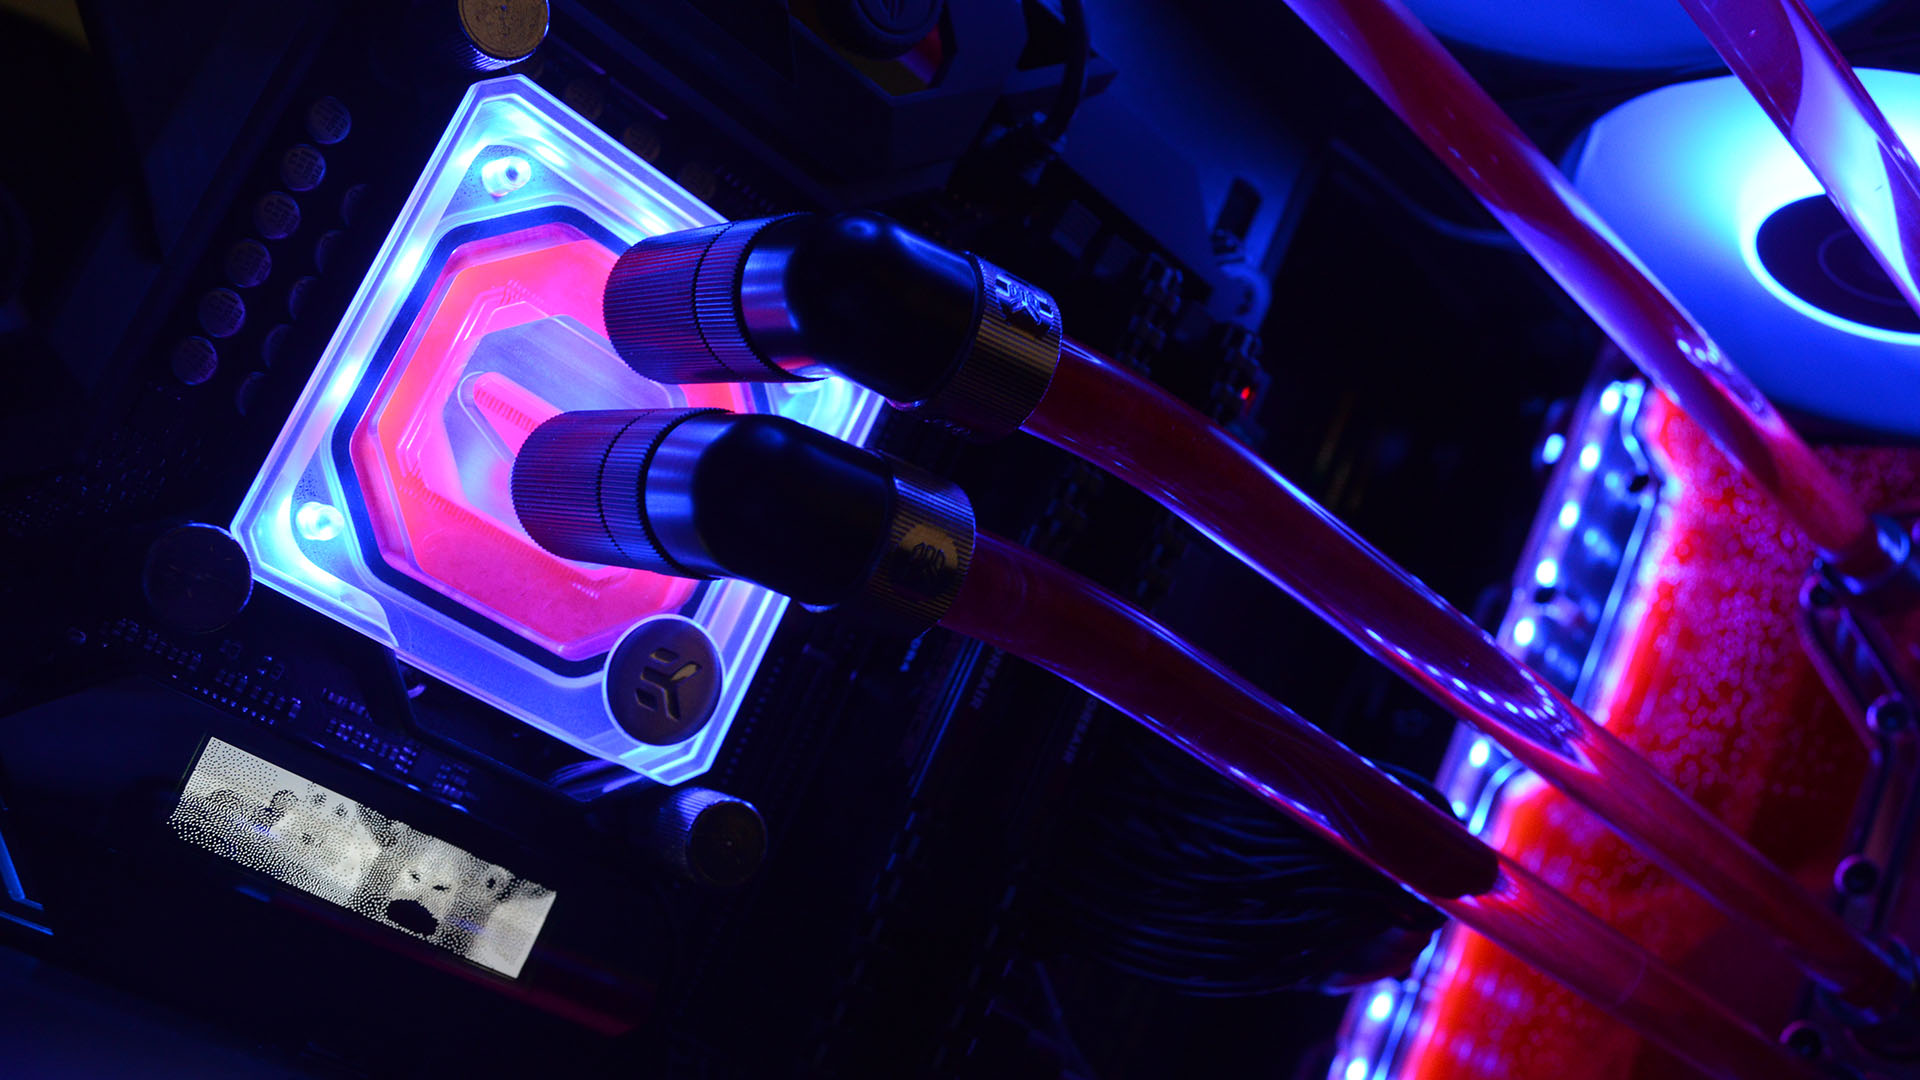
A quick build of the remaining parts, helped along by the Lian Li's superb cable management, and my PC was essentially finished. Each fan, along with the distro plate, CPU block, and GPU block, all feature RGB lighting controllable through a 5V header, and an included splitter cable makes easy work of connected them all up, too.
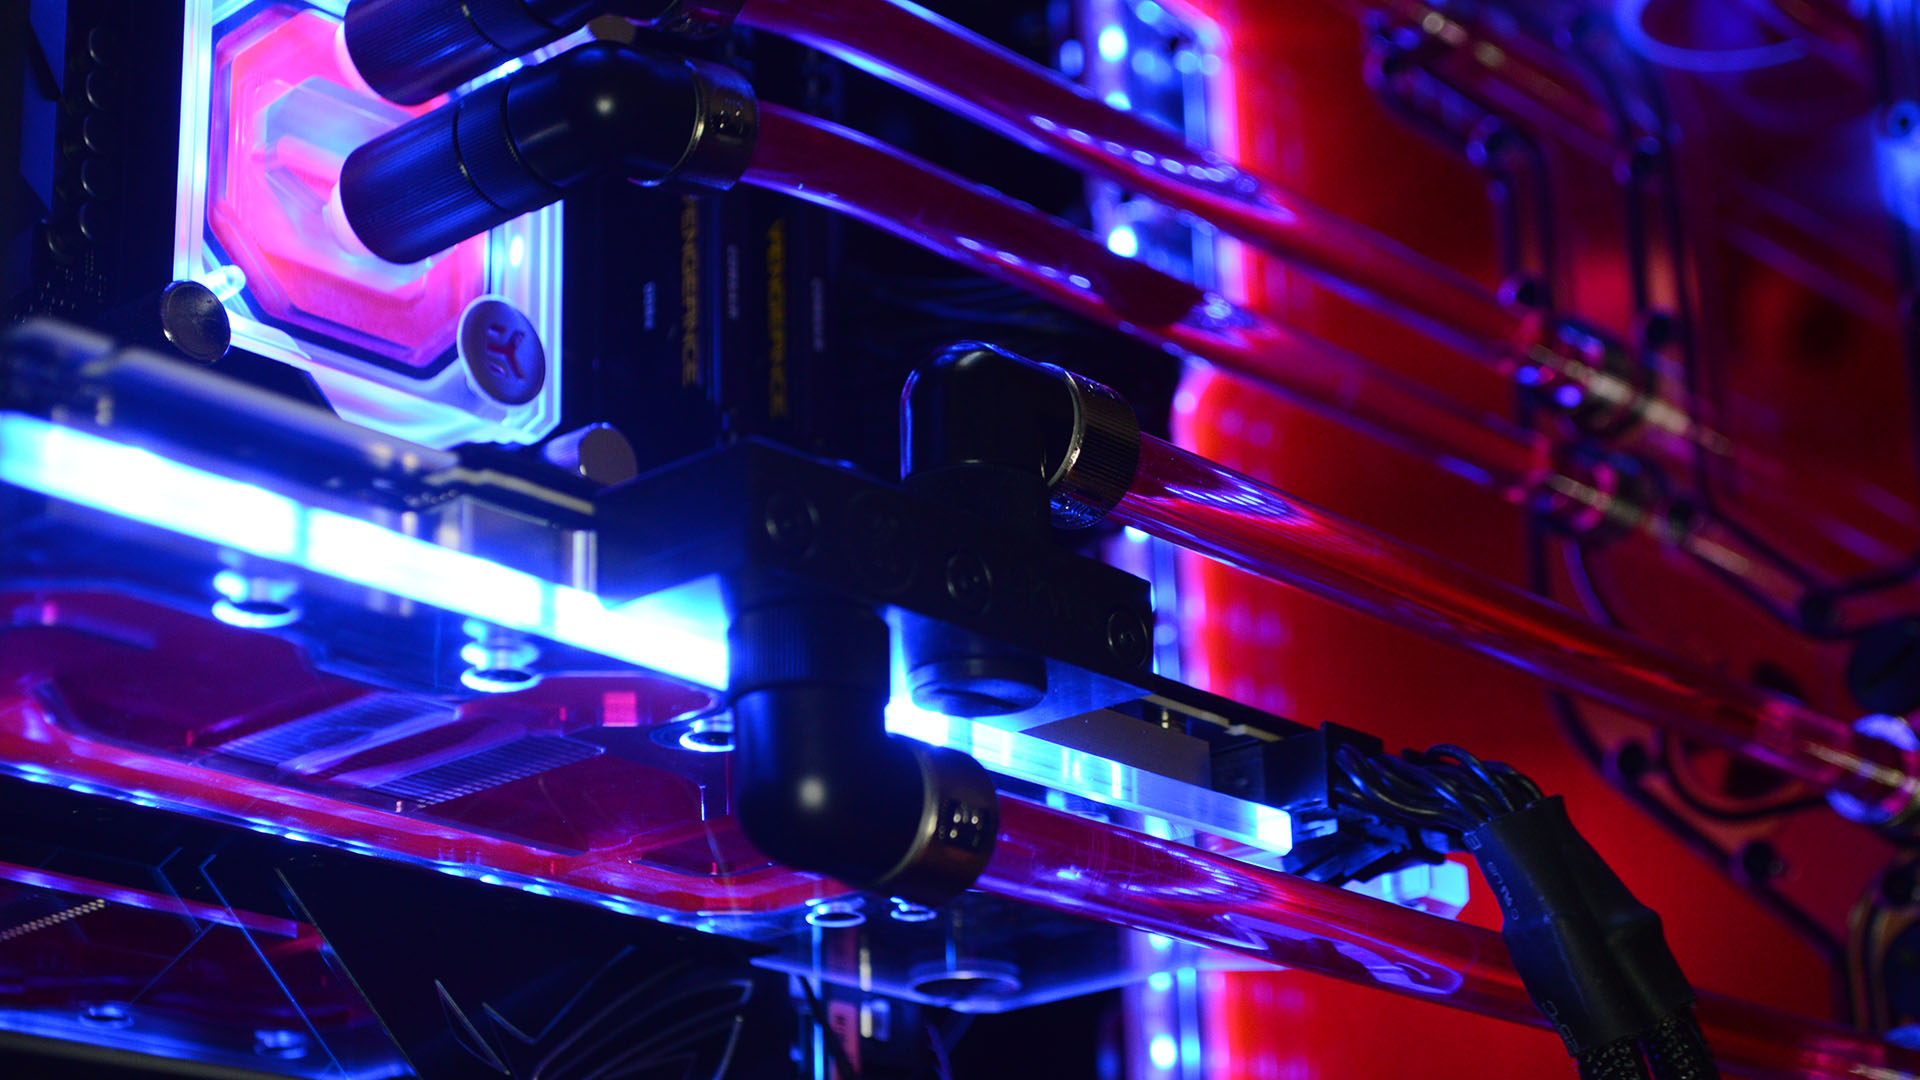
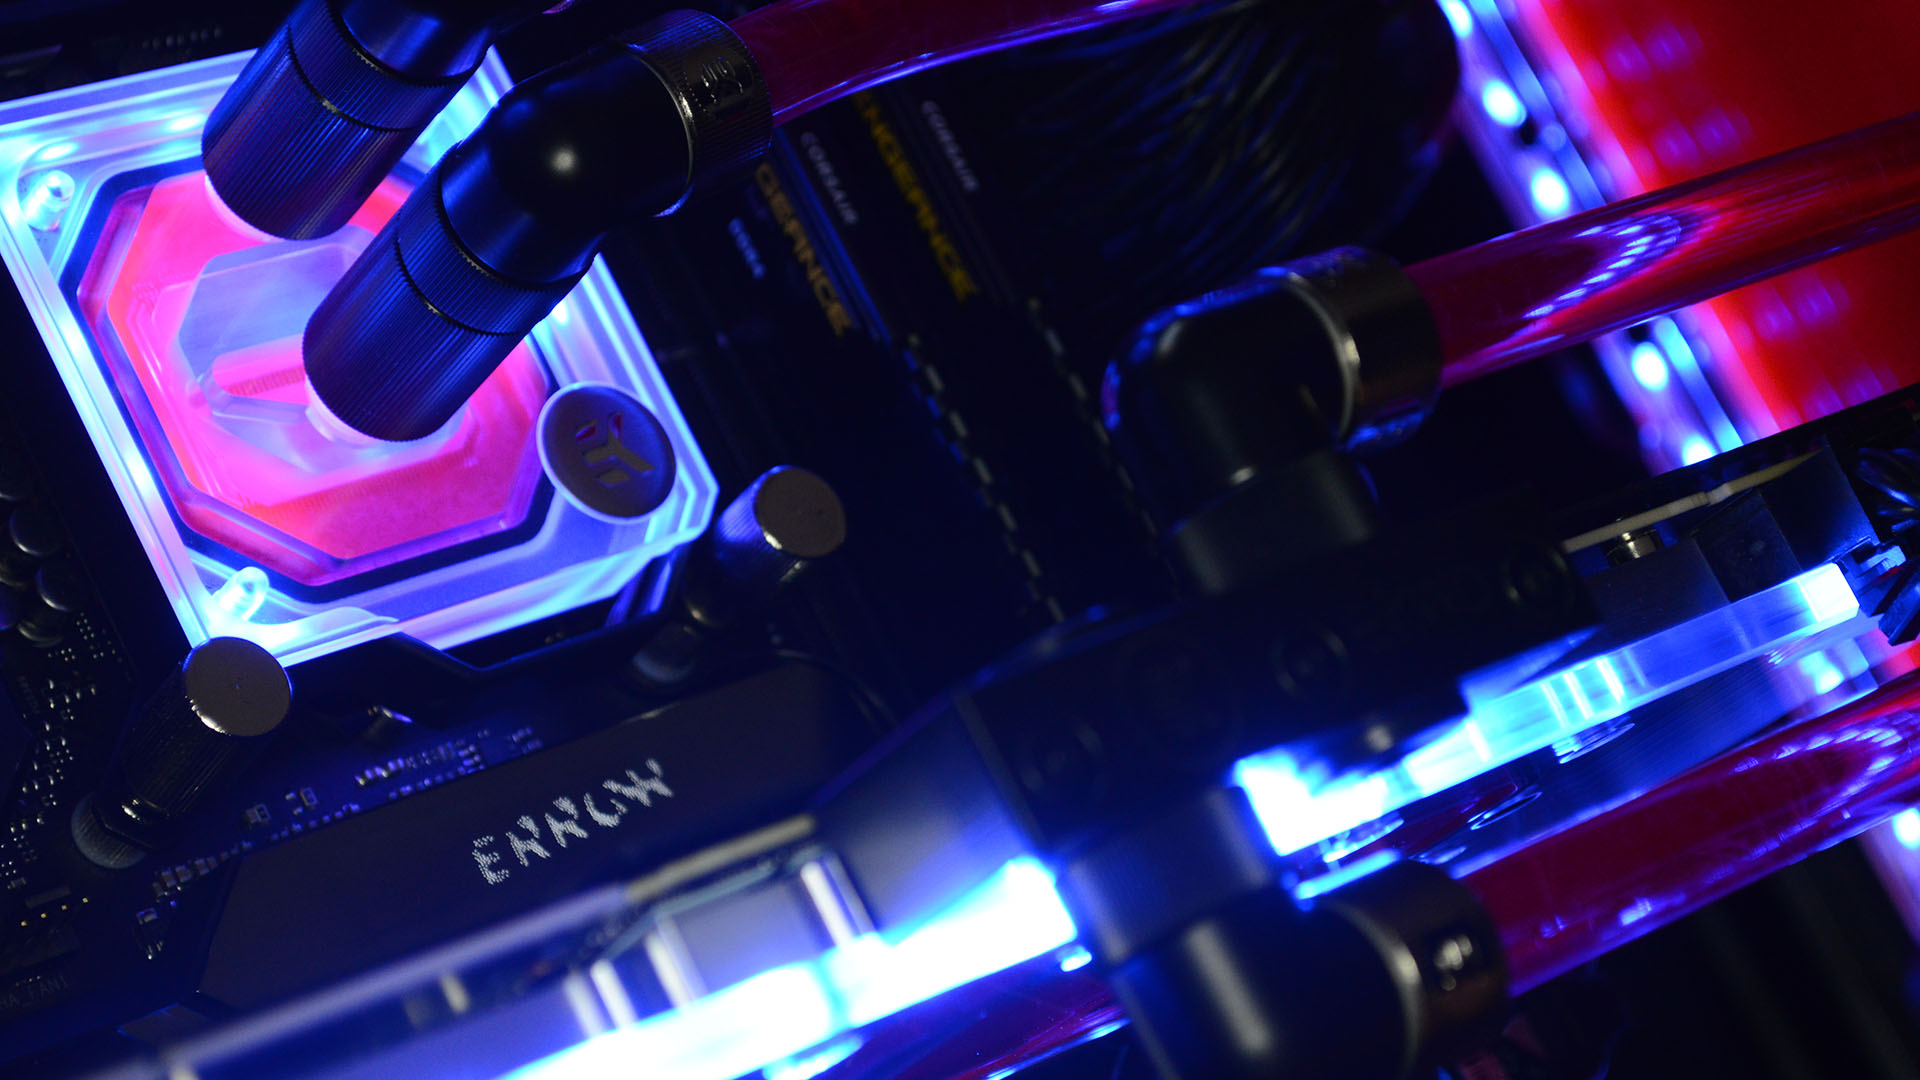
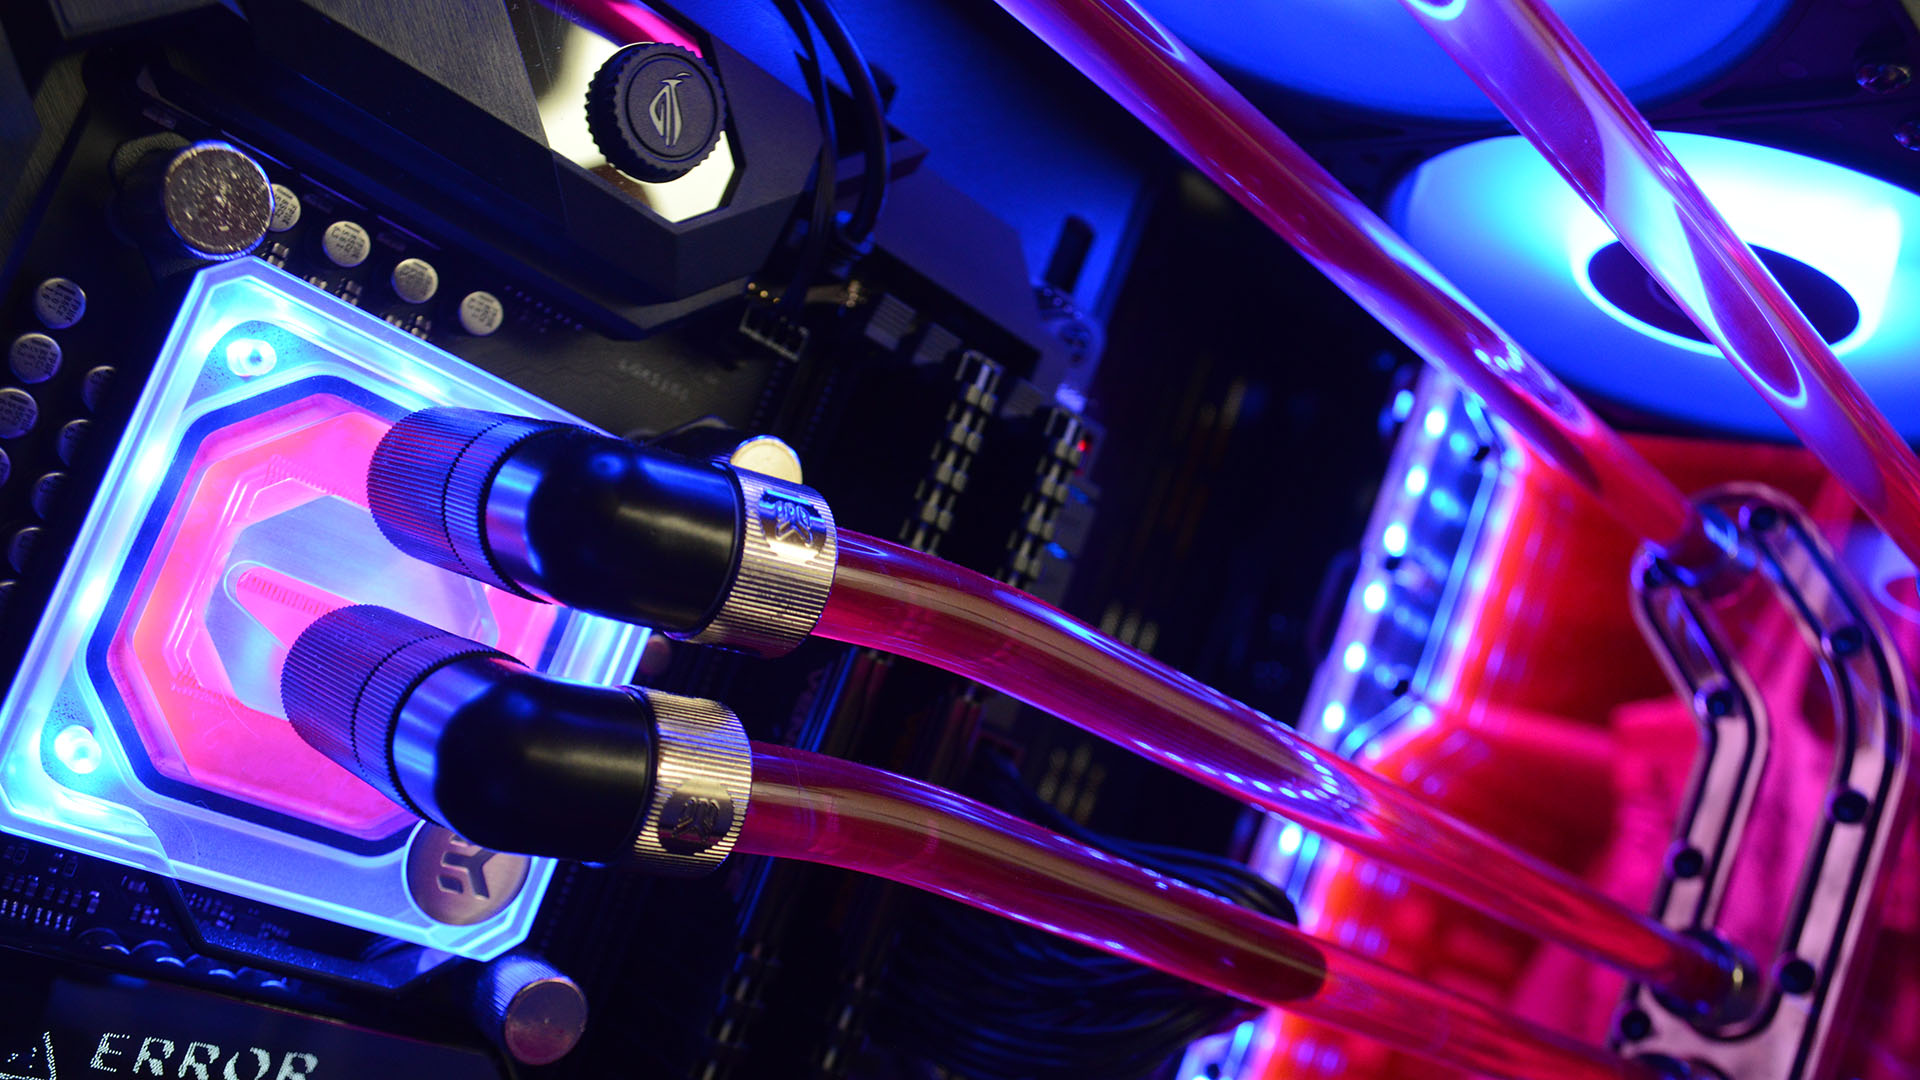
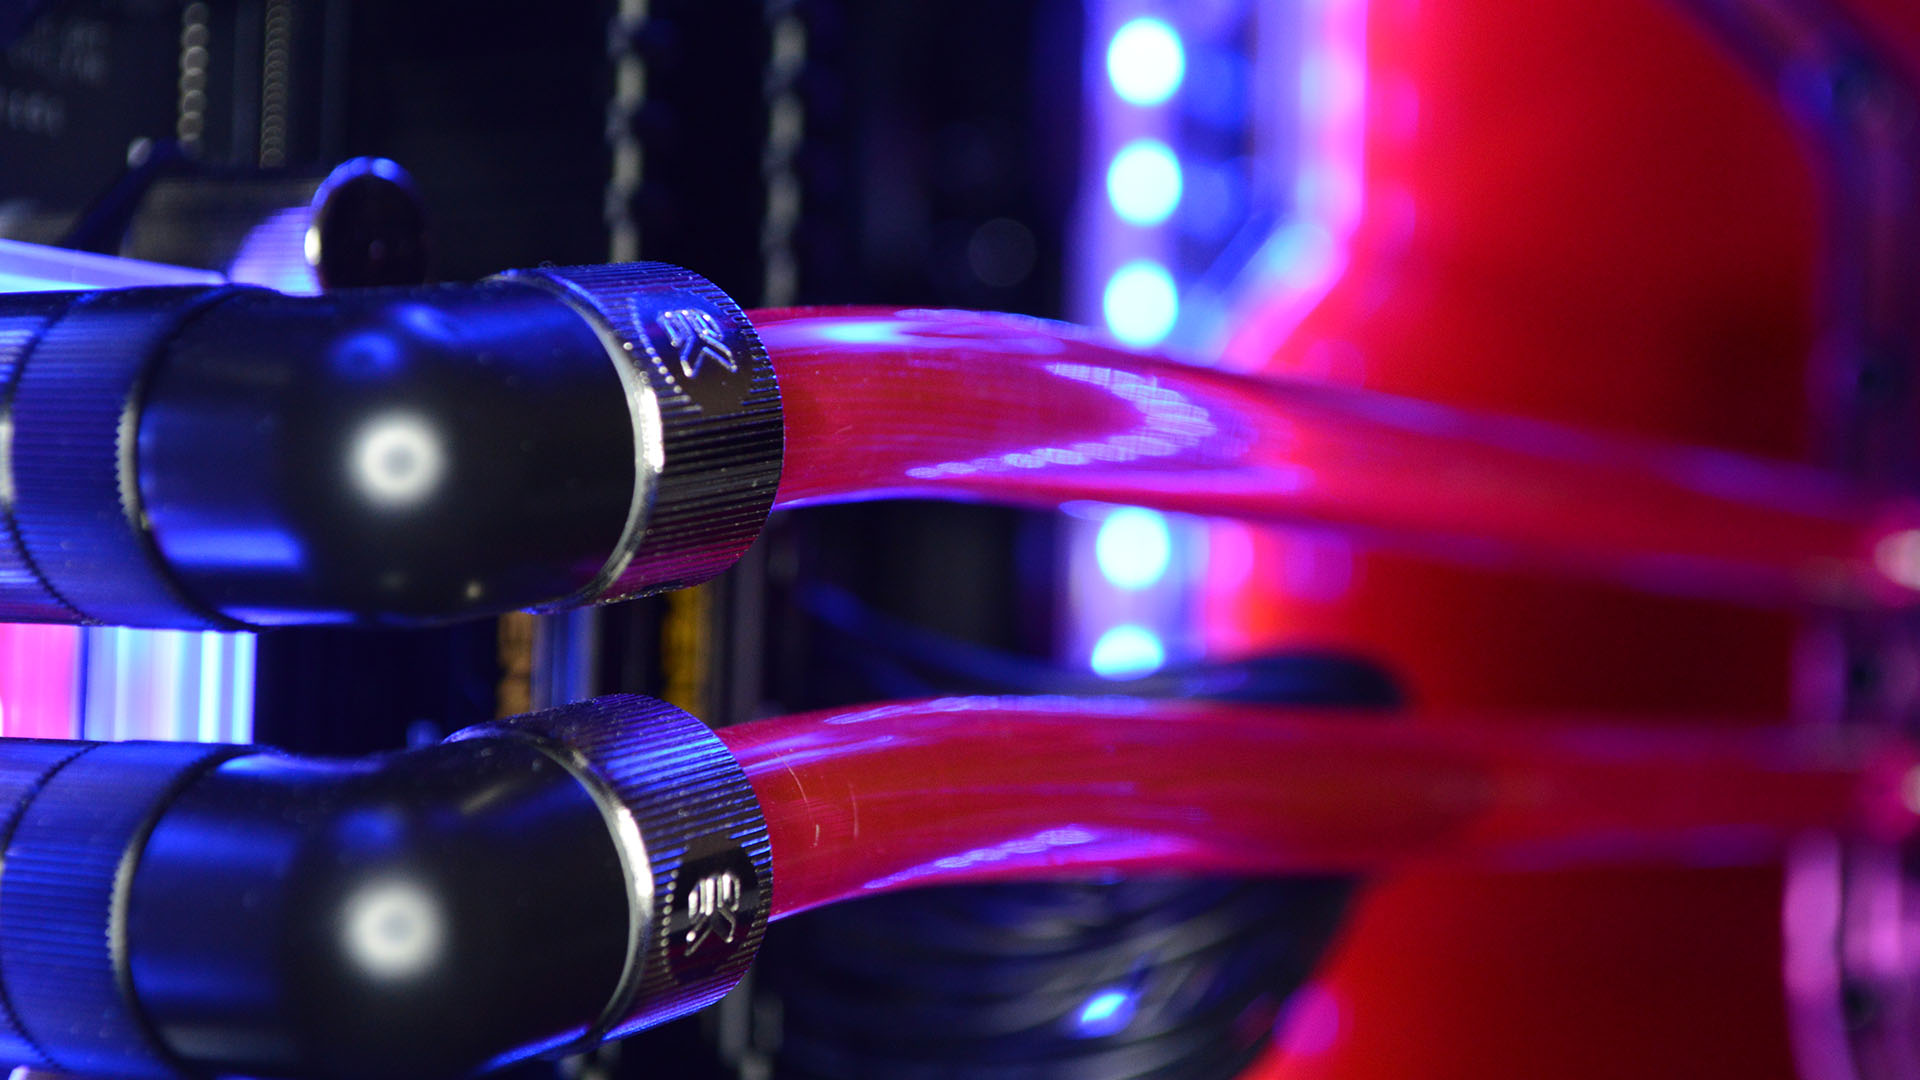
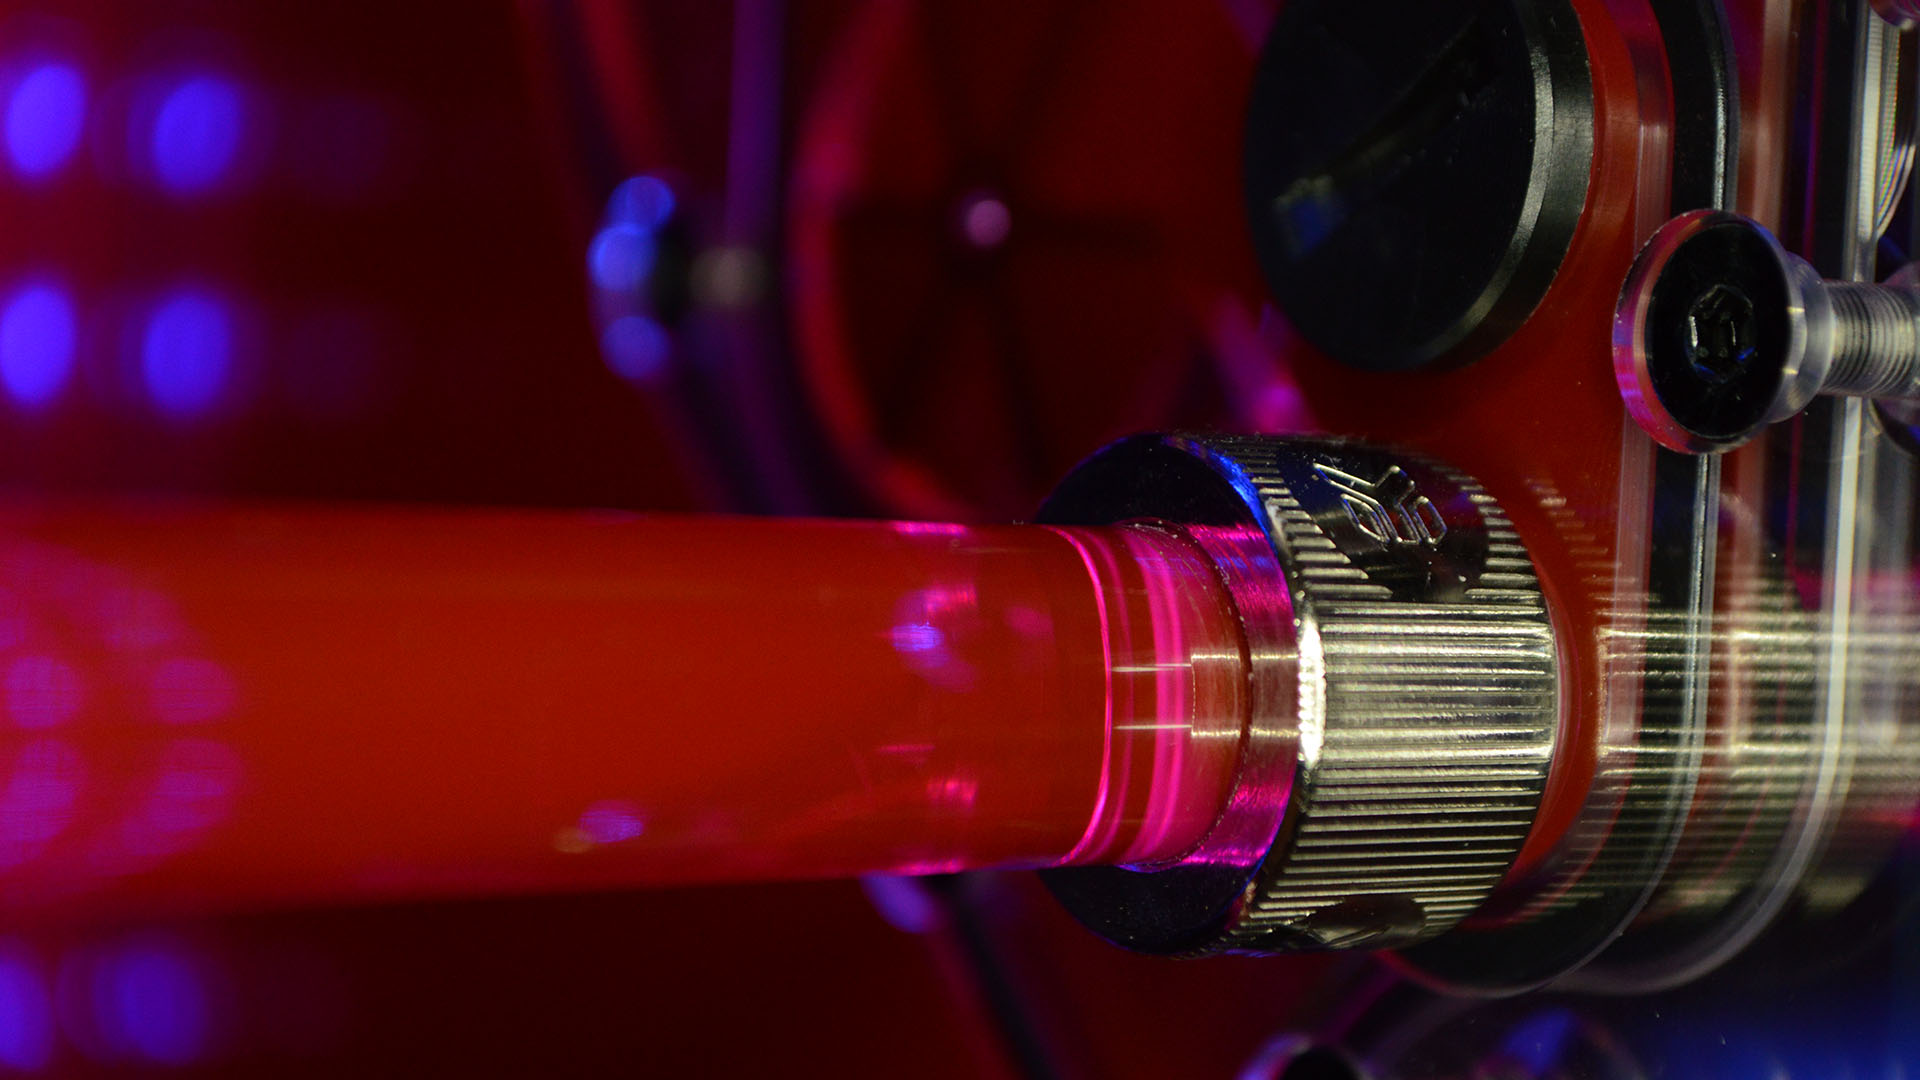
Finished build
Performance
As I mentioned previously, my old gaming PC was no slouch. The BeQuiet! Dark Base 900 Pro case is heavily insulated to keep the whirring of fans contained within, and comes with three 140mm fans. I also specifically opted for the hefty Noctua D15 air cooler, and not an all-in-one liquid cooler, for high-performance, low-noise operation, courtesy of twin 140mm fans.
So the bar was high for the custom-loop PC. I'd of course heard of the efficacy of custom-loop cooling, but with the combination of an already thermally content system, along with the aluminium parts, I really wasn't sure where the EKWB Fluid Gaming kit would fall in comparison.
To find out, I ran Cinebench R20 and Metro Exodus and jotted down the results. I left the fan curves to the standard Asus BIOS preset and the CPU at 4.9GHz all-core, for now.
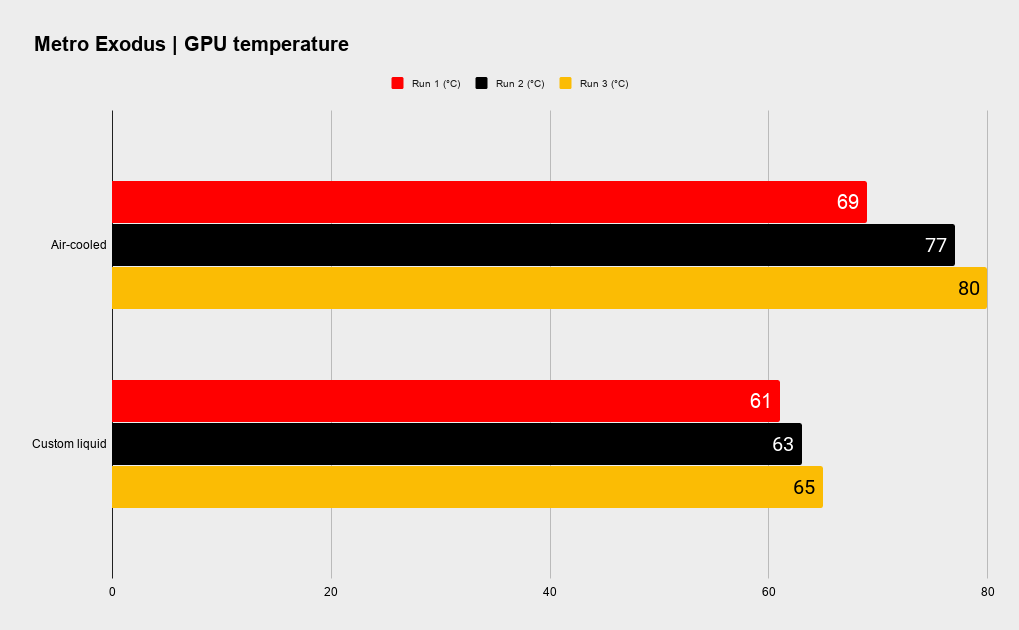
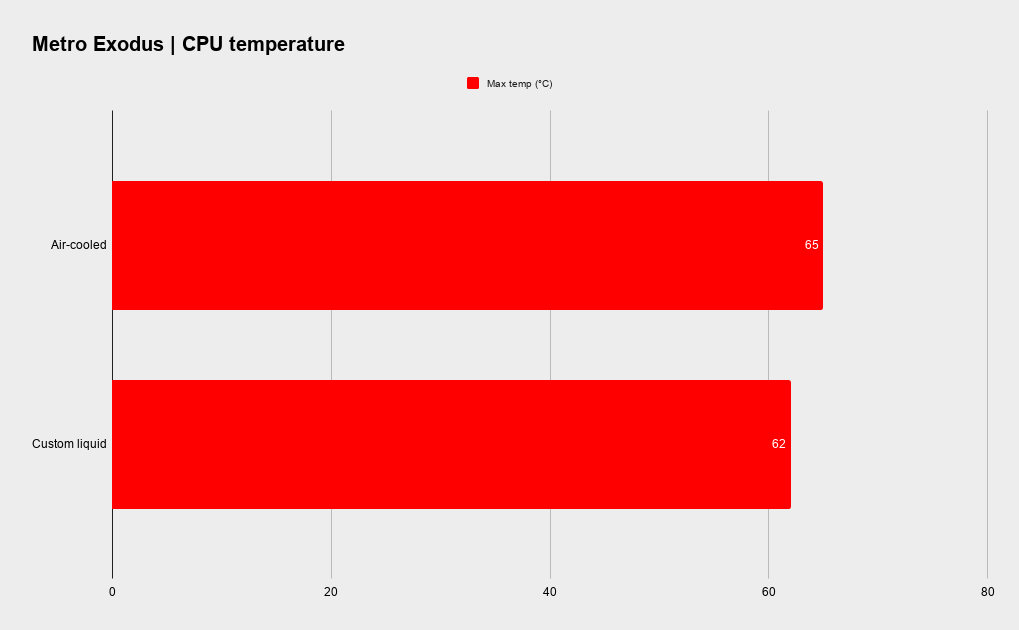
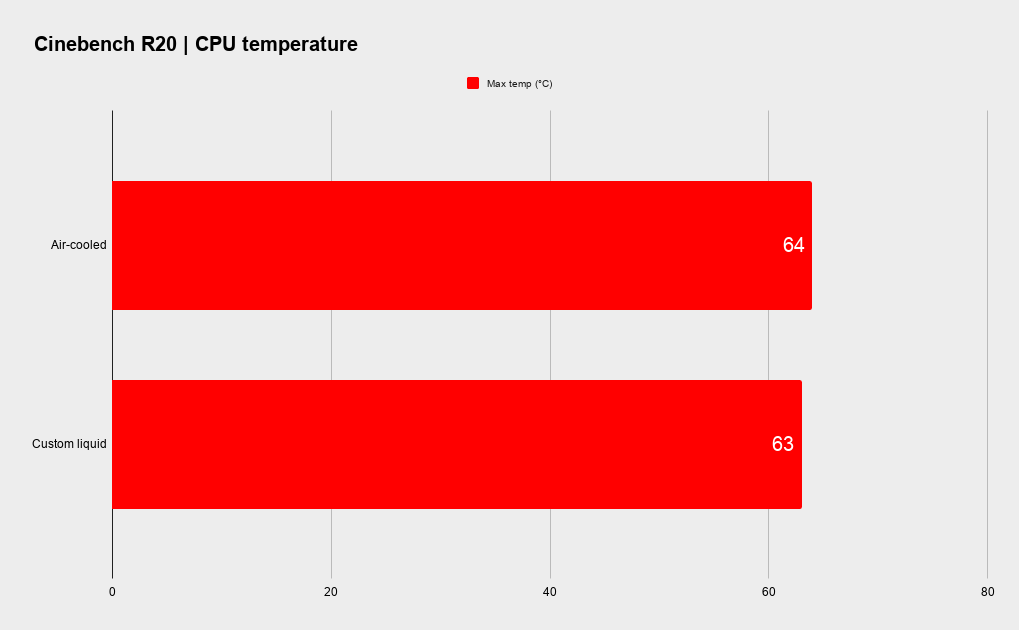
As you can see in the graphs above, the liquid-cooled machine manages to significantly lower GPU temperatures throughout three runs of Metro Exodus and drop CPU temperatures a touch across videogame and Cinebench R20 runs.
I originally reported that the GPU temperatures were hovering only slightly below the air-cooled values, but it turned out I hadn't tightened the water block fully and as a result it wasn't making complete contact with the die—that's what you get for being terrified of shattering a GPU die, I suppose. EKWB's own in-house benchmarking puts an RTX 2080 below 55°C in a selection of games, but I'm hesitant to flush the entire loop in order to tinker with the block directly and so I'm settling with the performance I've got for now.
What's also impressive with the custom loop is that it manages to such cooling efficacy without necessitating an increase in decibels. I don't have a sound stage in which to test the exact acoustics, nor do I think that particularly necessary in this case, but I can say I haven't noticed any considerable difference with my own two ears.
That's actually quite the compliment for the liquid-cooled rig. Sans acoustic baffling, clever and quiet ventilation, or large 140mm fans, it manages to maintain a steady hum no matter what I throw at my machine. The SPC-60 pump, too, is exceptionally quiet—despite always running at 100%. When the rig does ramp up, it's only the triple EKWB Vardar fans that make any audible noise.
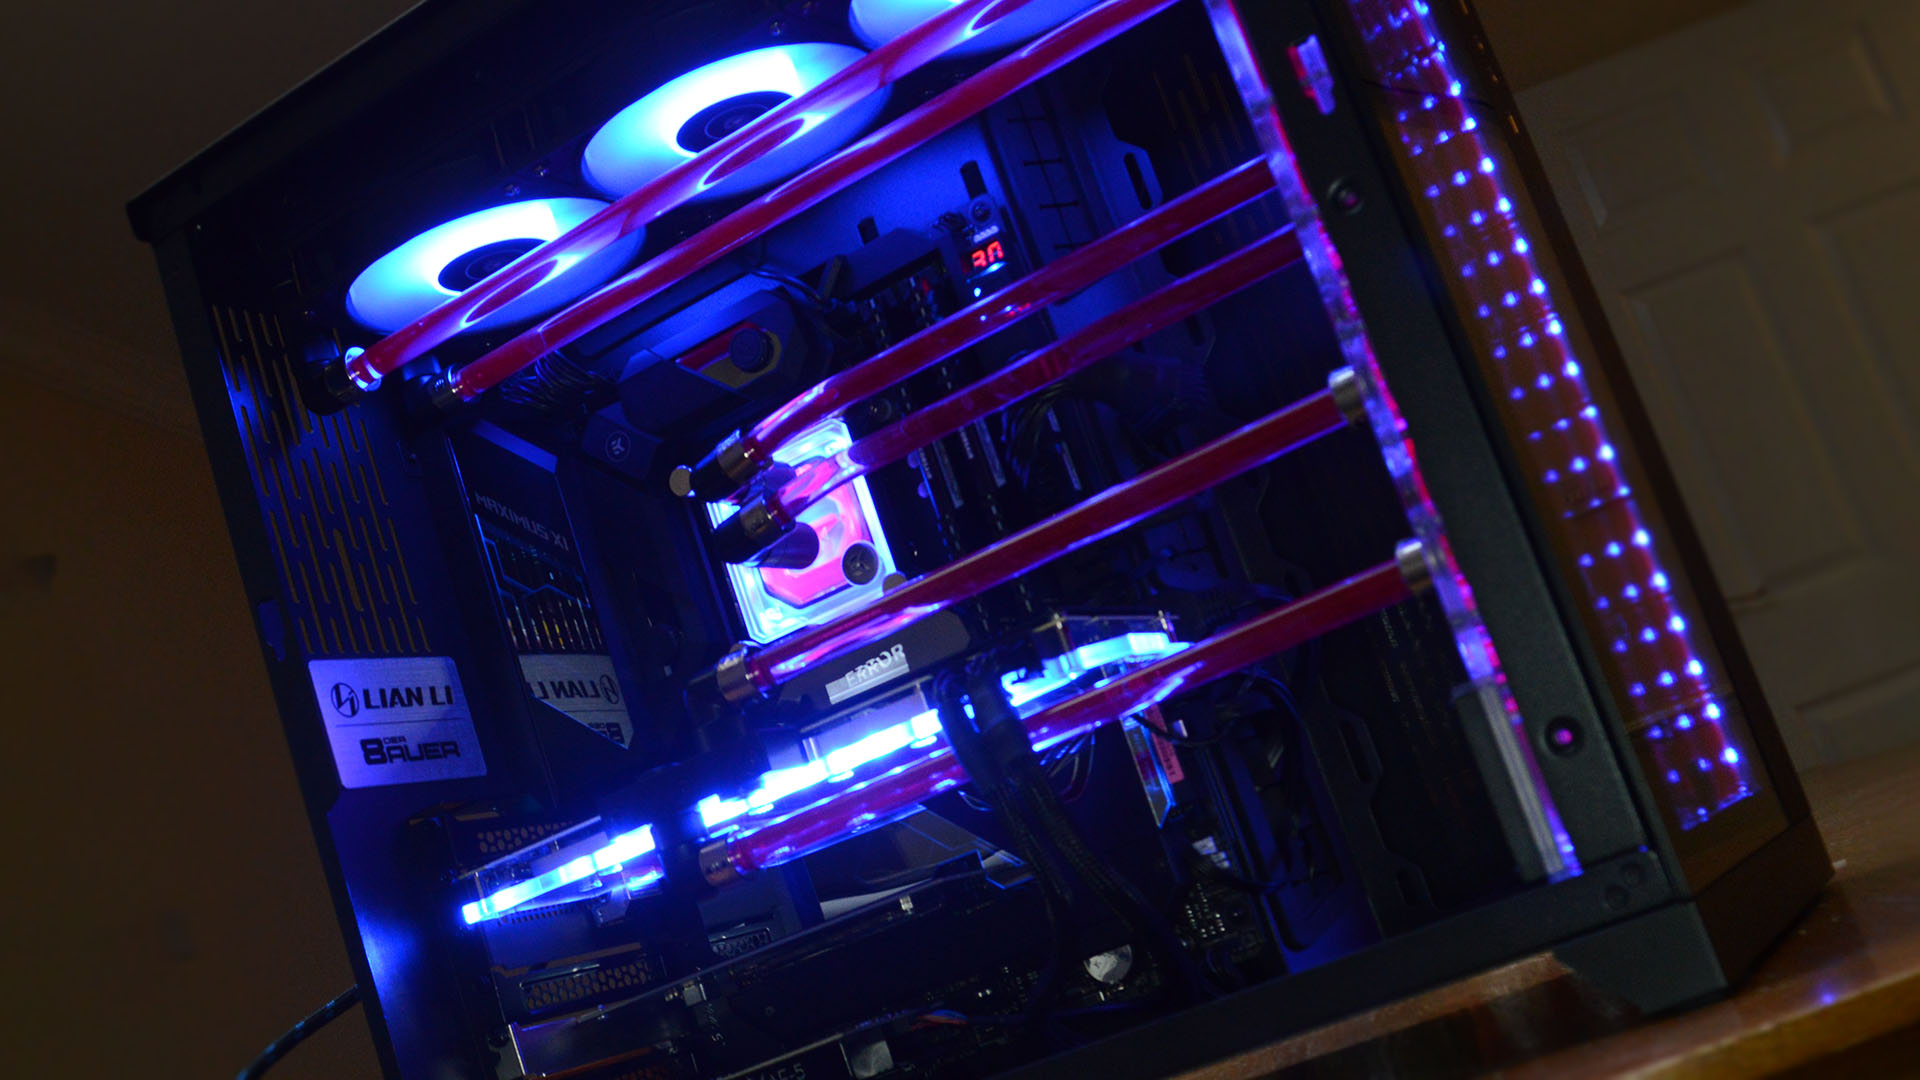
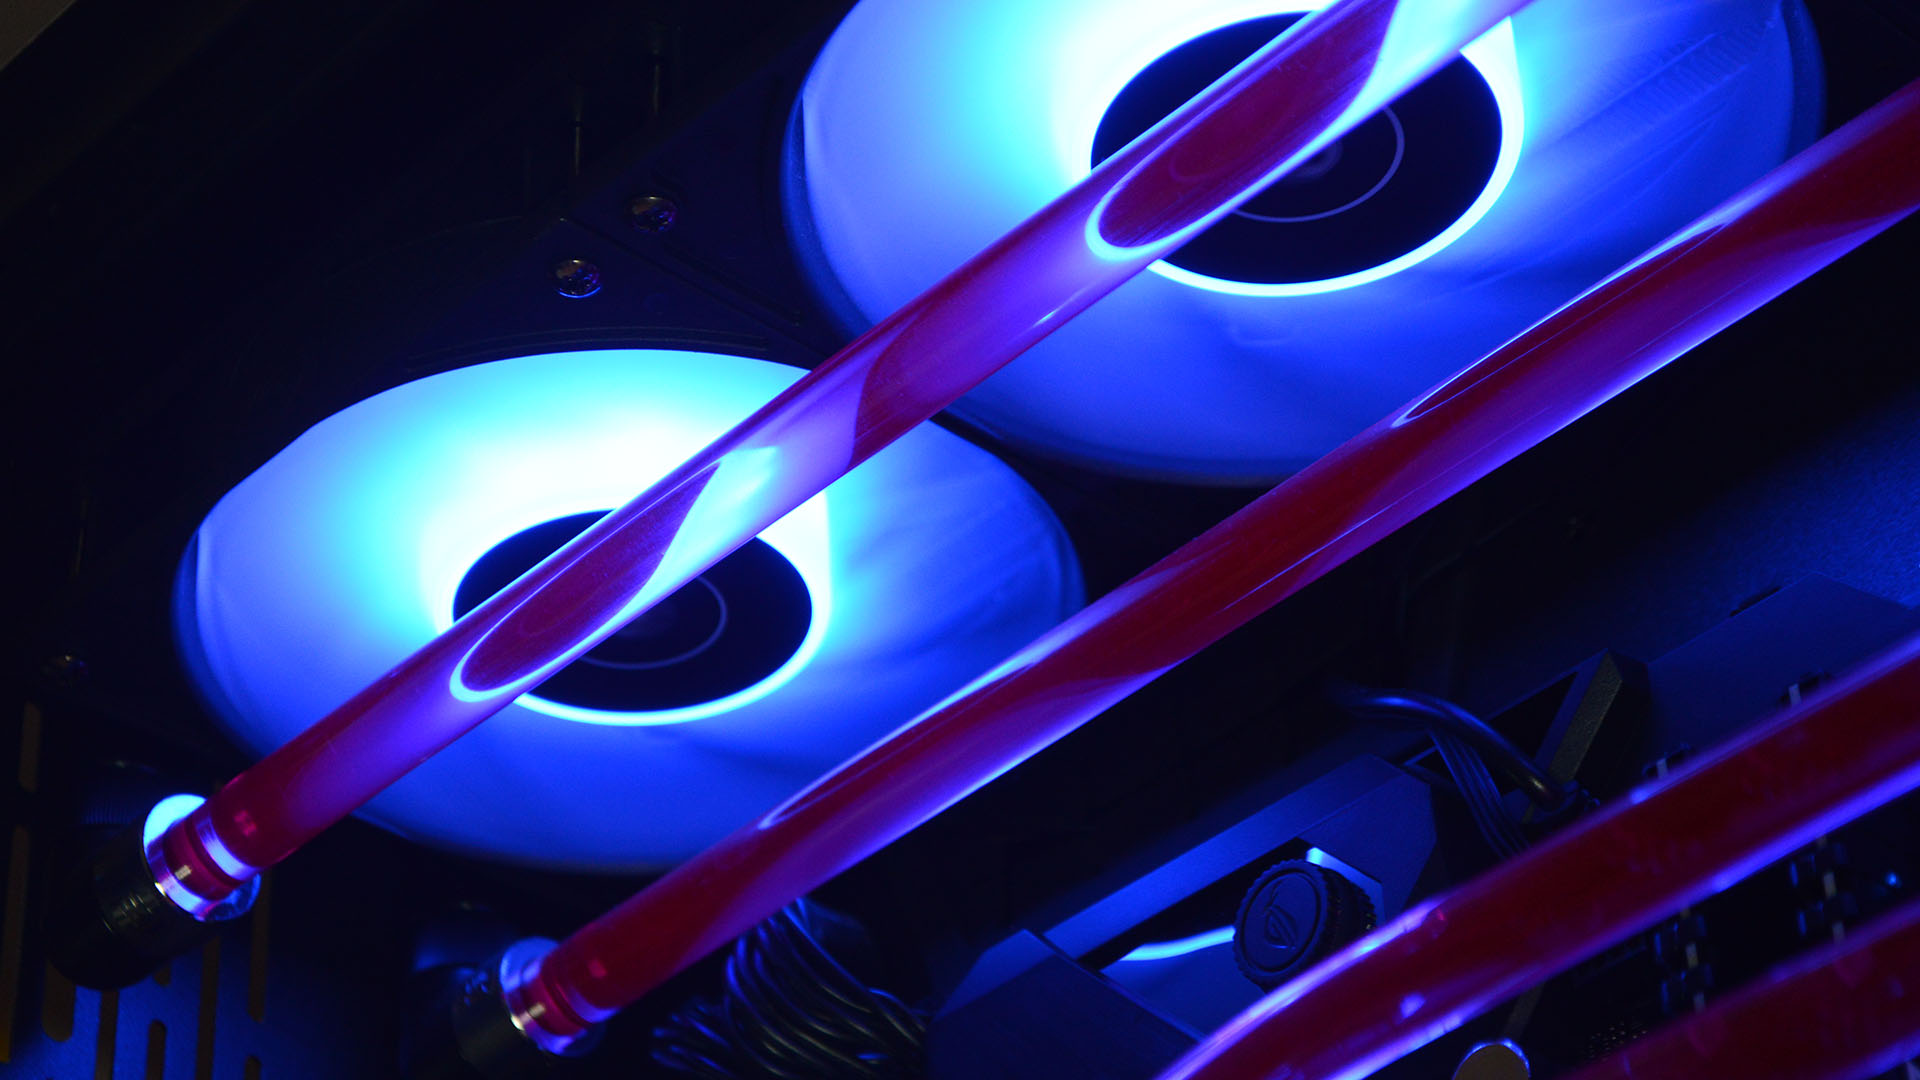
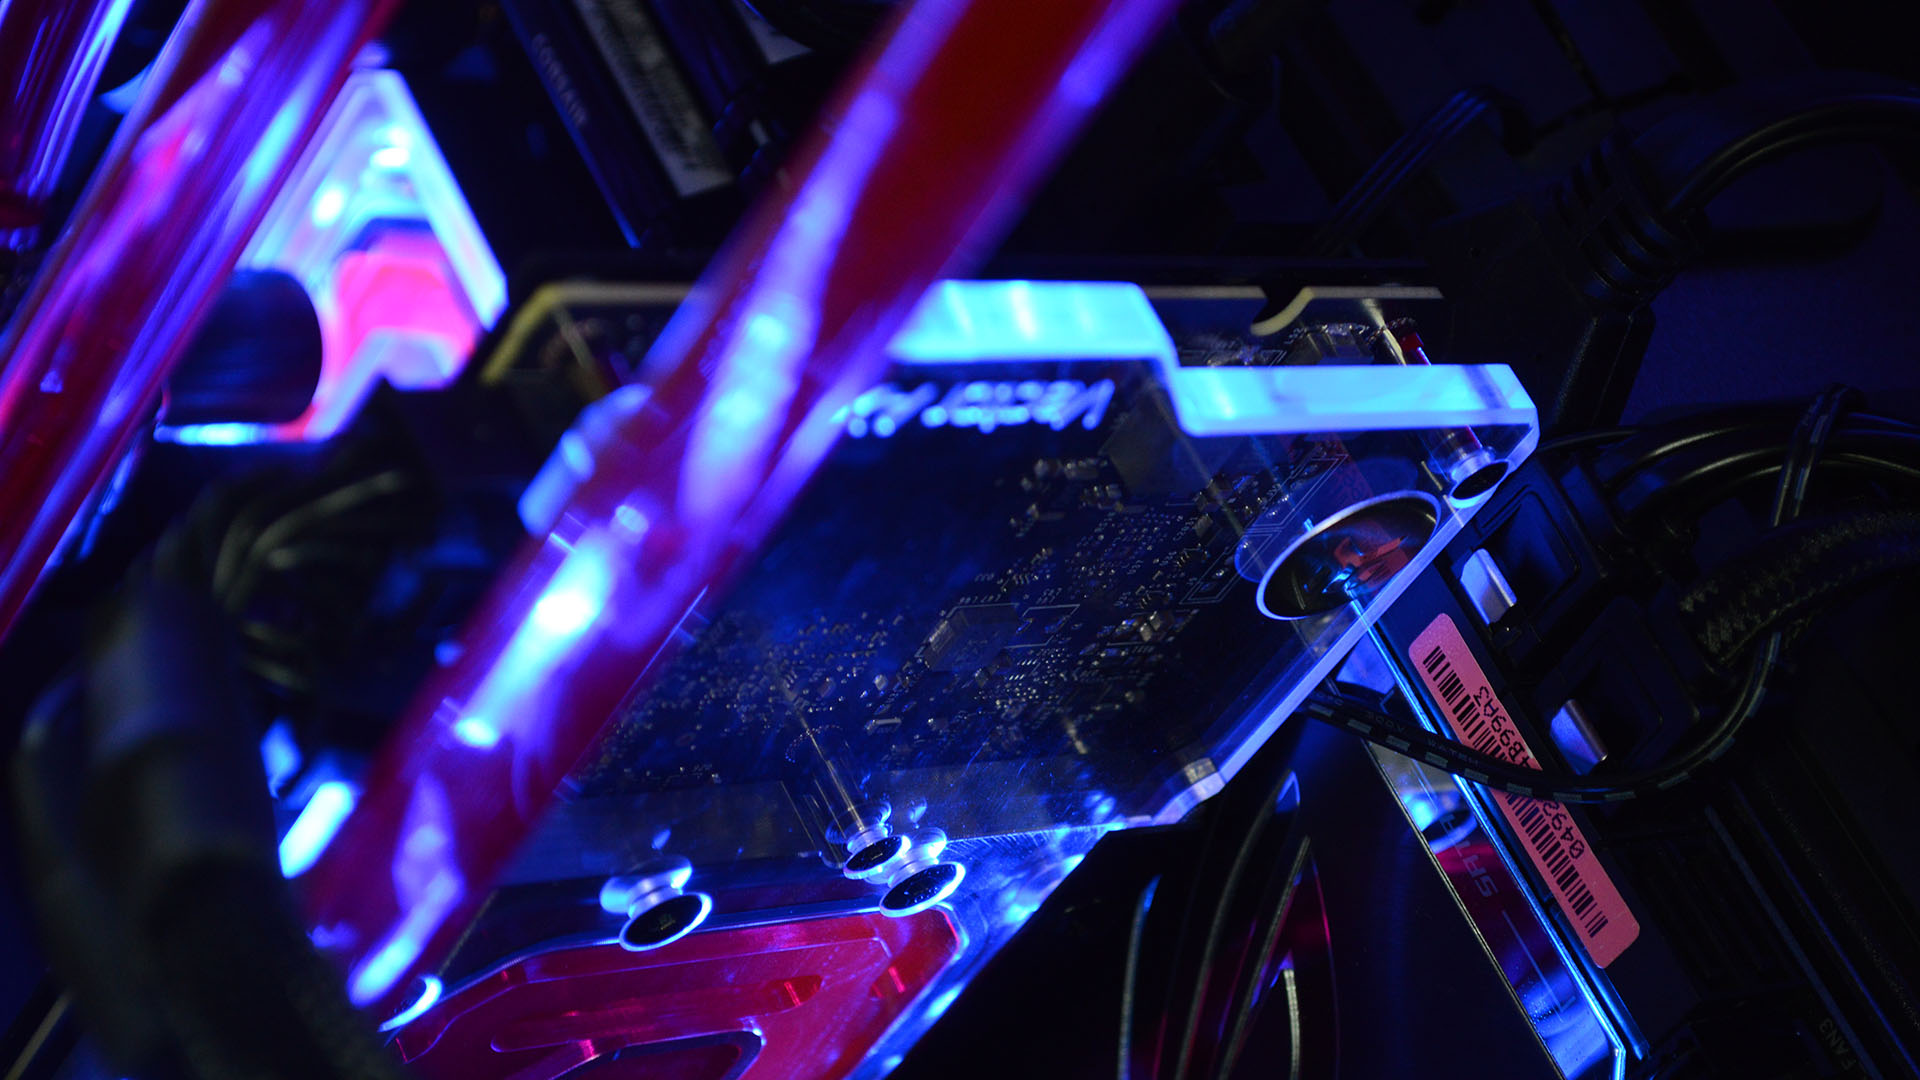
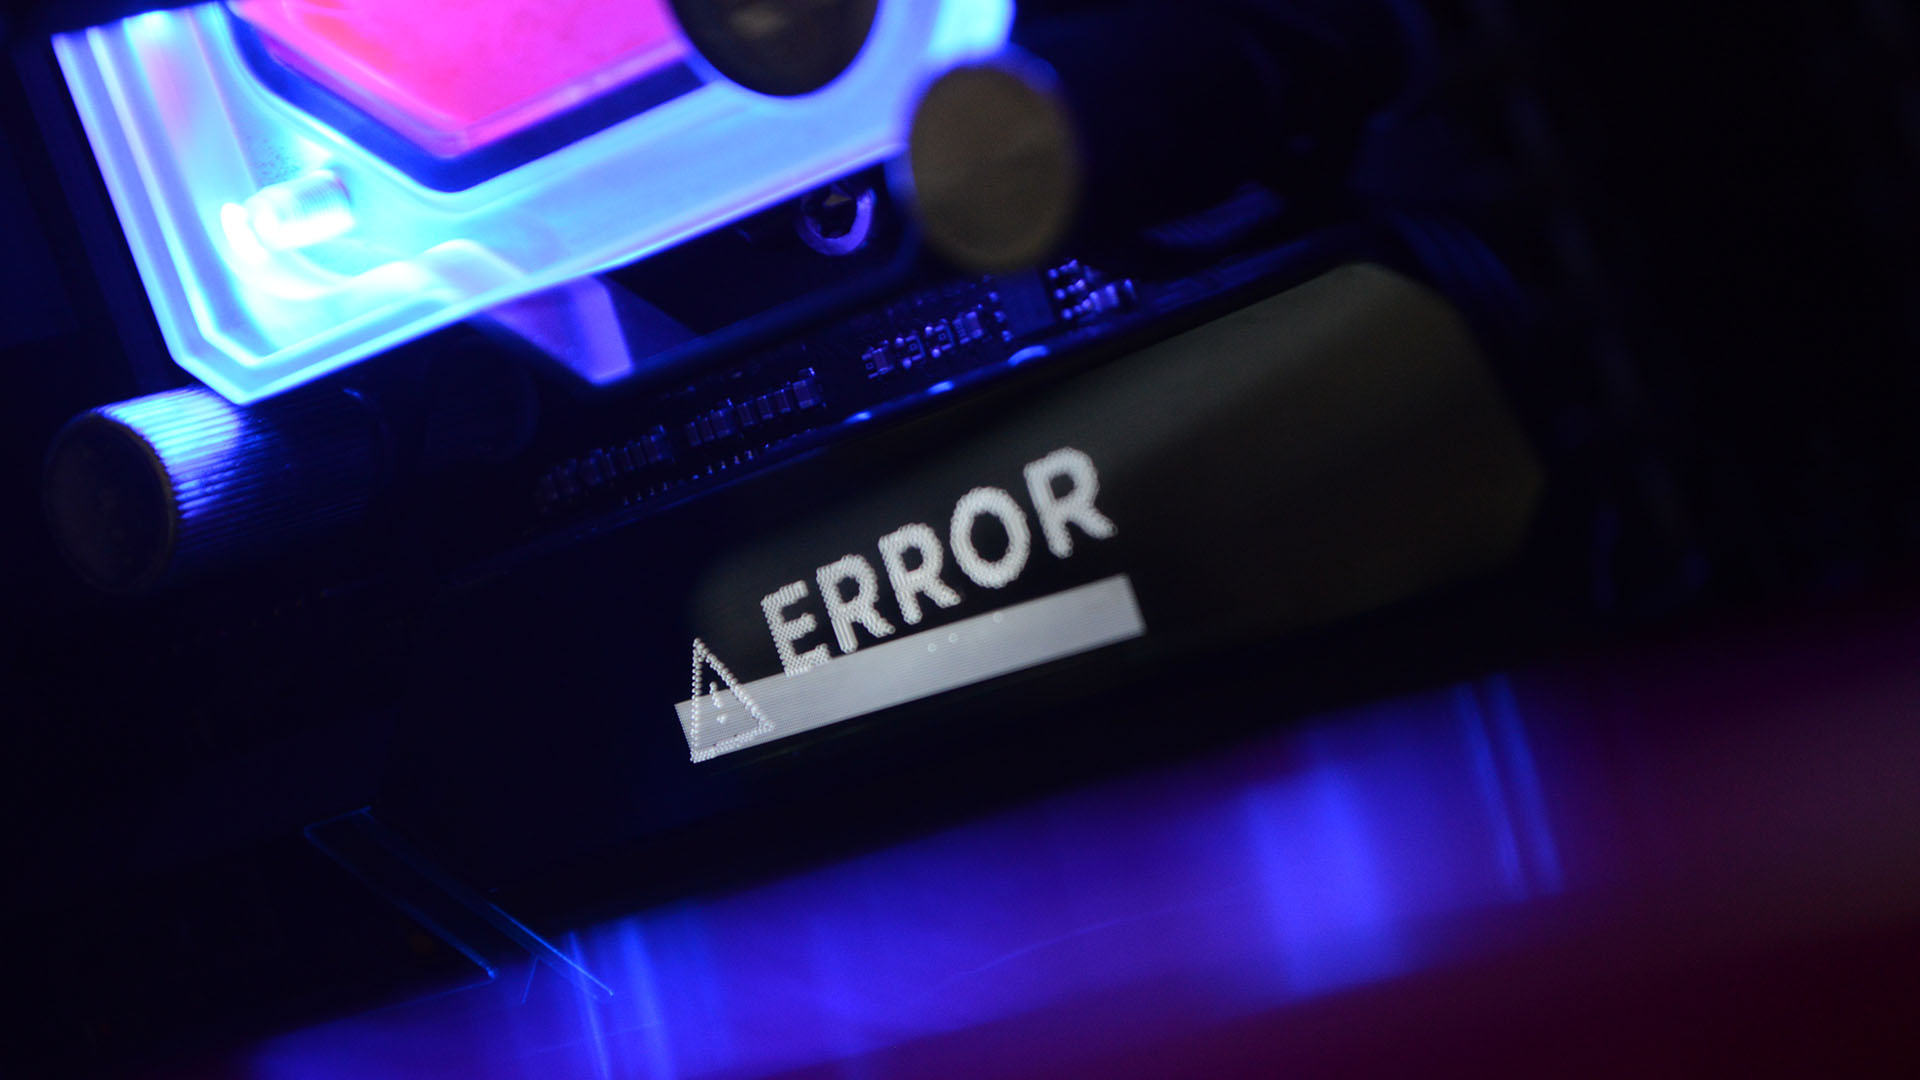
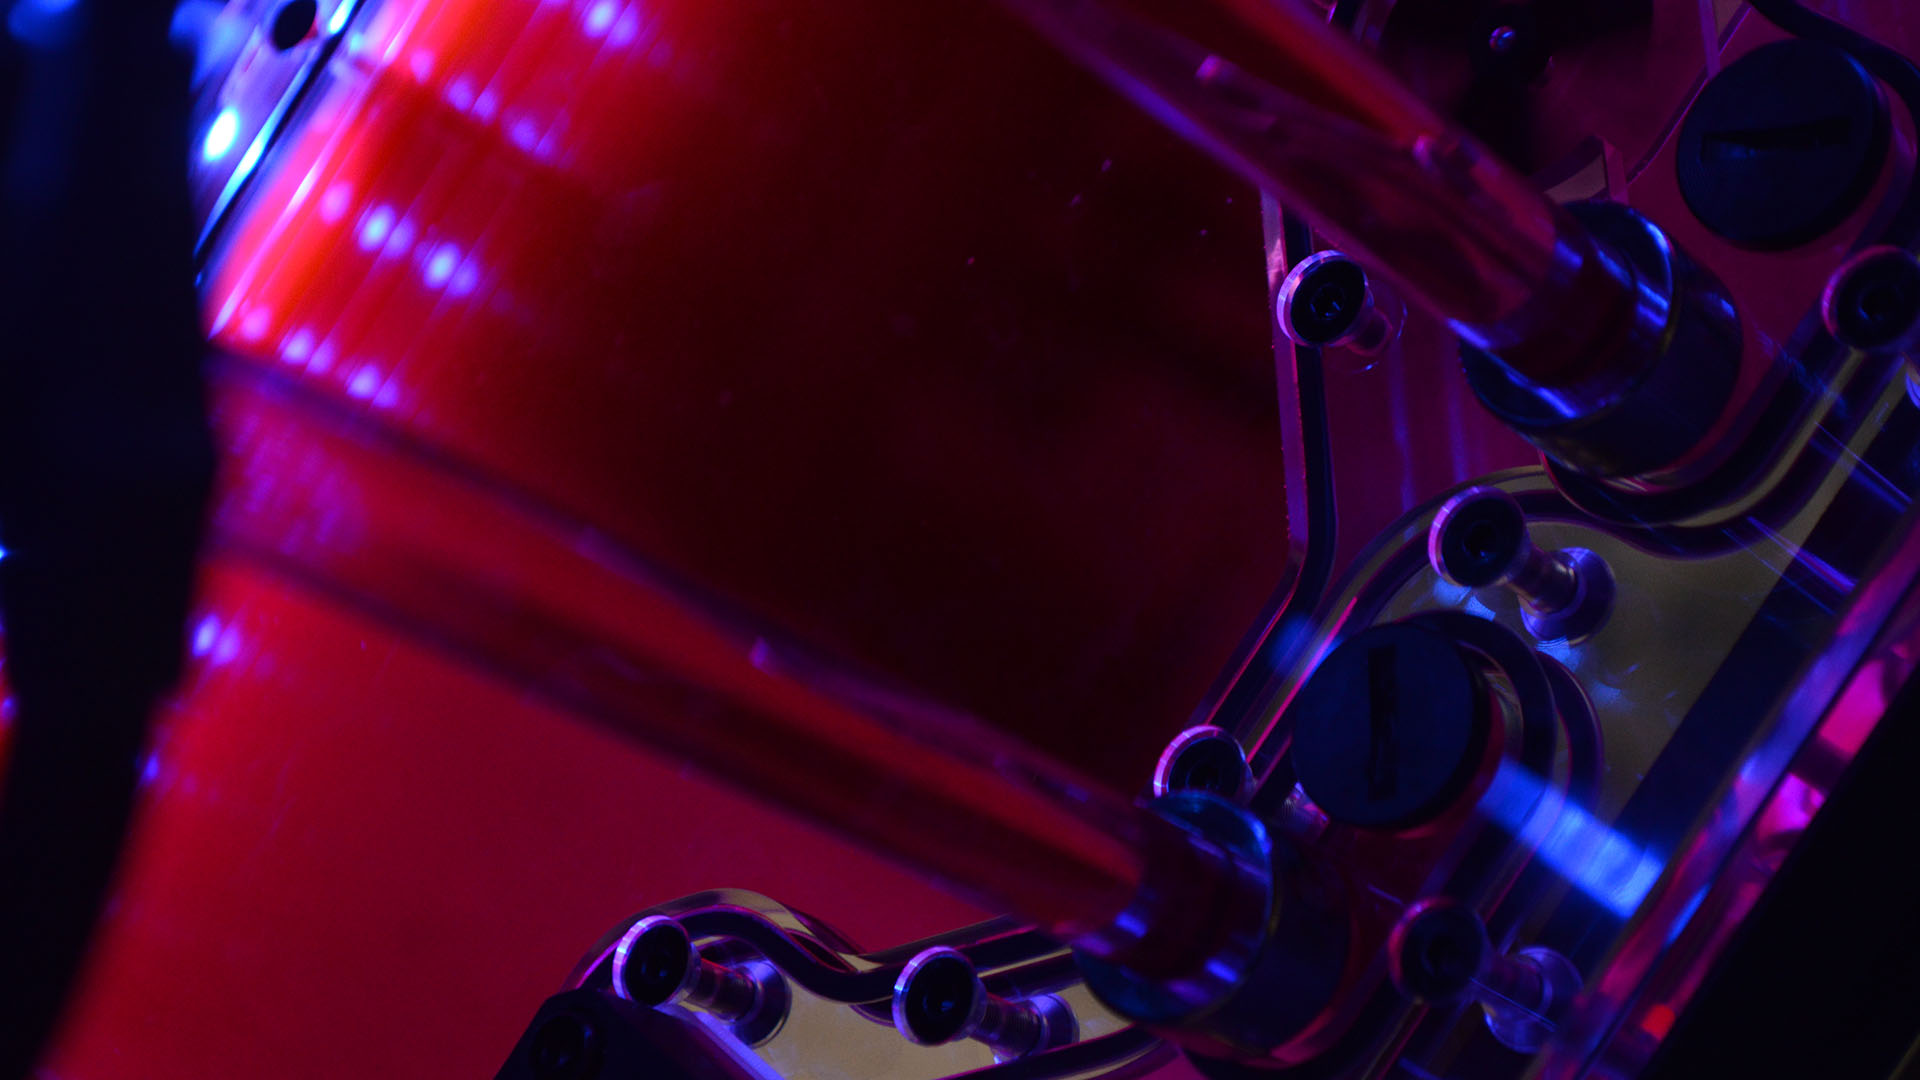
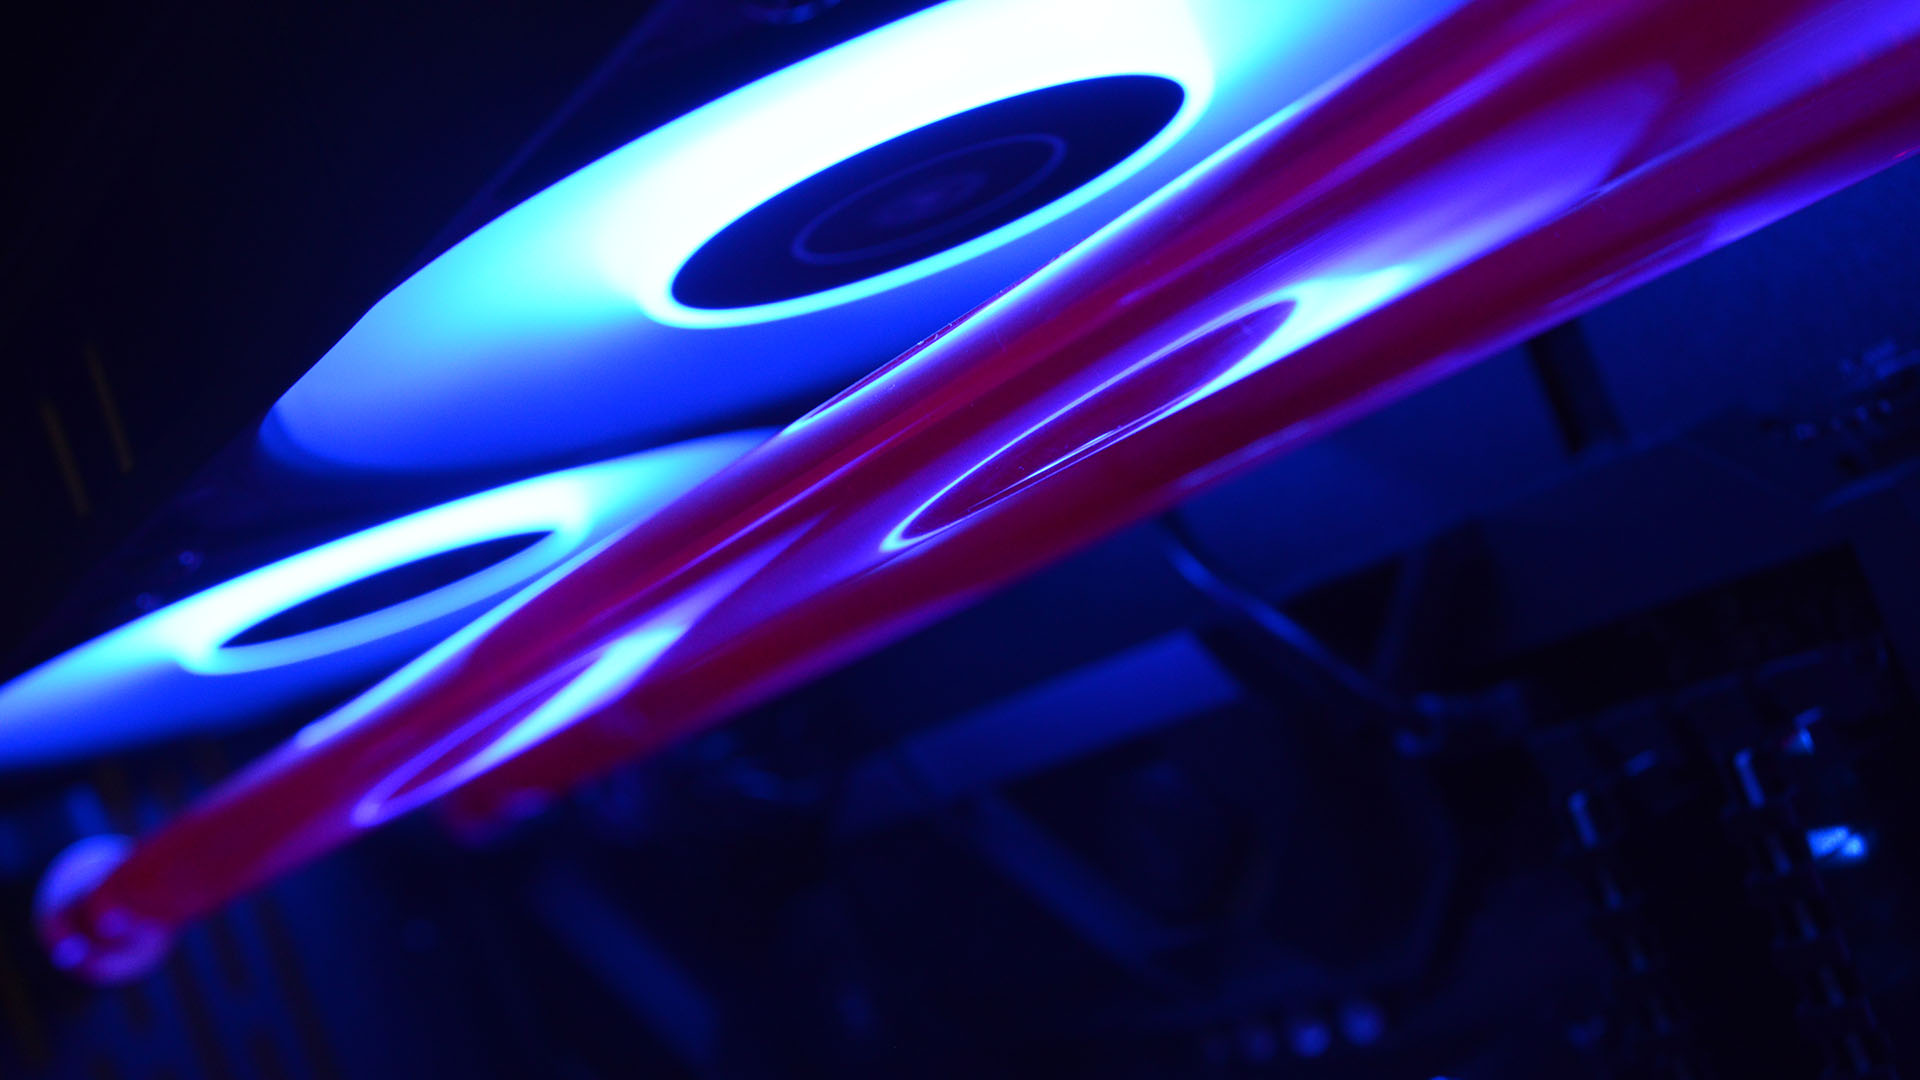
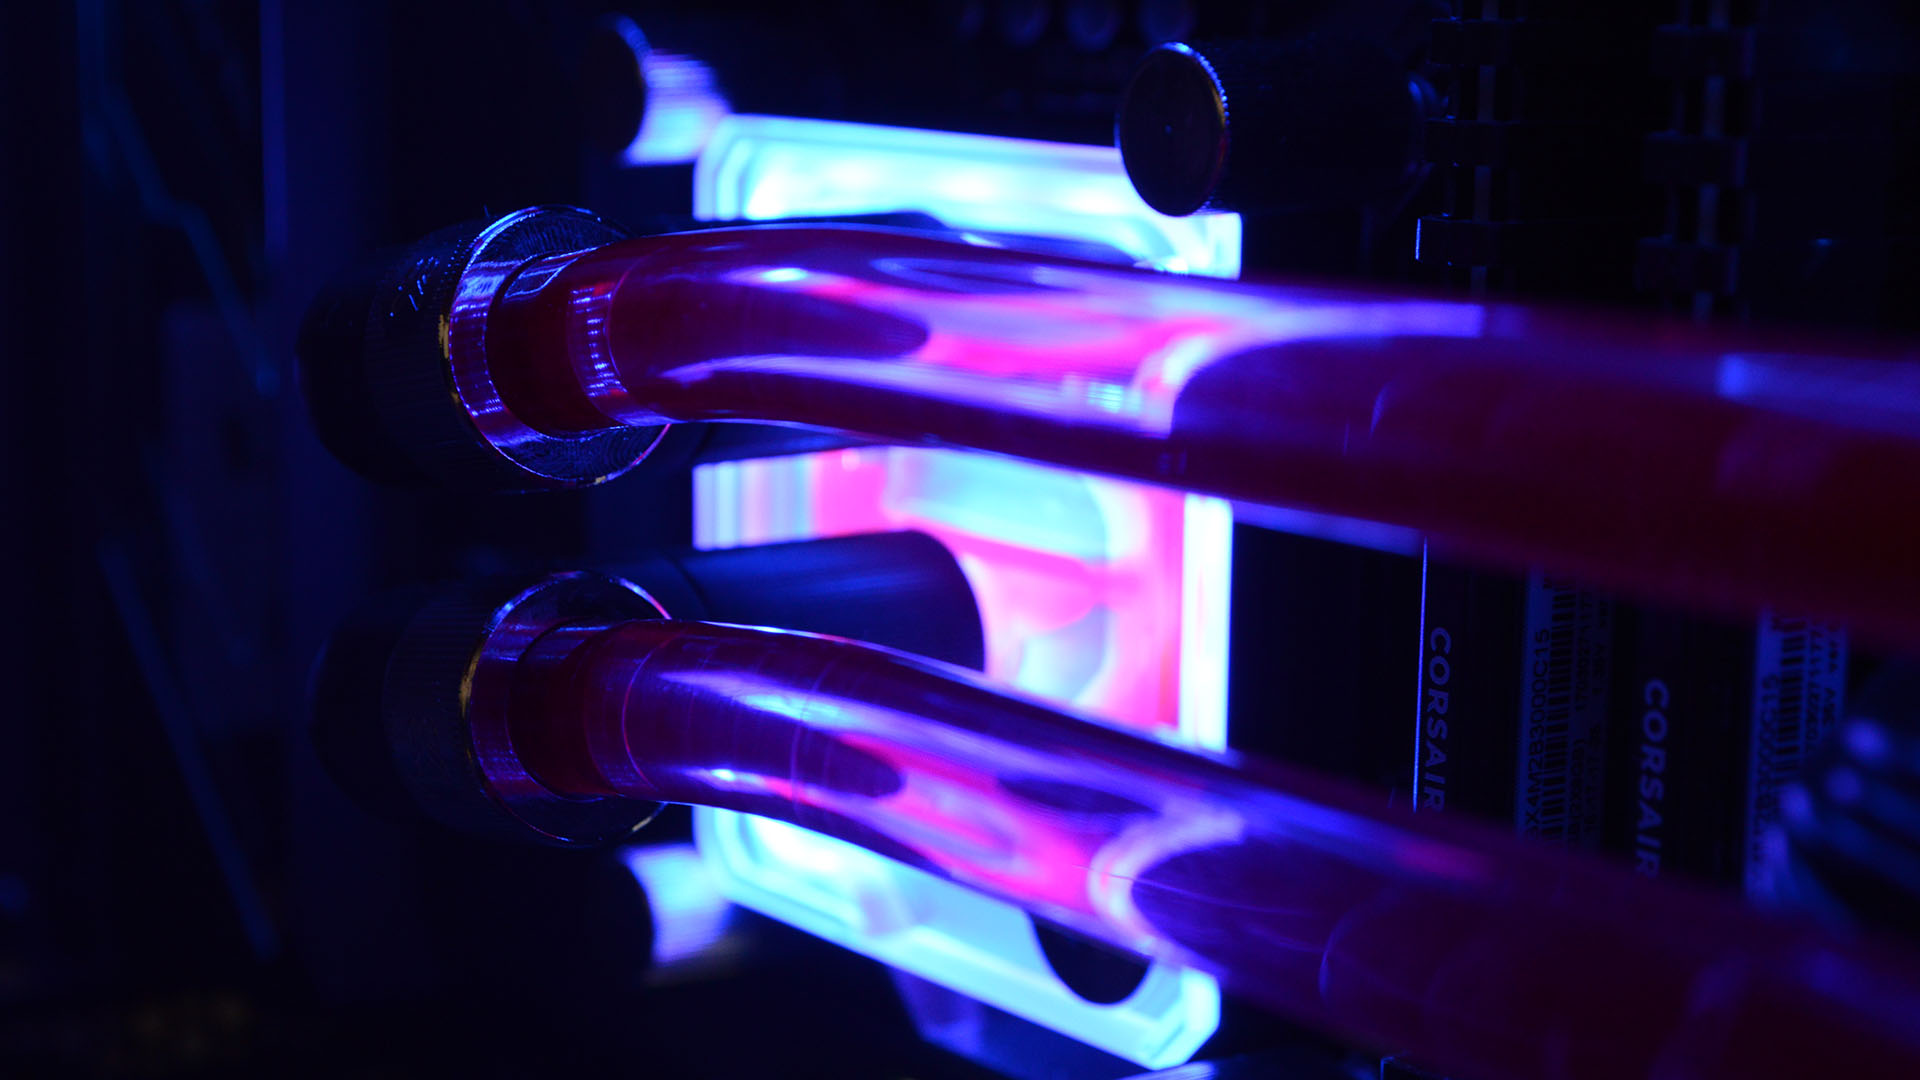
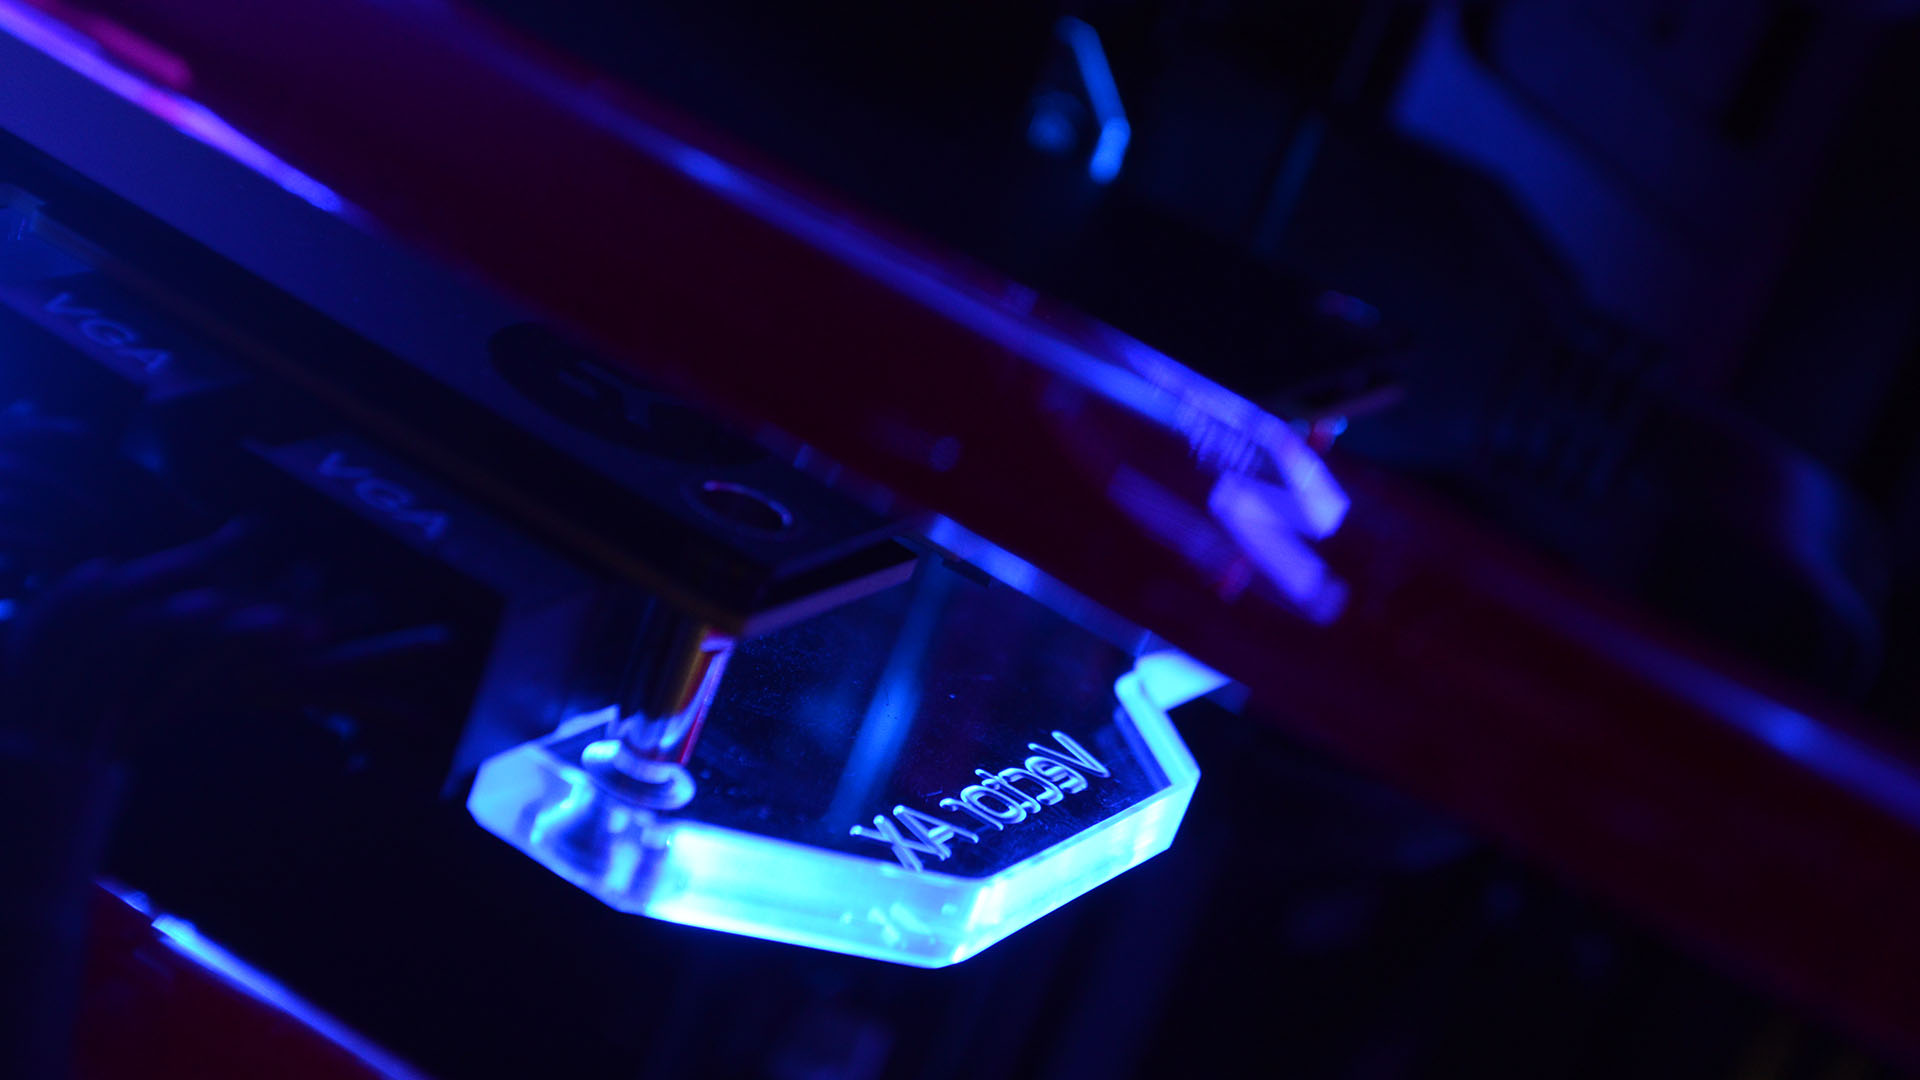
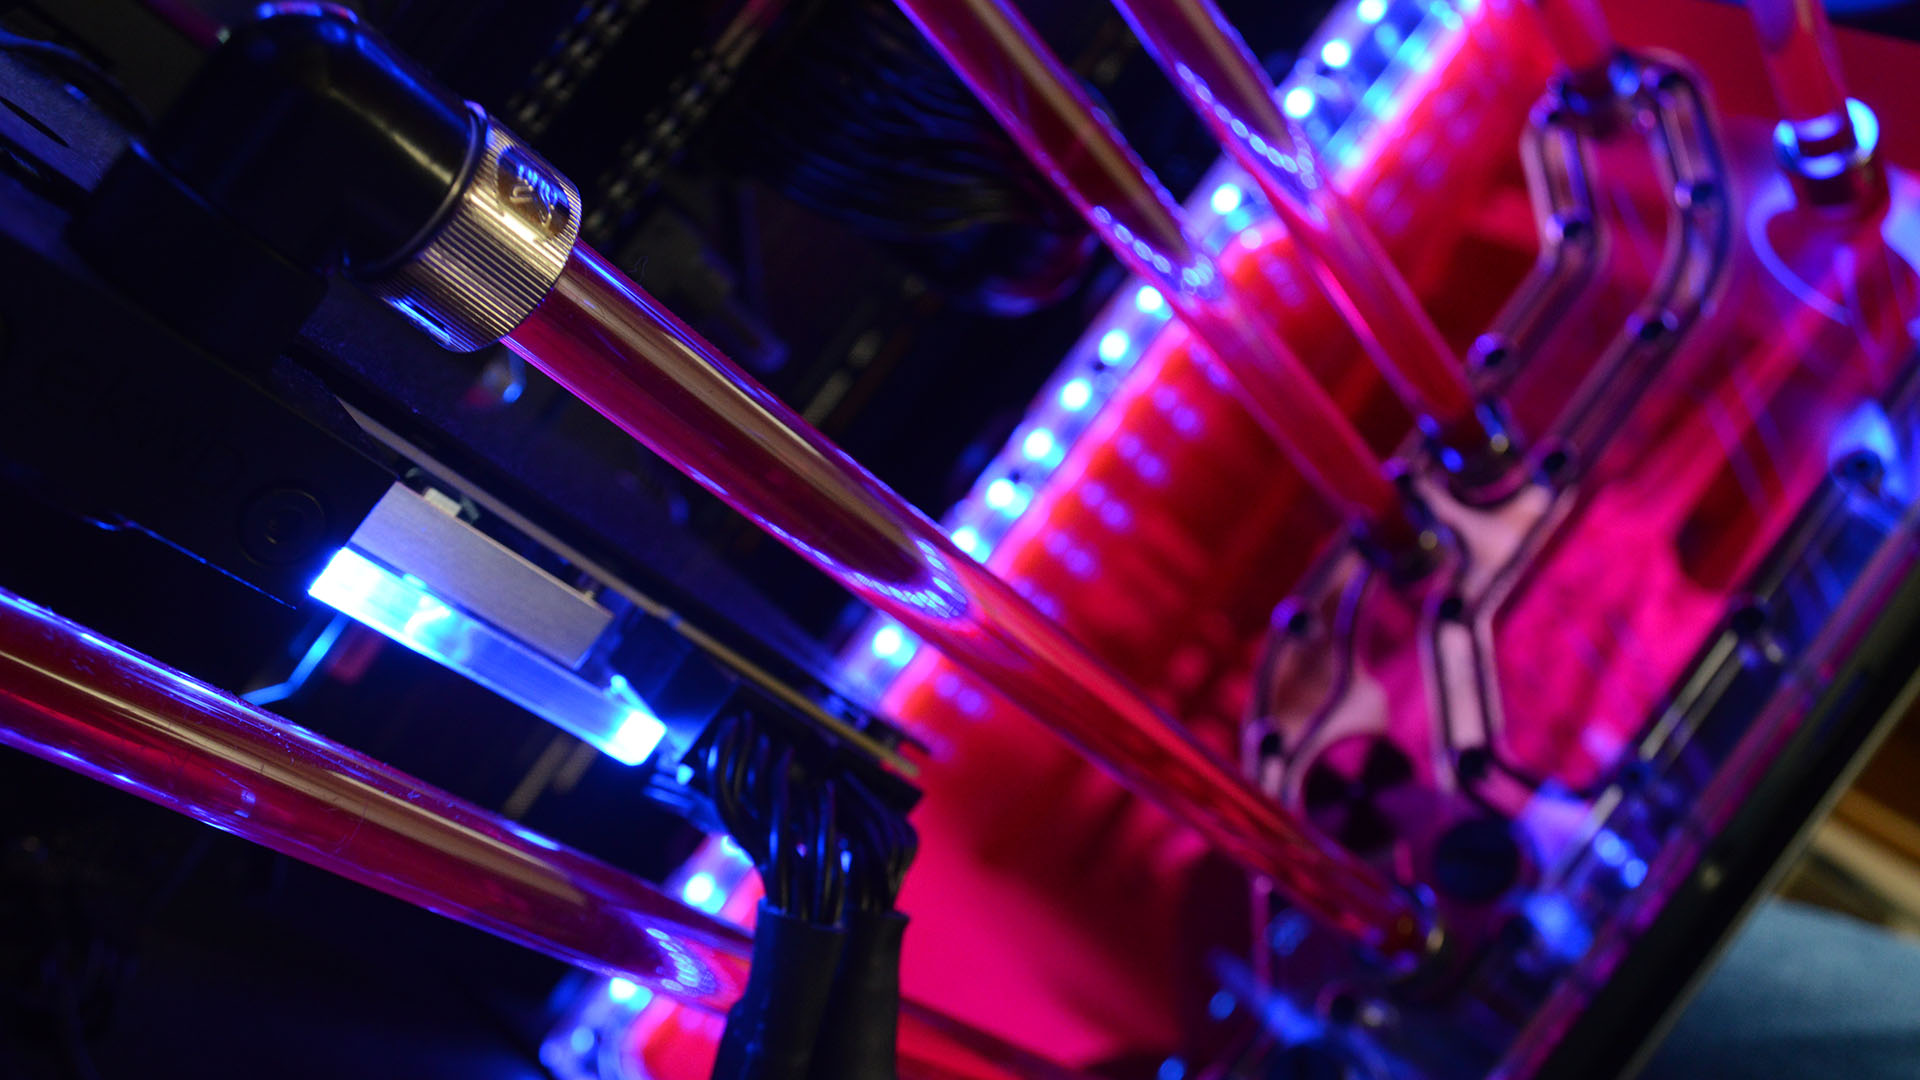
And was it worth it? Every bit. The results are nothing short of spectacular in appearance: no place more so than the GPU block with a maze of fluid snaking around and sapping heat away from the RTX 2080 beneath. The three RGB fans ignite the pink liquid within the tubing runs and create a dazzling semi-fluorescent appearance, and the CPU block sits centre-stage above the Formula's small OLED screen—vibrant, stunning, and personal.
I was worried that I would be missing something in first dipping my toe into the custom-loop pool with a pre-built kit. And I suppose I can't confirm if I did or not. It sure feels like I got the full custom-loop experience, no matter the boilerplate design or build by numbers manual.
And it sure feels like the final custom-loop gaming PC is unlike any other, too. A day and a half I spent toiling over this machine, and adding the final touches one week on I can confirm that my love for it hasn't subsided, nor has it leaked, thankfully. Its many imperfections are reflections of my time building it. I bled for this PC, and, surprisingly, it still works.
First published June 18, 2020.
